Former Fibonacci Magic Square Building Analysis Updated (too long of a title)

Continuing the same line of thought (Fibonacci MSBA) I wondered what would be required to find a neat algorithm for creating families of larger MSs. I quickly found out I was limited in terms of tools, because I had only 3×3, which meant I could try only to extend to larger odd-sided squares. Even-sided and Odd-sided squares do not allow the same methods. At least – not all methods allowed by each are the same.
So… I chose my first even-sided to be 4×4, instead of 2×2.

It took a bit of fiddling around. I wanted to follow the same general principal – create the ‘0’ square, then use it to build a family above it.
It does not take any significant amount of time to find that Tribonacci does not work.
The general formula is T1 + T2 + T3 = T4
The fact that you have not 2 but 3 smaller values (T1 to T3) means that for each subset that you want to create, you have 3 values to reuse, instead of 2. And you can alternate signs only so far. Each value can be only negative or positive, so you are bound to repeat a signed value.

Sidetrack:
If you do not care about repeating values, you can easily create a 4×4 using Tribonacci:

7-1324
-244713
1374-24
42-137

I did not bother so generalize the table here, cause I myself do care about the repeats.
But it’s worth looking at, because some useful things become apparent.

So… What do we learn from the failed square above?
– First, we need another equivalence grouping in order to ensure unique sides (as opposed to ~bonacci).
– Second, we don’t have center cell, nor we have center row and column, but that does not get in the way of our reflections.

The happy thought was that a very easy way of creating an even number of values that can be brought to 0 is to just use an even number of consecutive values and couple them outwards-in. As in:
1, 2, 3, 4, 5, 6
The sum of the outer ones is the same as the sum of the intermediate ones, is the same as the sum of the inner ones. 1+6 = 2+5 = 3+4. Which means that if you have 2 couples (a total of 4 values) – you can subtract one of the couples from the other to get the desired 0.
The first dead reckoning attempt started with the numbers 1 through 16. I started combining them from both ends. Why 16? Clearly too large of a range, but I did not want to think at this point about clashing couples in the middle, so… Somewhere along the way I messed up a sum, so I had to start over, but I have already noticed the pattern that would form:

1-38-6
-24-75
-57-42
6-831

Notice that? I was quite pleased when I did. There’s in fact a bit too much pattern in that square. Notice the way each small 2×2 square is filled in. Top-left and top-right corners, for example. You start with 1 and go down when going Odd-Even, but for 5-8 it is the other way around? Do you have to? Also, for the smaller values (1-4) you go outside-in and the same for 5-8. Do you have to?
No, of course not.
Here is an equally valid and much more clean looking variation of the square (Ok, not the square, only the cell pattern):

1357
2468
----
----

See?

The generalization is obvious now. The fact that I started with consecutive integers obscures the important properties a bit (what I mentioned about too much of pattern a moment ago).
The true pattern (and algorithm) is the following:
Ingredients: A sequence of 8 integers, such that the difference between each 2 consecutive integers is a constant. (in the above example it is the trivial ‘1’).
Steps: Fill in one of the sides and the underlying row/column in a zig-zag pattern with the ingredients (keeping their order).
This should result in rows (or columns) where neighbouring cells have the same difference. And this will also be the difference between a cell and the corresponding one from the next row/column.

Meaning:
V1, V2 .. V7, V8
where Vn = Vn-1 + X

V1V3V5V7
V2V4V6V8

When you do that, you have the base to crate a ‘0’ square:
– Mirror the values
– Dispense the negatives
The way to do the second of those last steps is the following:
Start row by row (or columns by column; I should stop clarifying that, it is obvious). On each row alternate – either the largest and smallest or the two intermediate values remain positive, while the rest become negative.
Like this:

-V1V3V5-V7
V2-V4-V6V8
-V8V6V4-V2
V7-V5-V3V1

Um… I am sure there was something else. It will get back to me later, I guess. For now – that is it. You create your seed sequence, you fill in, reflect, then negate half the values. You get a 4×4 ‘0’ square and you are free to build upon it as you wish. Again, as with the 3×3 before and as it is with all ‘0’ squares – the possible magic constants are always a multiple of the length of the sides. So 4 in this case.
Fibonacci Magic Square Building Analysis

So…

After I’ve slept over it.

The Fibonacci works well, because the algorithm creates a base case with a ‘0’ MC.

The schema again:

C-B
-0A
-D-
C-DB
-A0A
-BD-C

I was just doodling last night and just kind of figured it out to make it work, but now that I look at it, it is obvious why it had to be this way.
Starting in order of the Fib numbers…
Ok, Ok, let’s do it properly.

F3-F4F2
-F10F1
-F2F4-F3

Let us build it with a few simple steps.

So, three principles to the arrangement:

0. We place a zero in the middle.

1. We are considering the sides – the lines that do not go through the center. In order to bring each one of them to 0 using the Fib numbers, we simply take advantage of the fact that, by definition, we will get to 0 if we take any Fib number (2 and above) and remove the previous two. Meaning that we need two consecutive Fib numbers with one sign (positive or negative) and the next Fib number with the opposite sign.

1.1 We have 4 Fib numbers and we need them to cover 4 sides. The way to do it is to use the fact that 4 consecutive numbers form 2 overlapping subsets of 3 consecutive numbers each – F1 to F3 and F2 to F4.
Given that F2 and F3 are part of the two subsets, we place them in neighboring corners. Now F3 will form one of the subsets with F2 on their shared side and the other subset on the other side. Similar for F2.

F3-F2
---
---

1.2 From the subsets we know that F2 is the middle value in subset 1 and the lowest value in subset 2. Correspondingly, F3 will be the highest value in subset one and the middle value in subset 2. This means that the top side (in this rotation), that already contains F2 and F3, will be part of the two subsets.
This is where we note that at this stage we have four sides with a total of four copies of the two subsets. For now, we will forget about the sign of the numbers and focus on the values.
Once we have the F2 and F3 placed, the rest is almost automatic. We have one choice to make, which is completely arbitrary, because it gets cancelled later on by the symmetries of the MS.
We need to place either F1 or F4 between F2 and F3 that are already on the board. Let’s choose F4. This means that the newly formed side is the larger subset.
We copy each of the values across the center, resulting in another copy of the subset, just in reverse order looking in the same direction (from left to right in this case). Only two cells remain and we fill them in with the value we did not choose the last time. In this case – F1.
We get:

F3F4F2
F10F1
F2F4F3

1.2 We pick a side and start multiplying by -1. The rule that governs the multiplication is what we mentioned earlier – in each of the subsets, the two smaller values have the same sign, which is also opposite to the sign of the largest value.
At the top we simply convert F4 to -F4. So F2 and F3 remain positive. This means that on the right F1 will have the same sign as the F2 and F3 will become -F3. On the left F3 is the highest value, so F1 and F2 there will be multiplied by -1. This also automatically takes care of the bottom row.

F3-F4F2
-F10F1
-F2F4-F3

1.3 Sanity check – across the center each Fib number stands opposite its negative, so along with the zero at the center, so each diagonal results in a zero.

1.4 Versions – the only notable thing so far is that if we had chosen to place F1 at the top, instead of F4, we would have gotten a schema that is flipped along the F2 diagonal. It is not immediately obvious to me why F2 and not F3. Needs some looking into.

-F3F1F2
F40-F4
-F2-F1F3

Consequence of this whole thing. We are not using the fact that the numbers are part of the Fibonacci sequence. We are merely using the property that numbers in the Fibonacci sequence have – each equals the sum of the previous two. Which means that we can also freely use the Lucas sequence or any other that shares the same building principle.

Next:
– What about Tribonacci? Can we extend the algorithm to cover 4×4 MS? There are some nice complications that are visible from the start – we will need longer Fib subsets, but we still have only four sides. Also, we have outer sides and inner sides. Delight!


Fibonacci Magic Square

So I was wondering about magic squares (pattern hunting, obv) and I tried going the way of the tipping table.

Meaning: There are infinite magic squares with the magic constant X. The most boring of all is the trivial one, where each square holds value X/3. So… How about a way of getting from the trivial square to a non-trivial one? Obviously there are many ways and obviously many of those ways have already been described somewhere, but it’s worth digging (I have mentioned the value of rediscovering the wheel, haven’t I?).

So I started poking at a ’15’ square and got something that at the time looked surprising (now – may be not so much).

Disclaimer  One – I have only had time to look so far at the X/3 trivial case. Meaning – MS (tired of typing the whole thing out) with a constant (MC) divisible by 3.

Disclaimer One-and-a-Half: I would love to dig into rational MSs some day!

So… I took this MS from the internet:

816
357
492

That’s a ’15’ square, so it’s base case is all 5s.

And the question is: how do you get from all 5s to the one above?

It is clear that adding the same value to each of the cells does not break the MS, so first I thought of cutting down the slack – the lowest value is 1, so if we reduce each cell by 1… nothing special pops up.

Back there I mentioned the tipping table. Crude analogy, I admit, but bare with me.

If you have a trivial case and you push one of the values down, others will have to go up to compensate, right?

So… Let’s look at the difference table – a grid with the deviation of the actual MS from a trivial case I cooked up:

3-41
-202
-14-3

This only showed how… small and tame the MS is – the biggest absolute difference is barely below the trivial base value (5). It looked good. I needed a tame case to dismantle in peace.

So I played around in an electronic table (I was gonna say Excel, but it is not Excel), trying to see if I can find similar difference table or at least explain what makes this one work. Why 1 to 4? What other values would do the trick? Obviously, the rules of the MS will strictly dictate the arrangement of the values (and those rules should be examined further), but why those values?

Intermittent observation – this MS is of a family of MSs, where the center has 0 deviation. More on that later.

Not many minutes playing around later I stumbled upon a good family of MSs – the Fibonacci MSs. They are a subfamily of a larger one, of which the above example is a member of. The sequence 1, 2, 3, 4 is not a Fibonacci subsequence, but follows the same 0-center rule, so… until I dig into that particular example further, I consider them cousins to the Fibonaccis.

So! Yeah, the Fibonaccis (FMS)! Here is the end result, directly. Analysis – later.

Take the following schema (rotate as you please):

C-B
-0A
-D-

A, B, C and D here are four consecutive Fibonacci numbers. Once you place them, fill in the opposite cells with their negative counterparts.

At this point you have a ‘0’ MS. Also, you have negative values. To get rid of the negative values, add the largest (D) to each cell. This will set you up with a 0 at -D. If you dislike the zero, no worries – add any positive number to all the cells to produce any member of an infinite number of FMSs with the same difference table. Or ‘difference profile’. Yeah, that sounds better.

Example:

’34, 55, 89, 144′ turns into:

89-55
-034
-144-

then into

89-14455
-34034
-55144-89

Add 144 to raise the MS above the negatives:

2330199
110144178
8928855

You’ve got yourself a ‘432’ MS.
Add 1 to each cell and you’re up to 435.
And so on.

You’ve got an infinite family of magic squares, identified by the ’34, 55, 89, 144′ sequence. One caveat, though – since producing another family requires to add/remove 1 from each cell, the magic constants of all the families are divisible by 3, so… you’ll cover only the ‘/3’ infinity of magic sums.

All I need to do is write up the justification behind the arrangement of the seed Fibonacci numbers and… well, the link to the Fibonacci sequence is cool as well, so digging into that will also be fun.

Next:
– Why does Fibonacci work here?
– What’s behind the 1, 2, 3, 4 MS up there?
– Can we do rational MSs?

The Short Axe

So… I need short axes for my LARP character. The first rule of LARP is ‘have fun’, so I initially decided to go with what makes me feel cool, instead of what is effective in battle. Hence, I did not go for spear or sword, but for dual short axes (le gasp from the fencers 🙂 ).

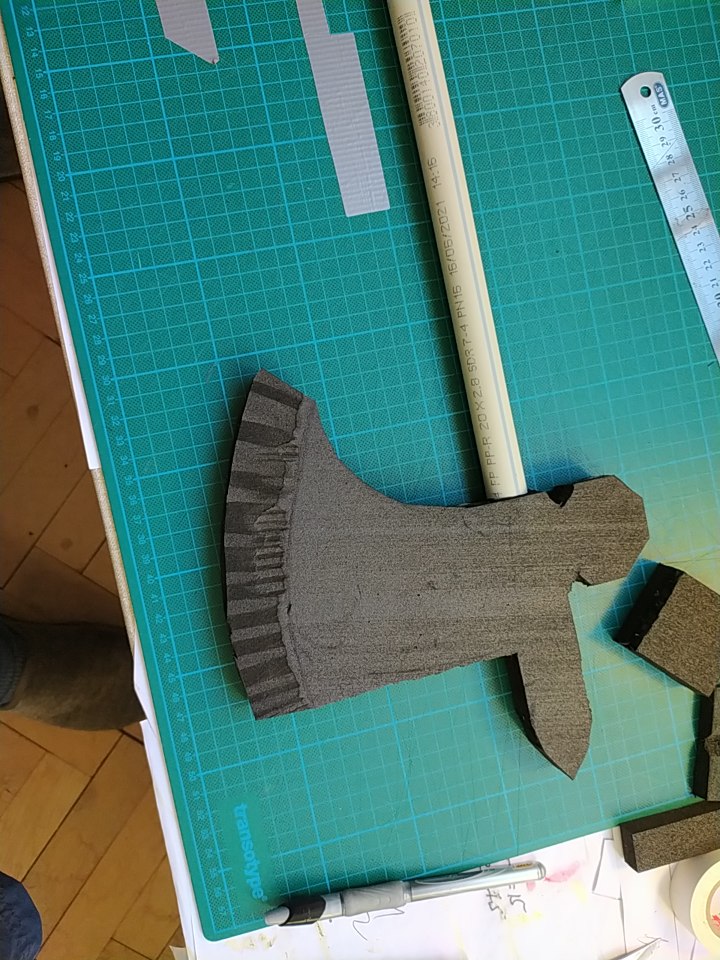
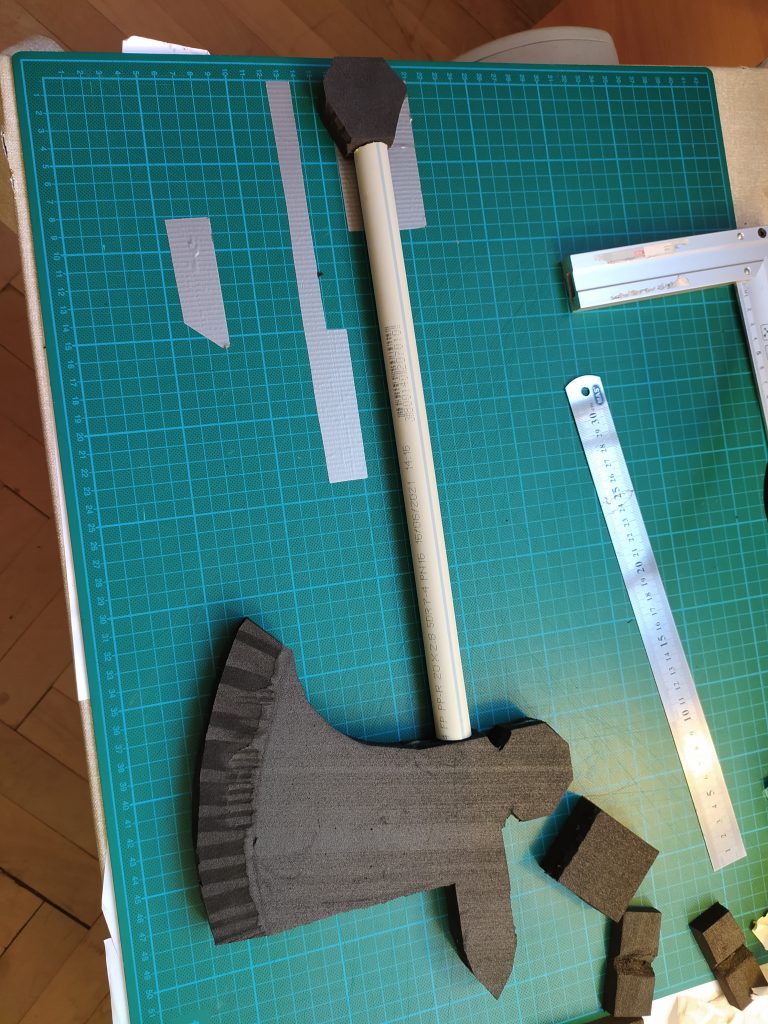
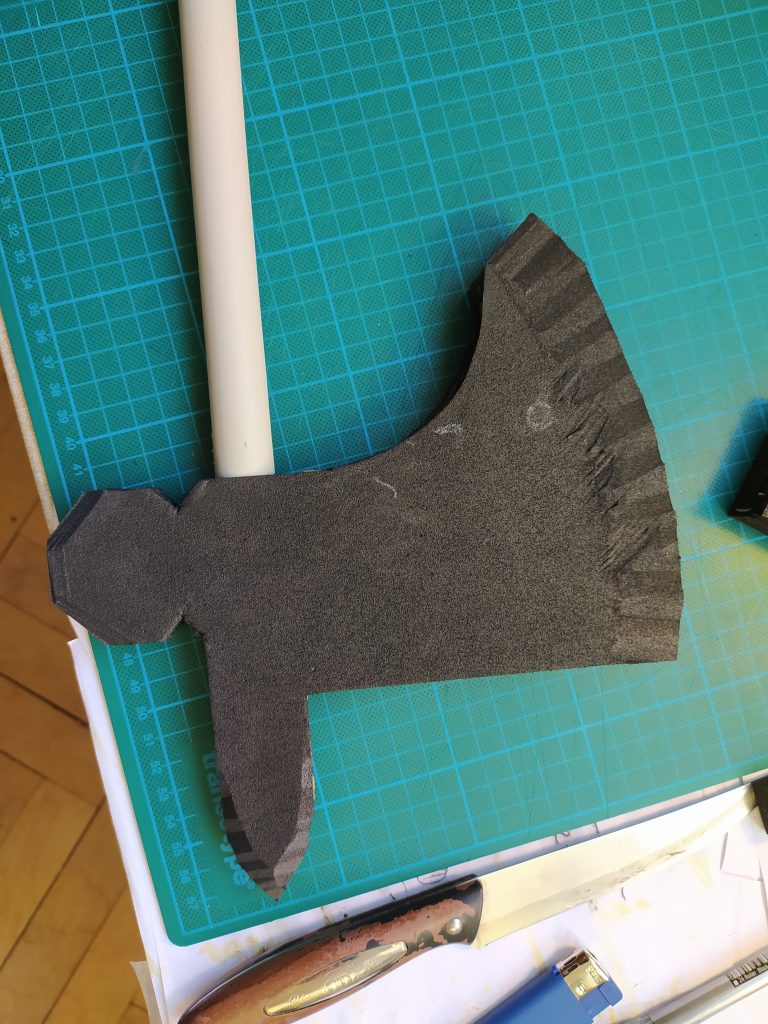
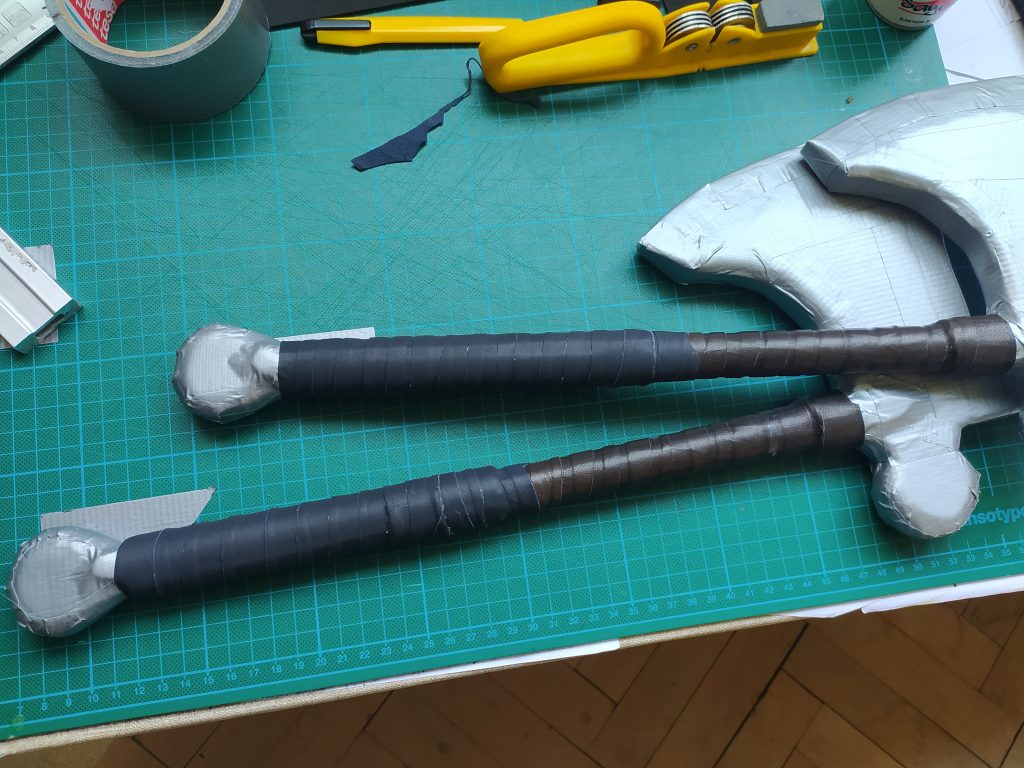
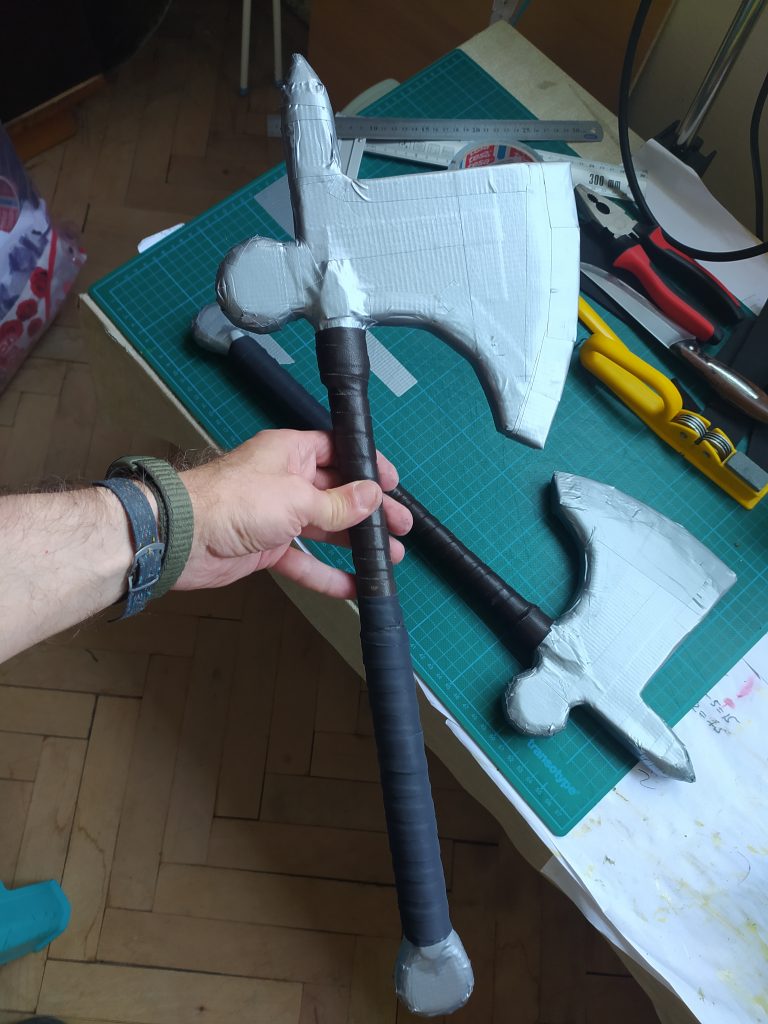
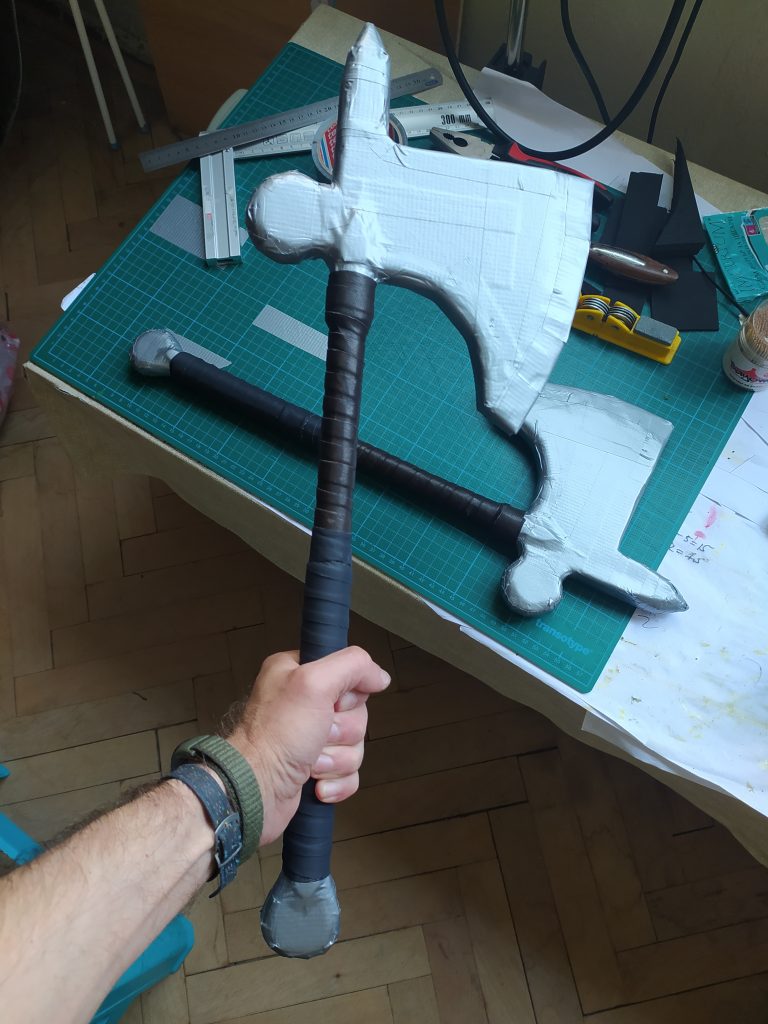
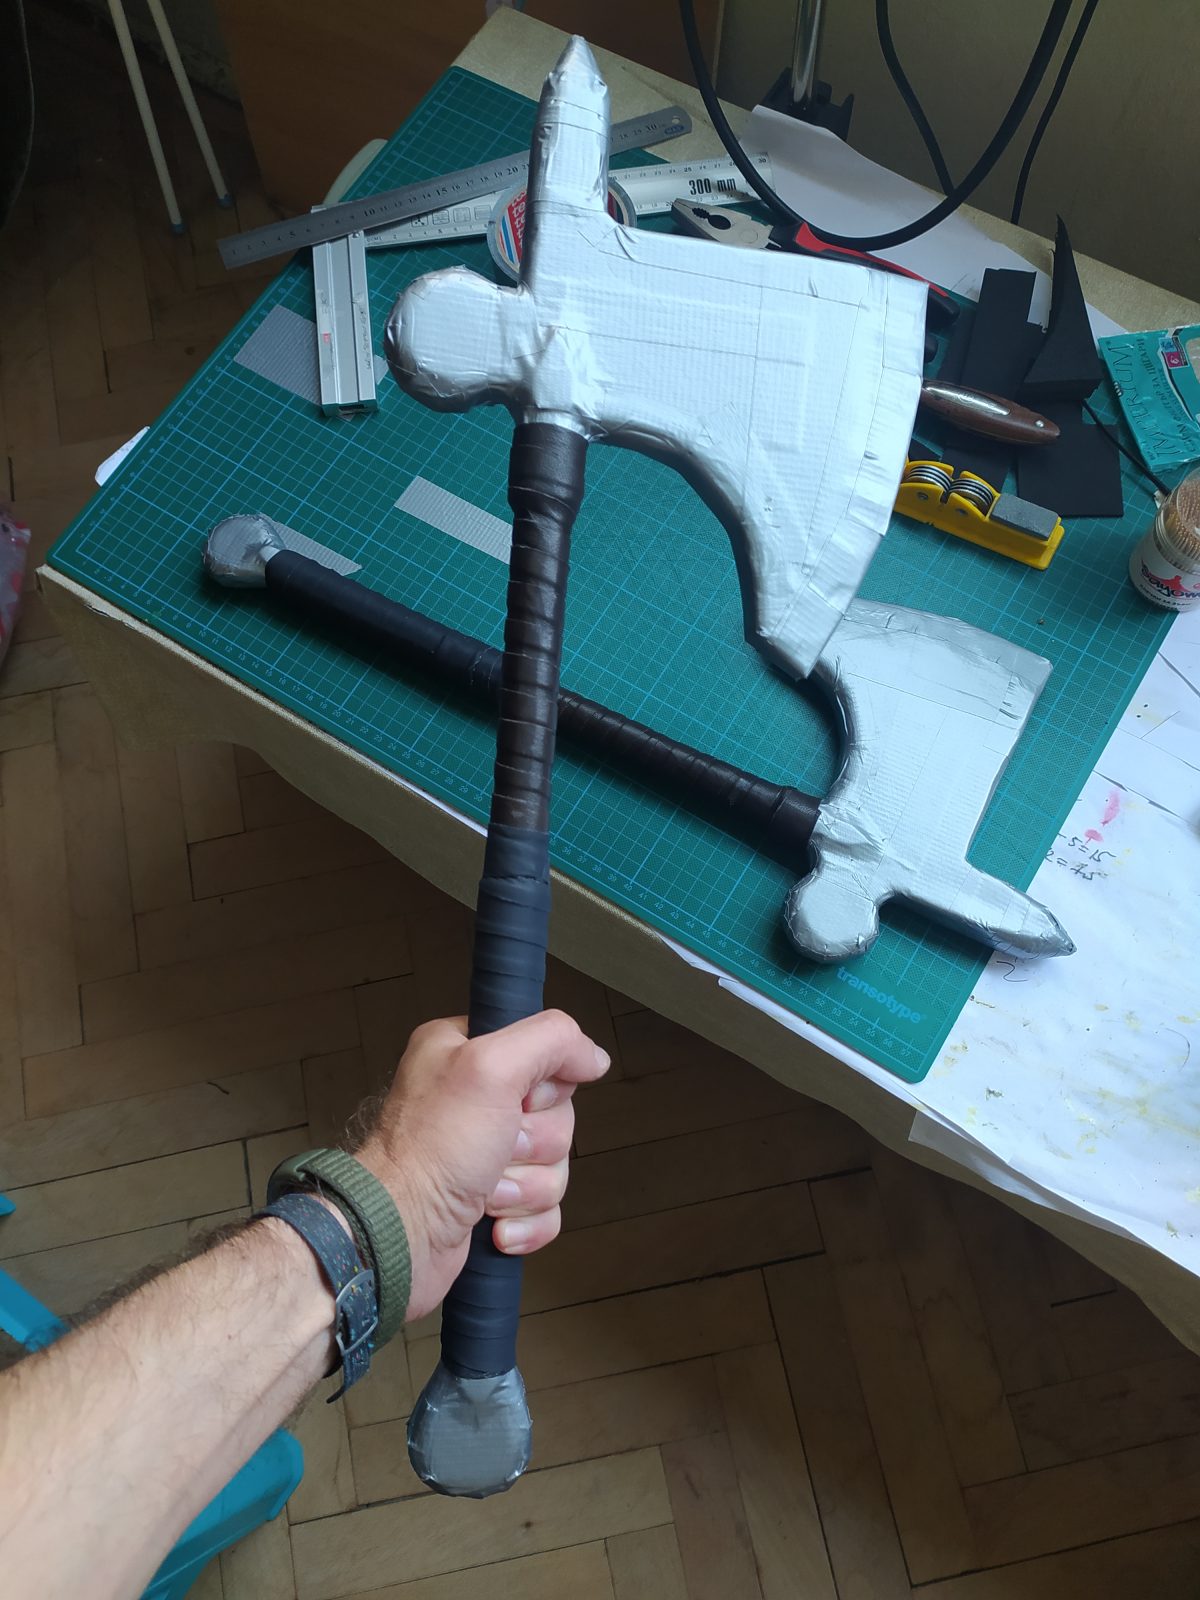
My first attempt resulted in two good looking weapons, but… let’s say they had their problems. First – I did not have PPE pipes for the handles, so I used PVC, which does not cover the durability requirements of a battle situation. In the end the handles did not break, but only because of the bigger problem – flimsy beards. If you have a giant axe, I suppose you can simply bash at people Warhammer-style as if it is a hammer and you won’t have any issues. However, for short axes which you try to use intelligently… well, advanced use brings advanced problems. It turns out that when you are deflecting blows from a weapon it is ridiculously easy to lock the opponent’s blade with the beard of the axe. This can be great advantage if you learn how to do it properly and strategically and if you learn how to do a follow up. However, the locking puts very large amount of stress on the axe’s head. When you smack someone with a sword, you put some amount of compressive stress on the EVA foam of your blade and it is always for a short amount of time. However, when you lock a blade or a shaft with your axes head the stress is continuous and it is a tension stress. So… I did not use actively my axes during the previous issue of our LARP, but did not let them rest during the training sessions after it. And it did not take that much for the axes’ heads to get ripped off. So… I needed a way to reinforce the heads. Here follows is latest iteration. I have already tested it (training sessions, so… much more beating that the axes will ever see during the game, as my character is not the fighty type). They seem to hold up well. Not only they did withstand locks (followed by frantic pulling of weapons during the fight for control), but they feel like they don’t mind the punishment. We’ll see, though, when and how they’ll fail.

So… the trick is the metal reinforcement. The problem with it is that it is metal and you need to really make sure the foam that covers it won’t just break and the let the reinforcement stick out and be a hazard.

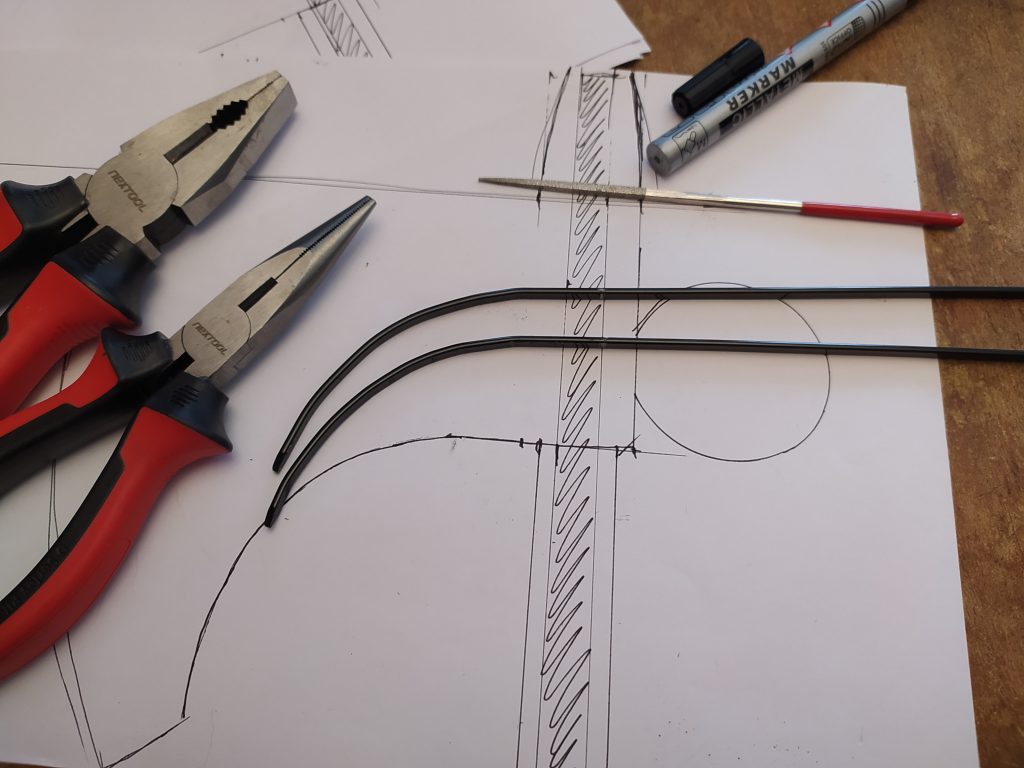
What is good for reinforcement – I needed thin steel sticks to take and dissipate the tension of the weapon lock, letting the EVA foam not feel too much of the stress. I found the best solution for this – grill sticks! Steel ones, of course. There are many types that are too thin and flimsy, but I managed to find two brands that are thick and with the proper amount of springiness. So… the construction began.

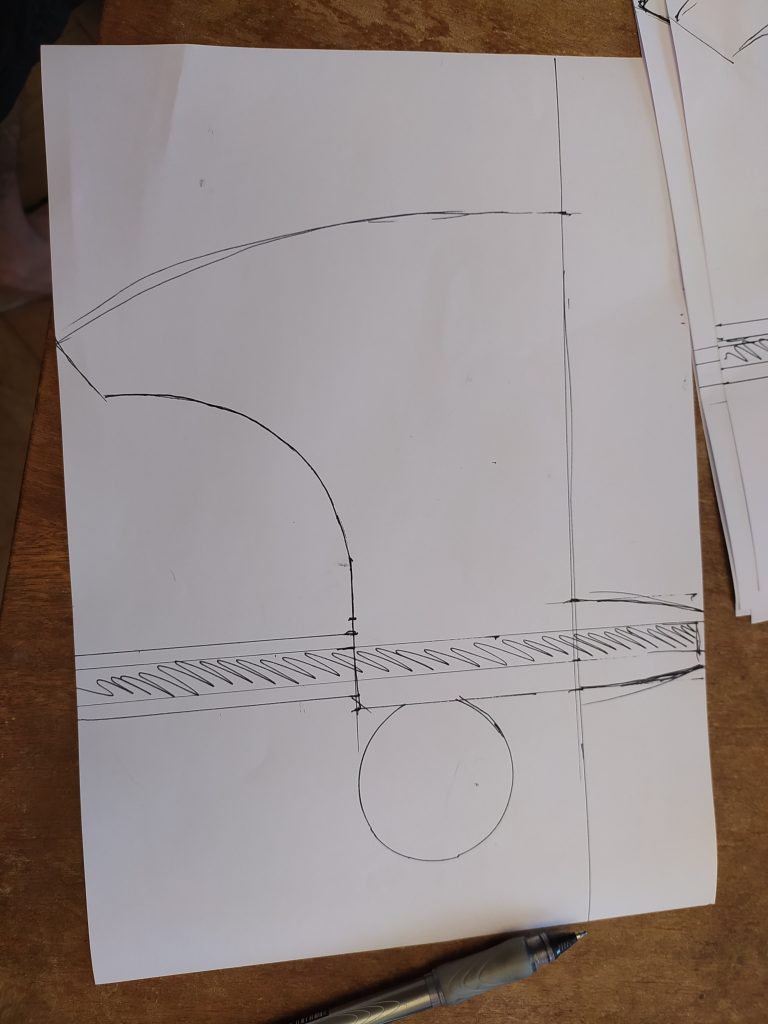
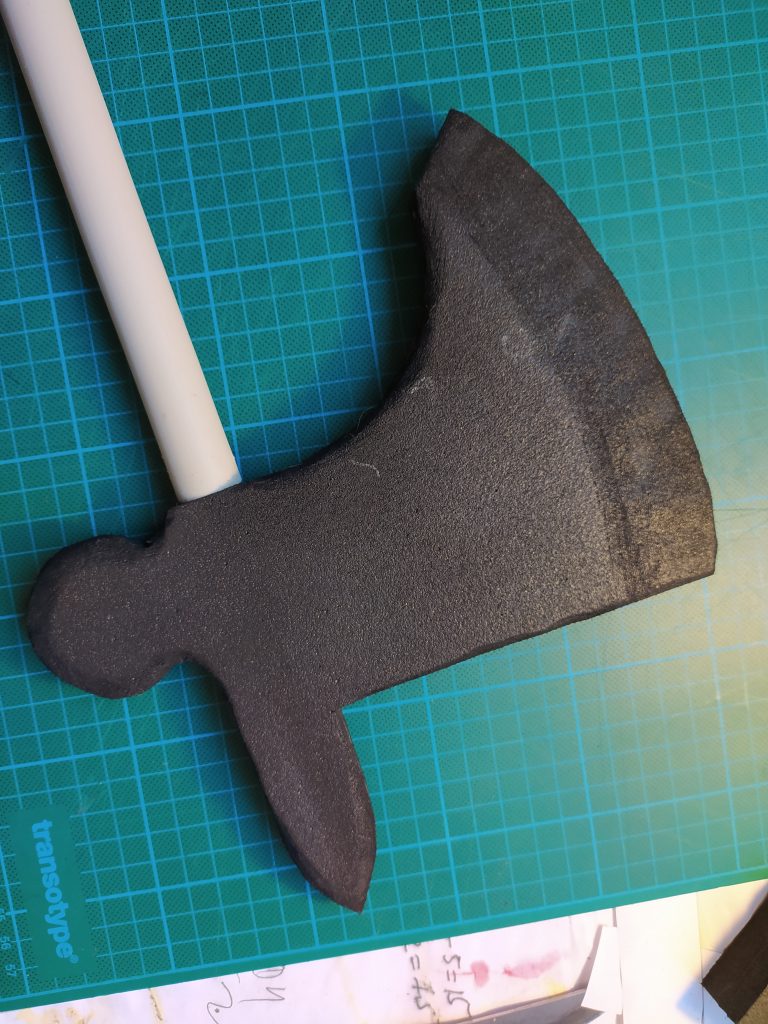
The design of the heads is very simple, at least when it comes to the blade. I wanted the beard to be less pronounced than my previous axes, mainly because, as it turns out, you CAN have too many weapon locks. Sometimes you just want to block a strike. So I opted for smaller beards and more control.

The advanced parts are the small hammer head at the back, because why not have something to strike with in that direction too, and also the spike at the top because, come on, why give up thrusting if you don’t have to?

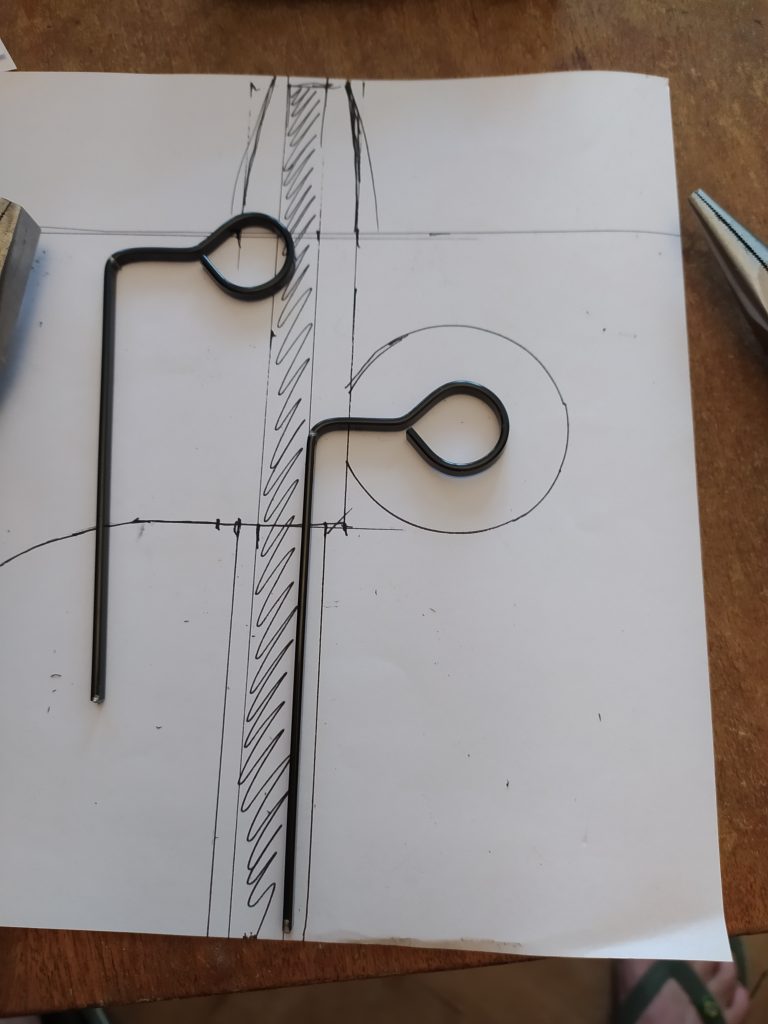
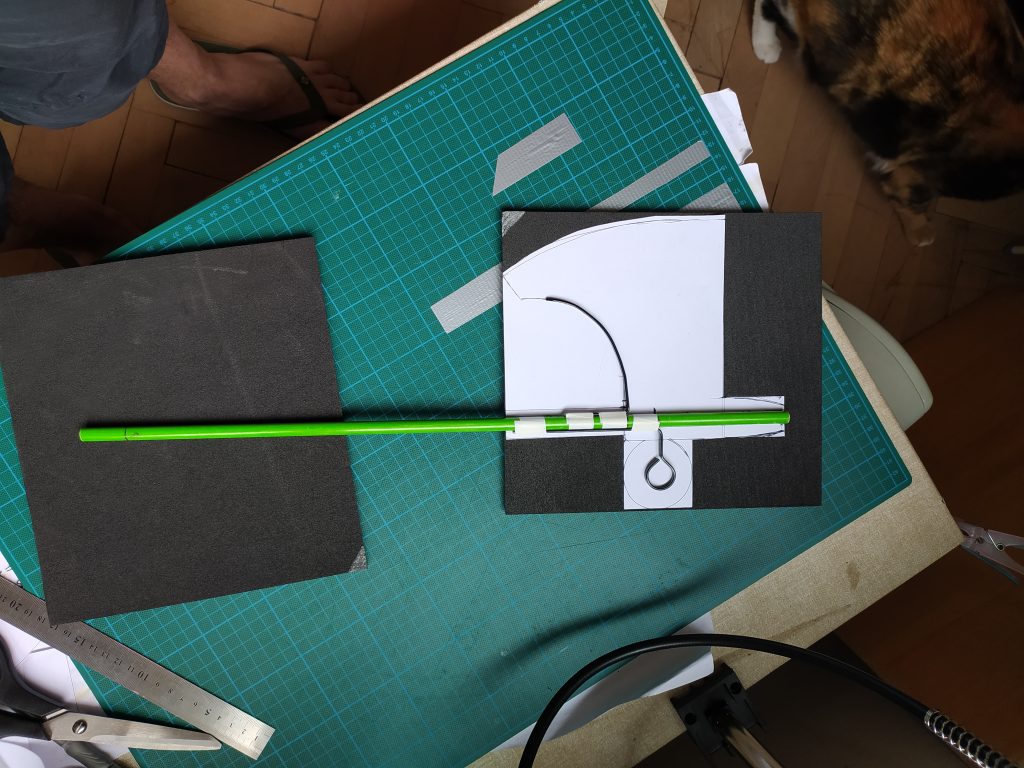
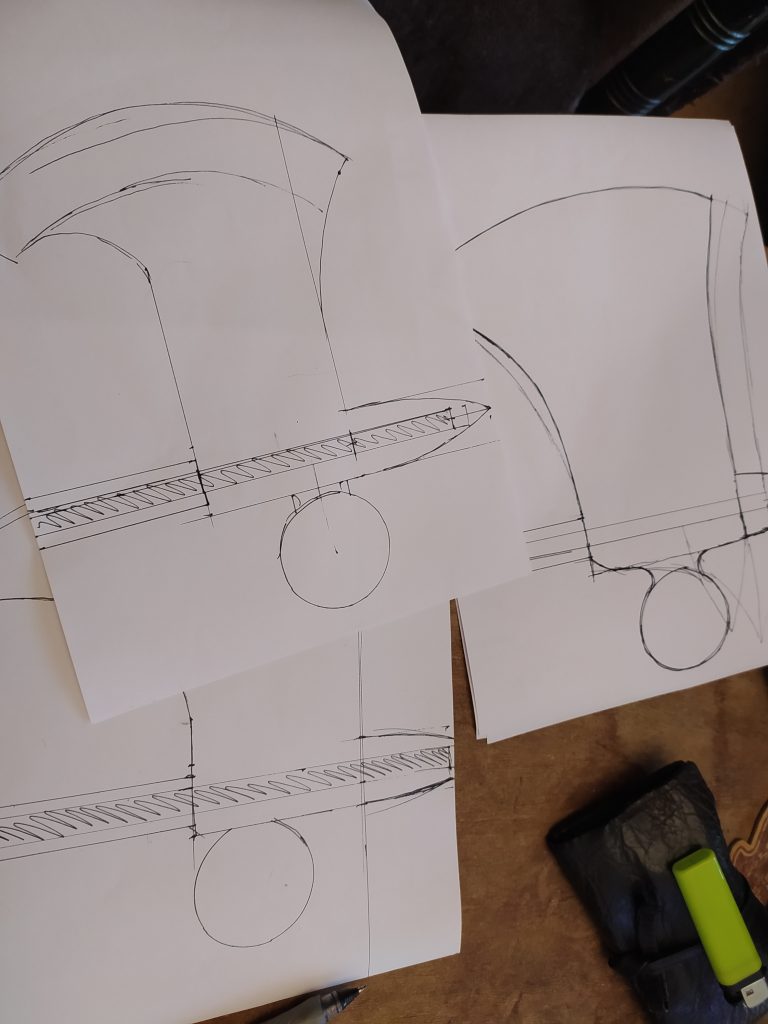
basic axe head design
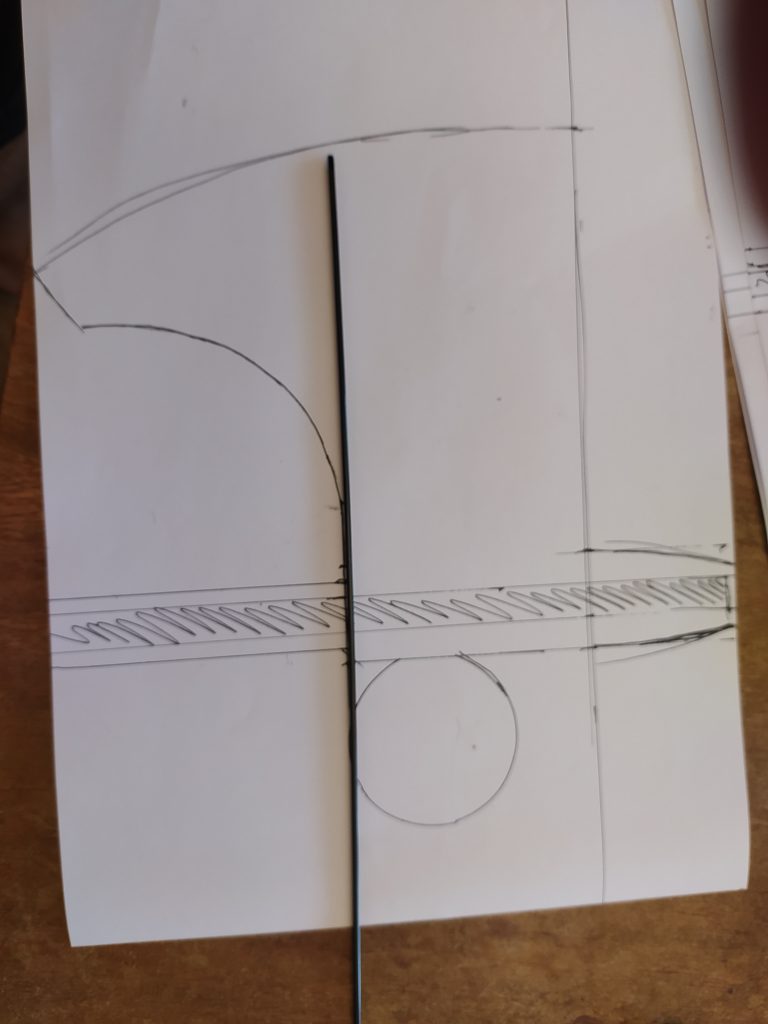
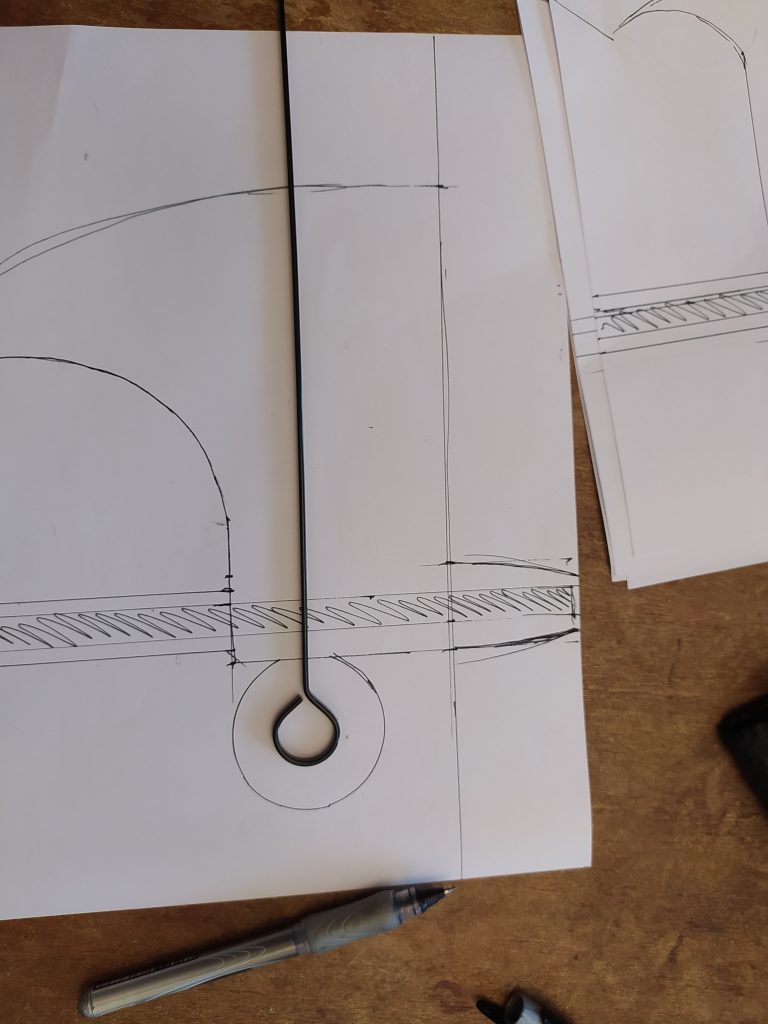
Here comes the grill stick. The ones I chose have a ring at the end, which is what the hammer heads are modeled after. Also, these sticks are flat profiles. They are stiff enough to not give in to a blow of a LARP weapon, but springy enough to dissipate some energy – if they were stiffer, I would feel too much of the blow in my wrist and also this have greater chance of damaging my opponent’s blade.

reinforcement basics

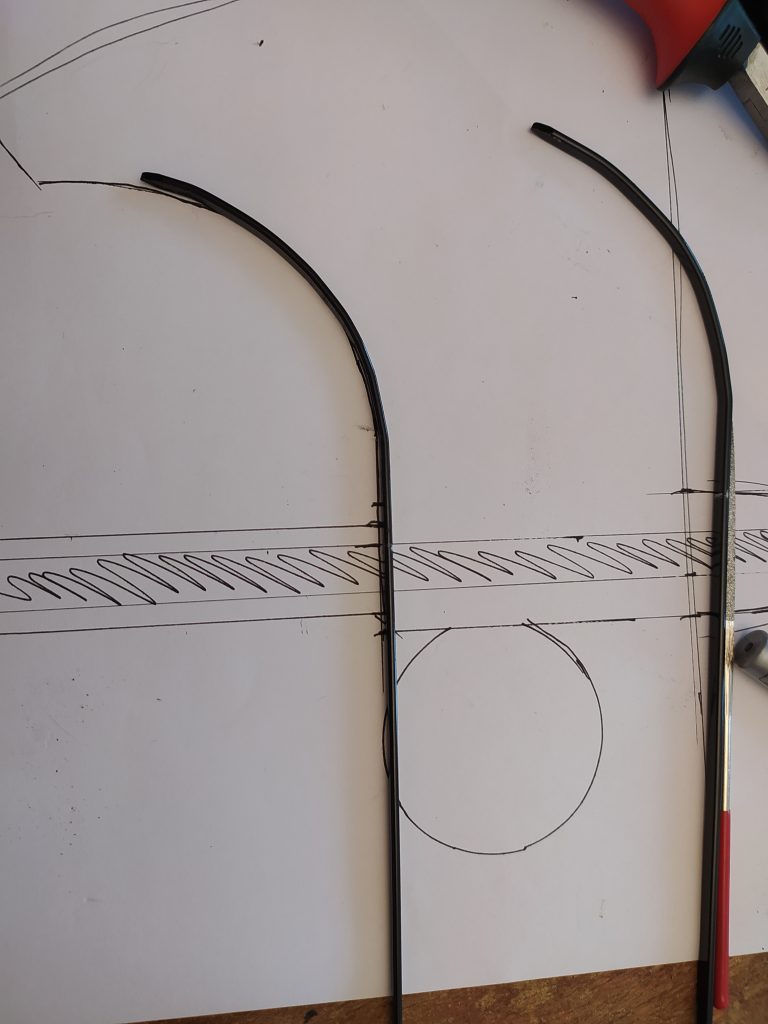
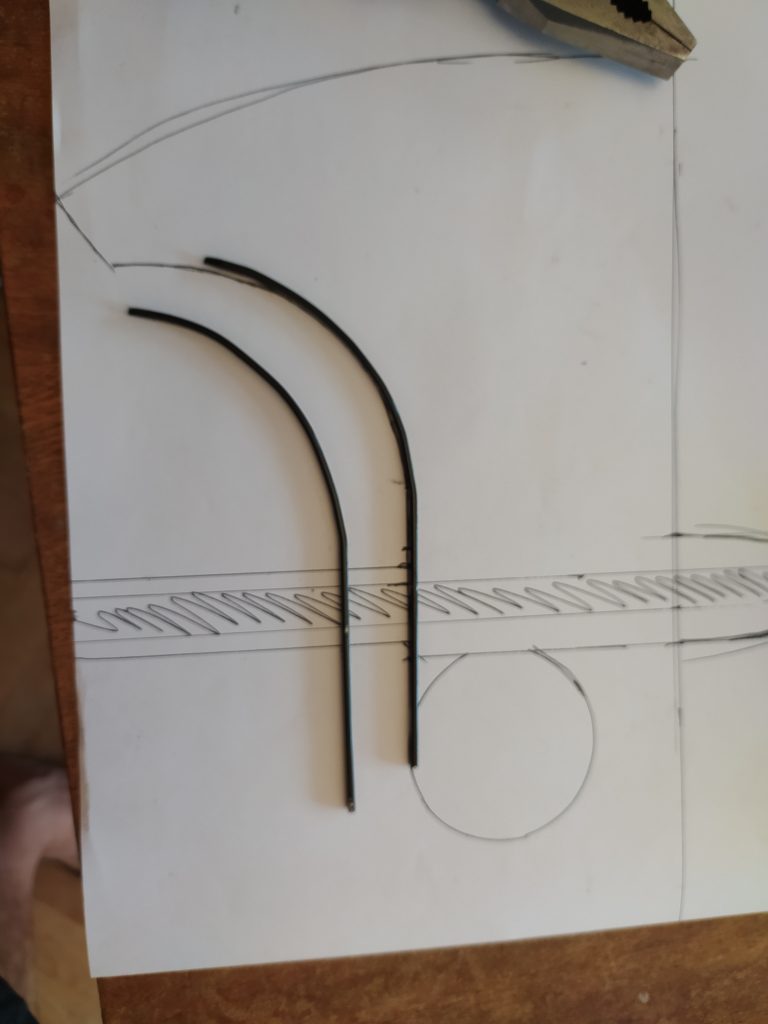
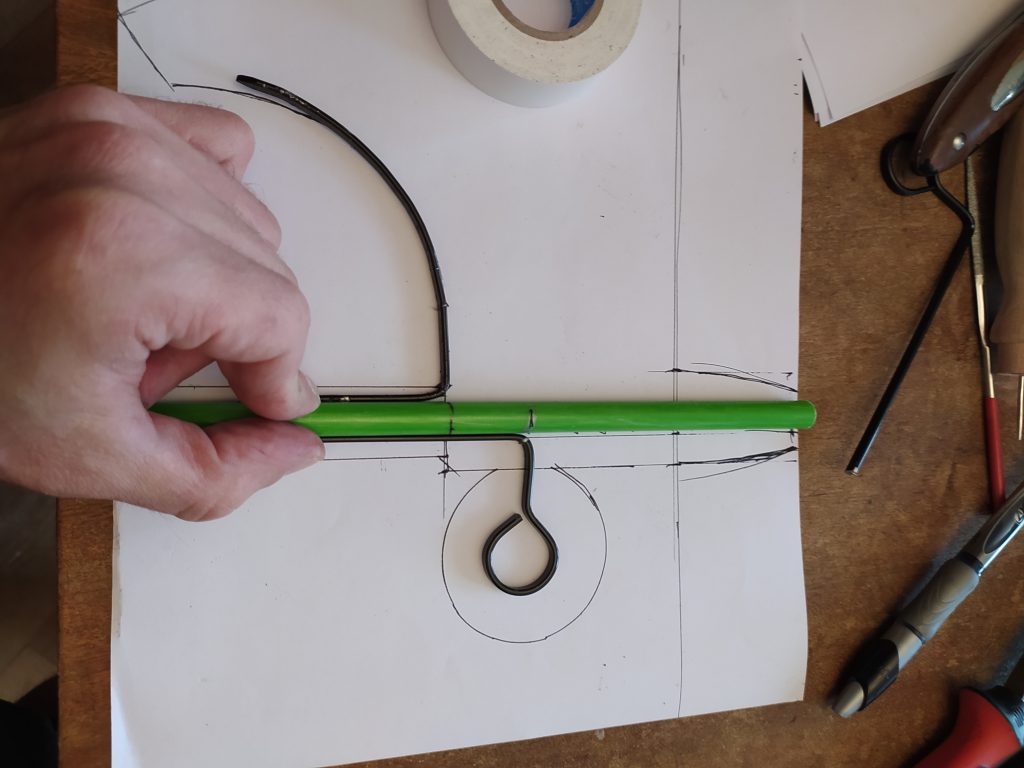
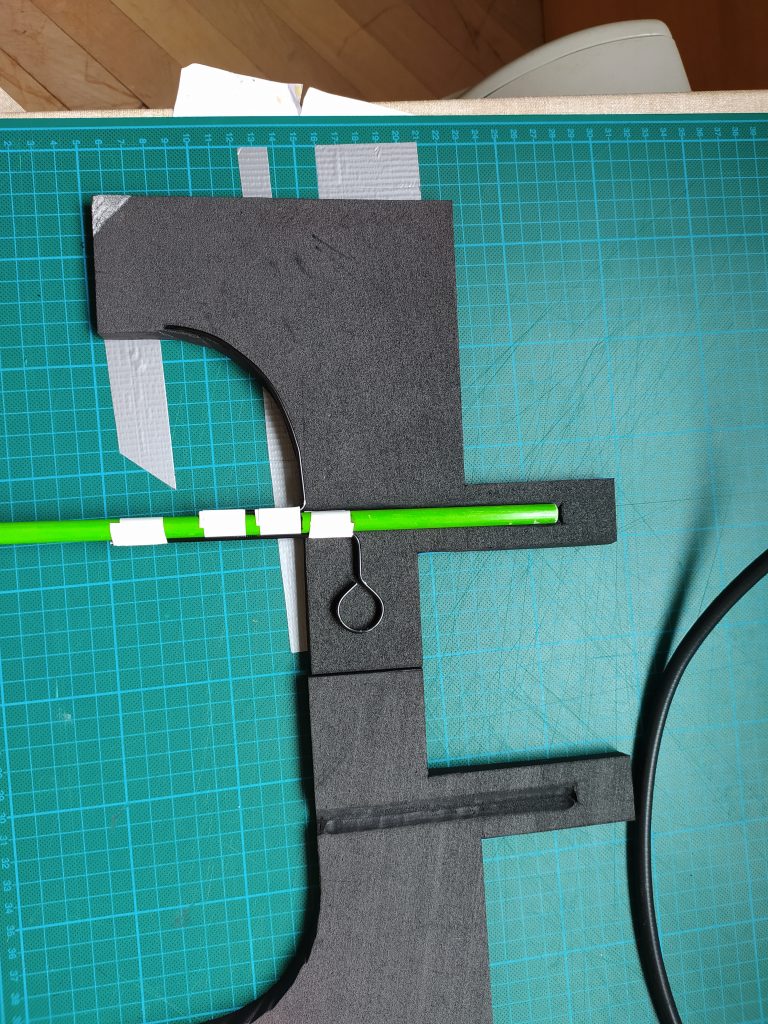
You can see that an axe takes two  sticks – one for the hammer core and one that would support the beard.

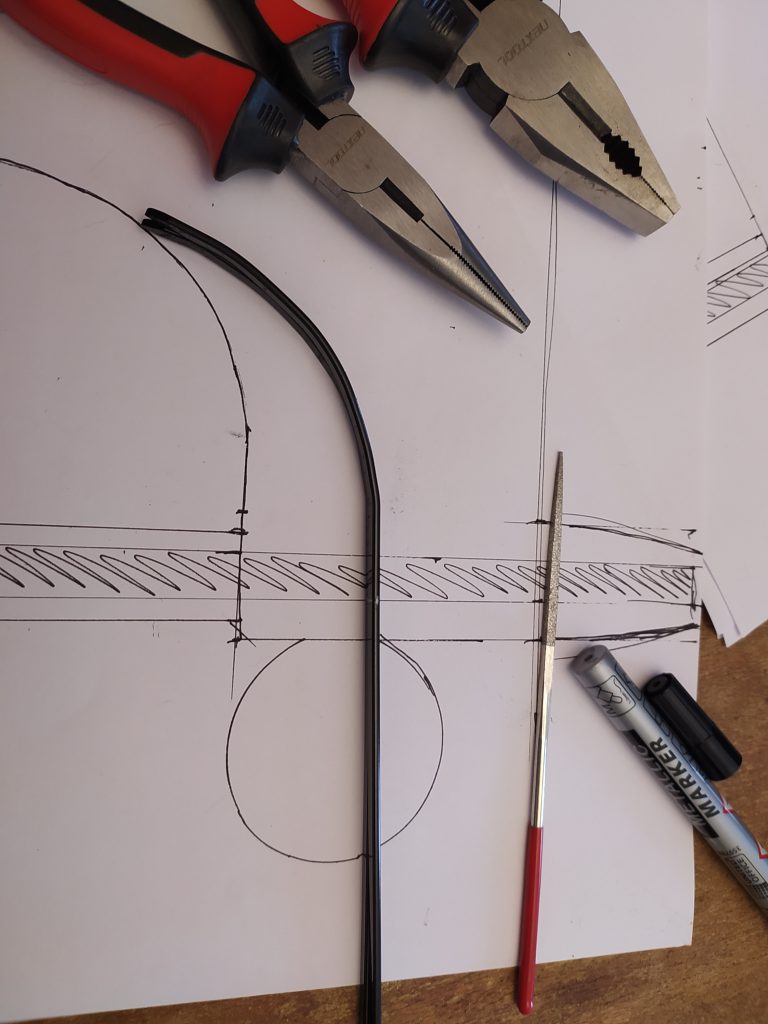
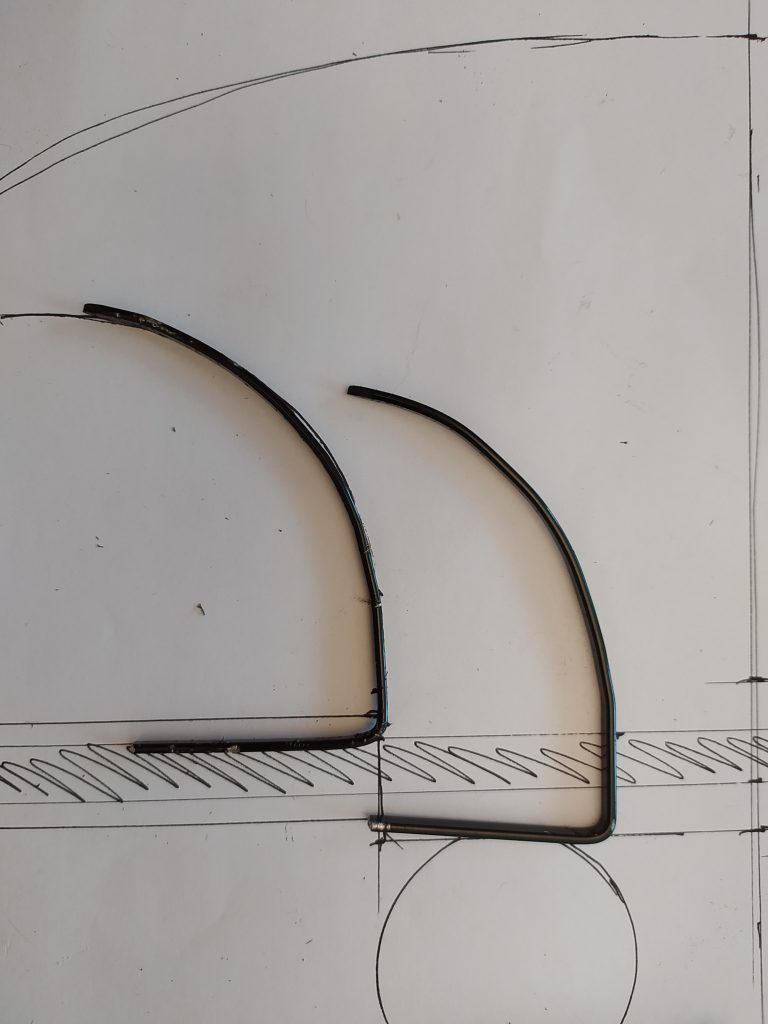
Some cutting and shaping ahead.


some shaping

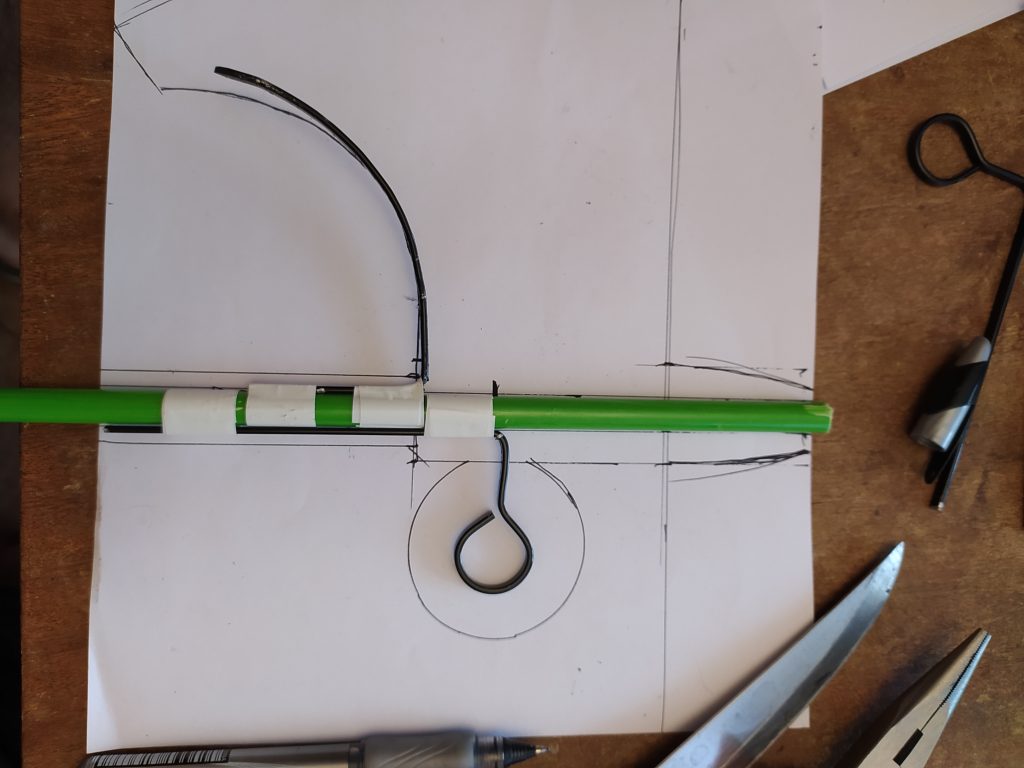
And then – stick it to the core! One good side effect of the flatness of the reinforcements is that it is really easy to take them to the round glass fiber core.

Unfortunately I can not glue the coated steel to the fiber glass, but I have left enough of the steel to get taped to the core. The stress at this part would be parallel to the core length, so tape would do fine.

core taping


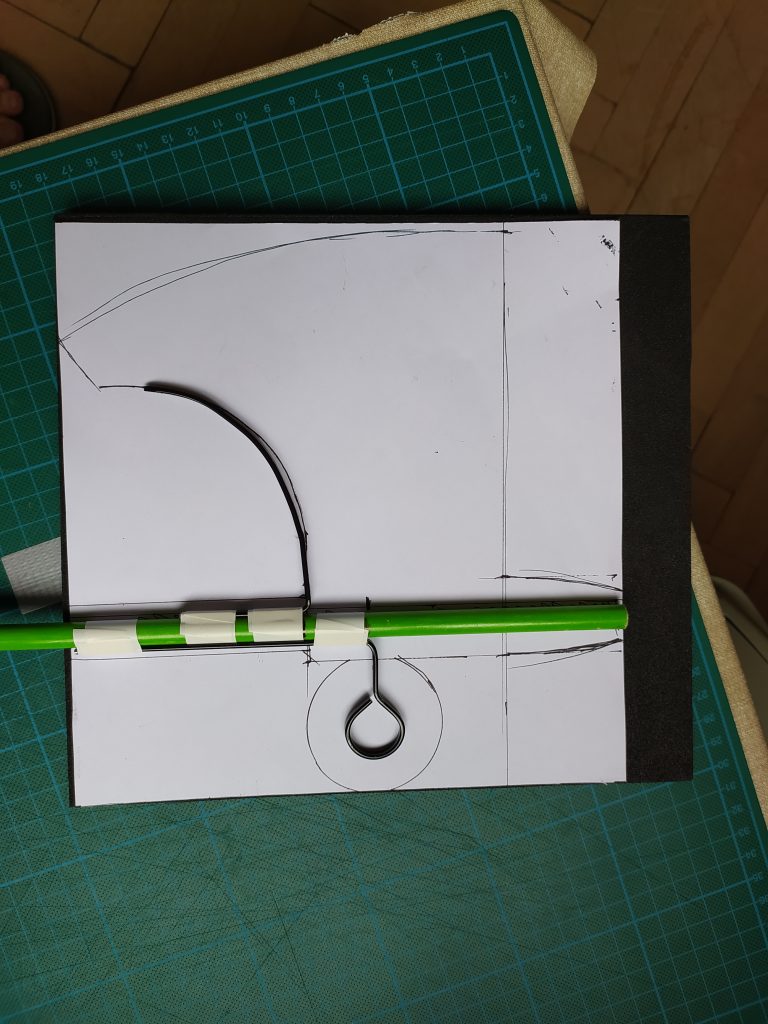
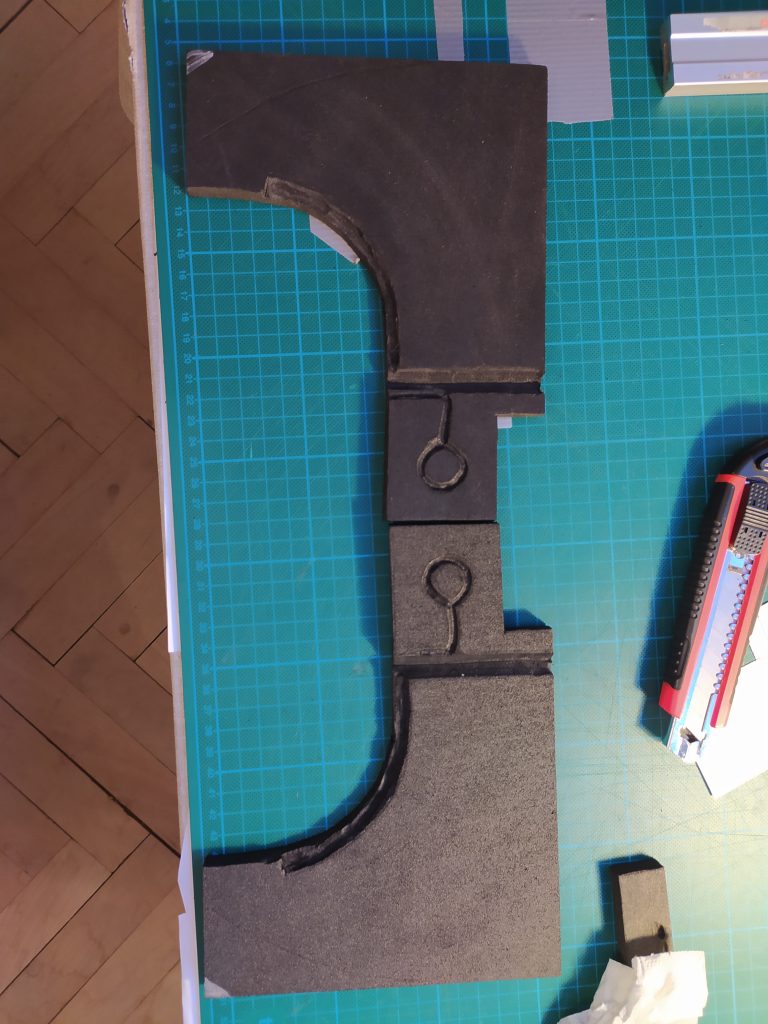
paper patternTime to get into the foam. I did not have suitable cardboard for the cut-out, so I continued using the paper model for the pattern. Not the greatest idea ever, but for an axe head it was not a problem.
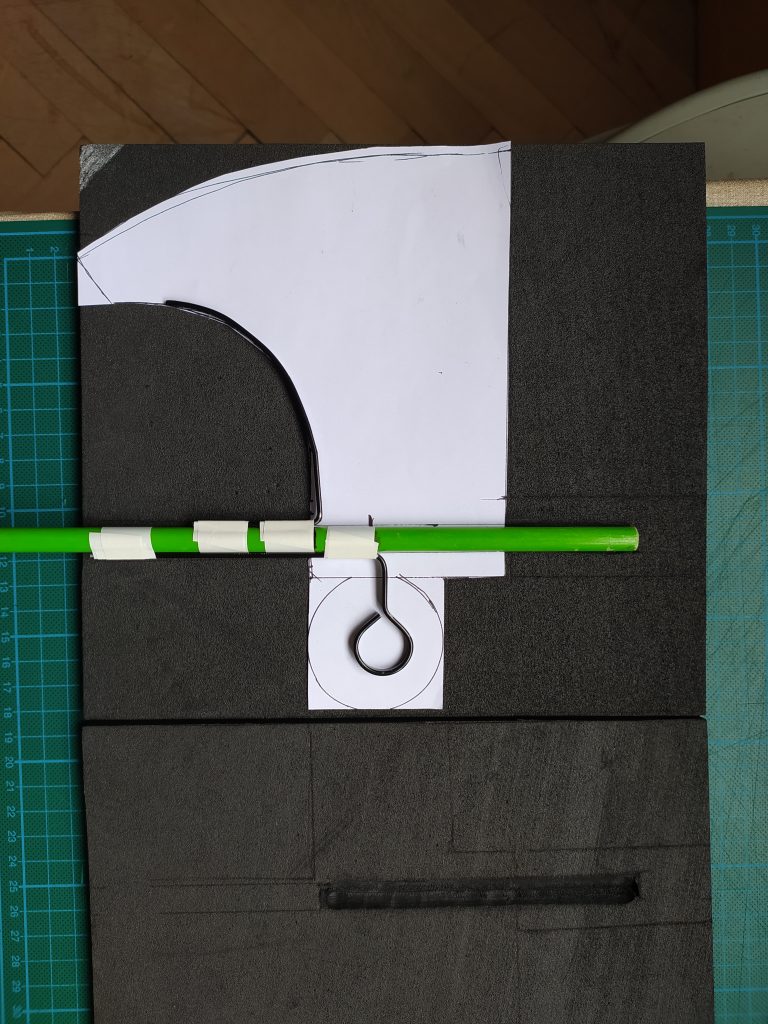
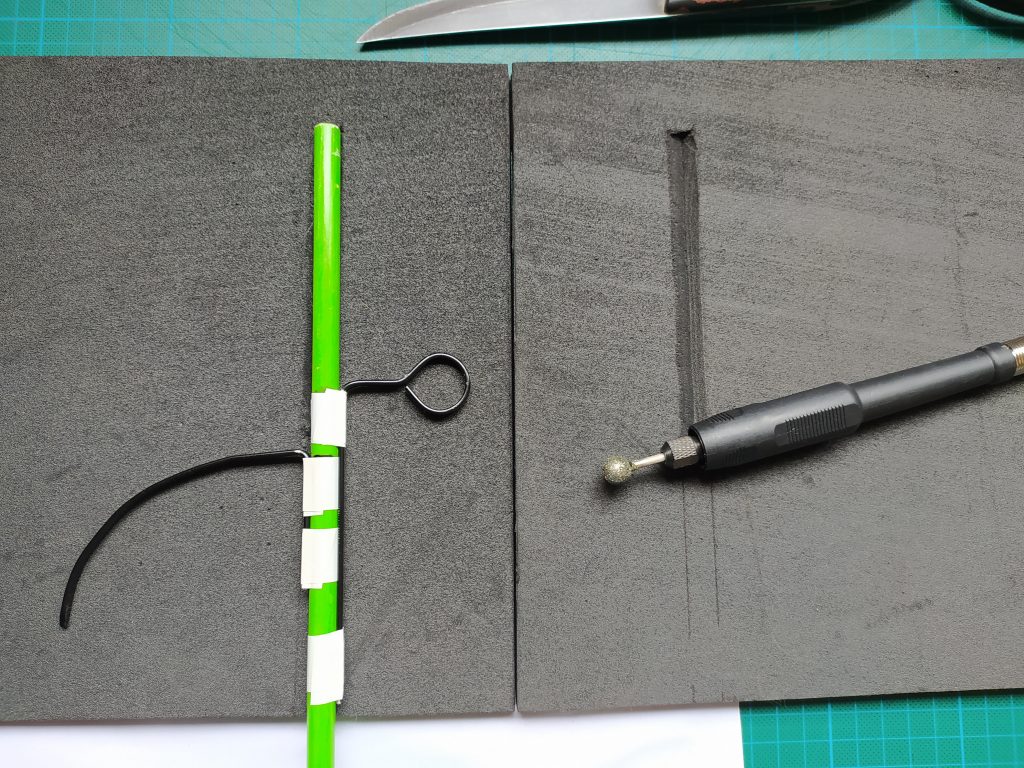
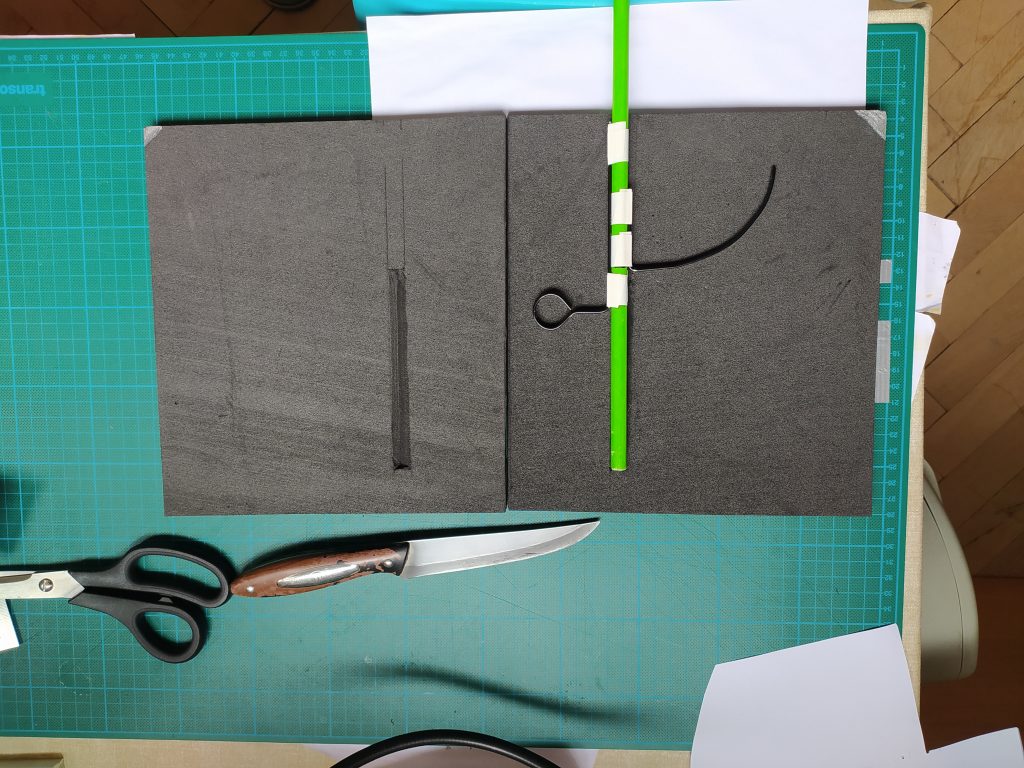
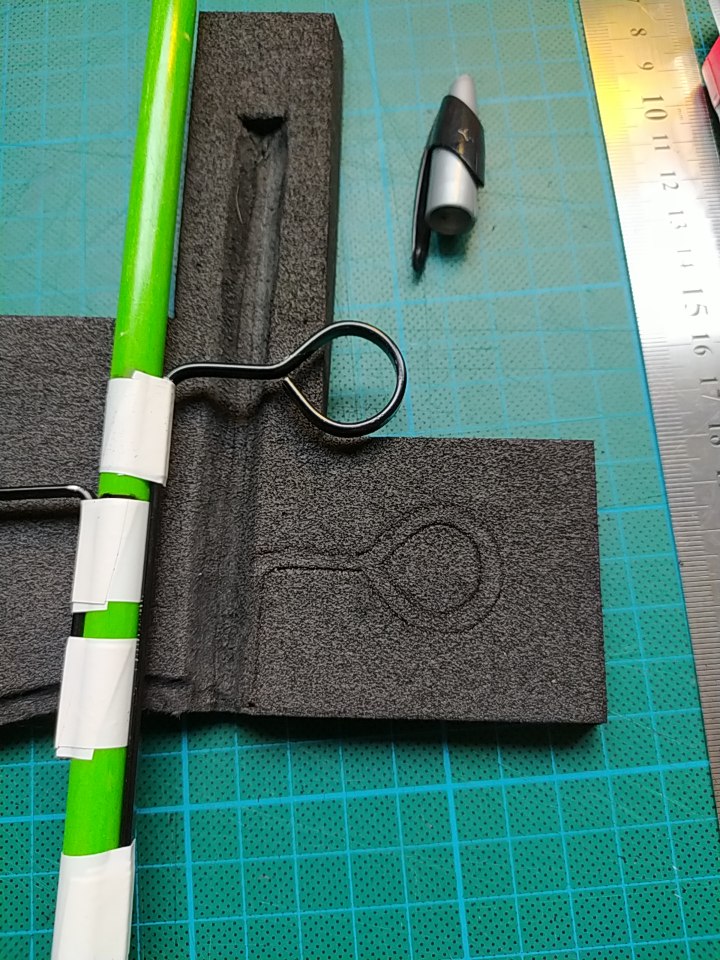
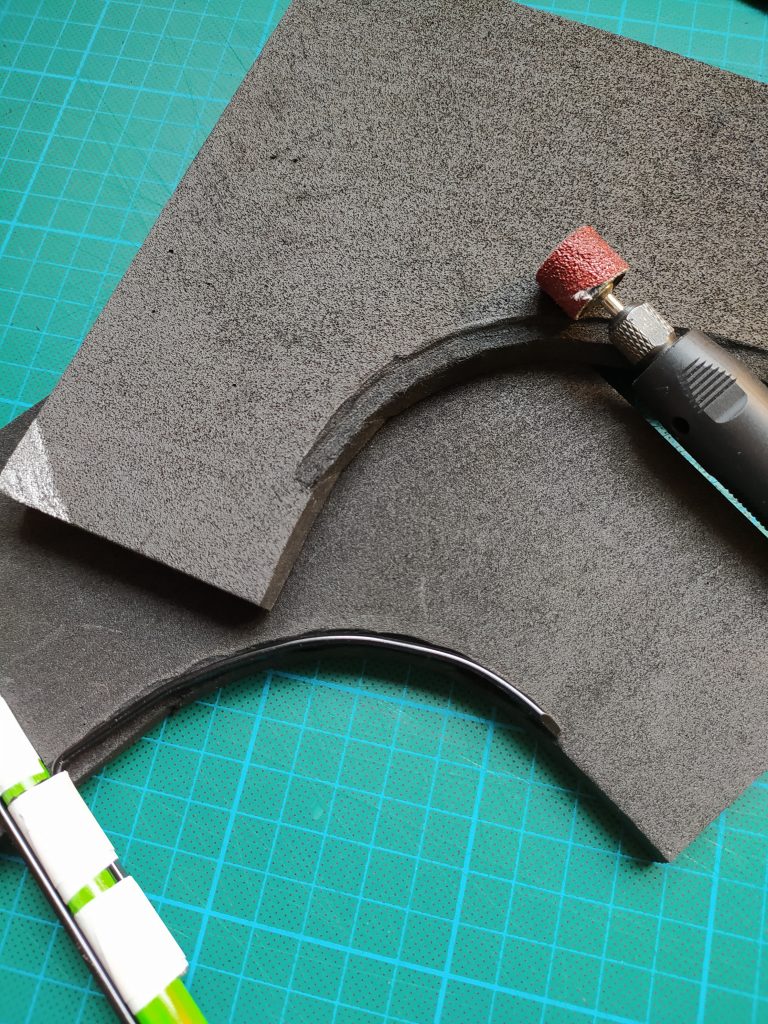
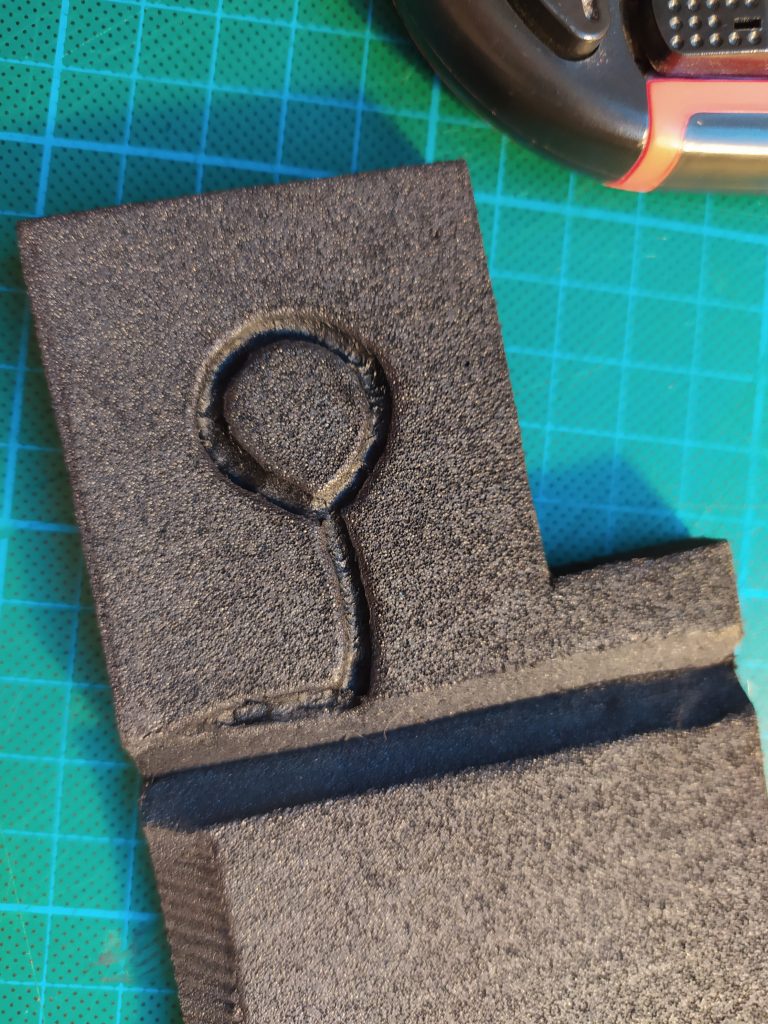
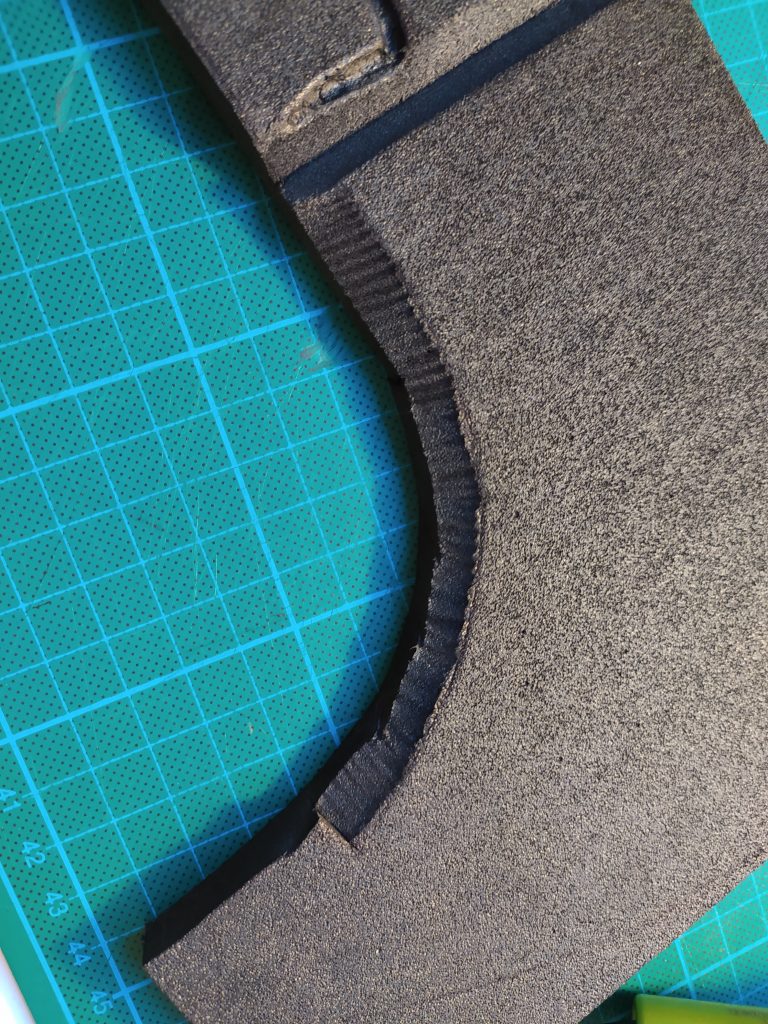
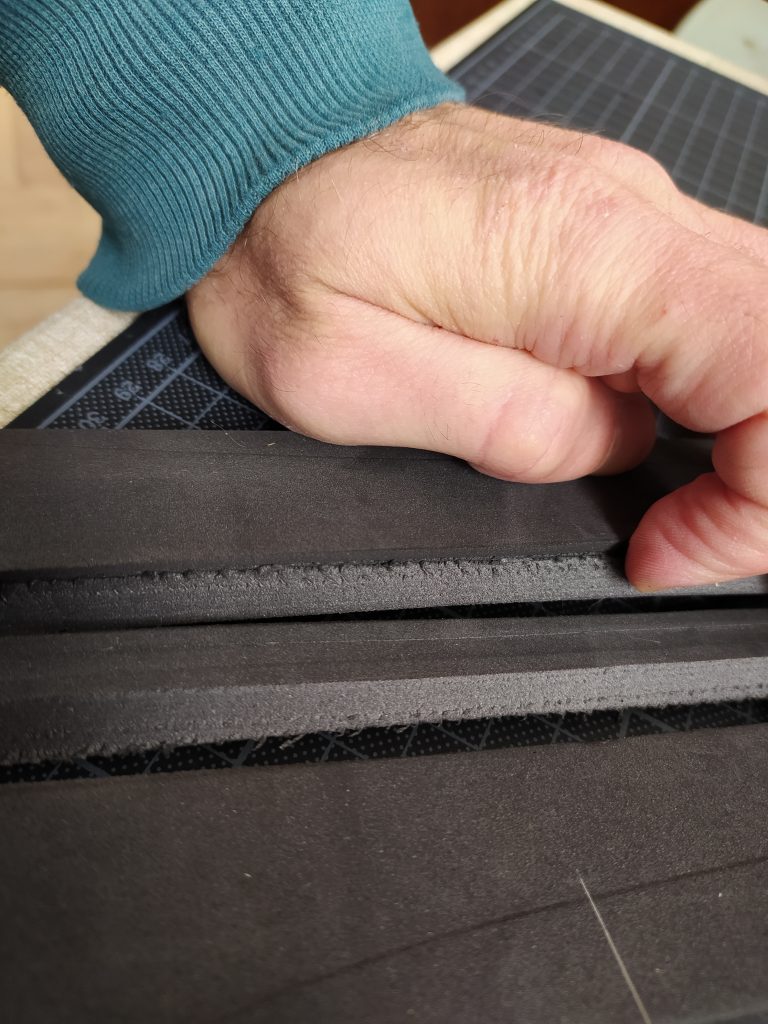
As the layering was two 1 cm sheets of foam, I needed to cut grooves for everything in the sheets. It’s fiddly, but I got to employ the newest addition to mt dremmel – a round grinding head (thank you aliexpress). It is not magical by any means, but it does help. I also got to use a heat cutter with a pointy implement at the end.

grooves grooves grooves

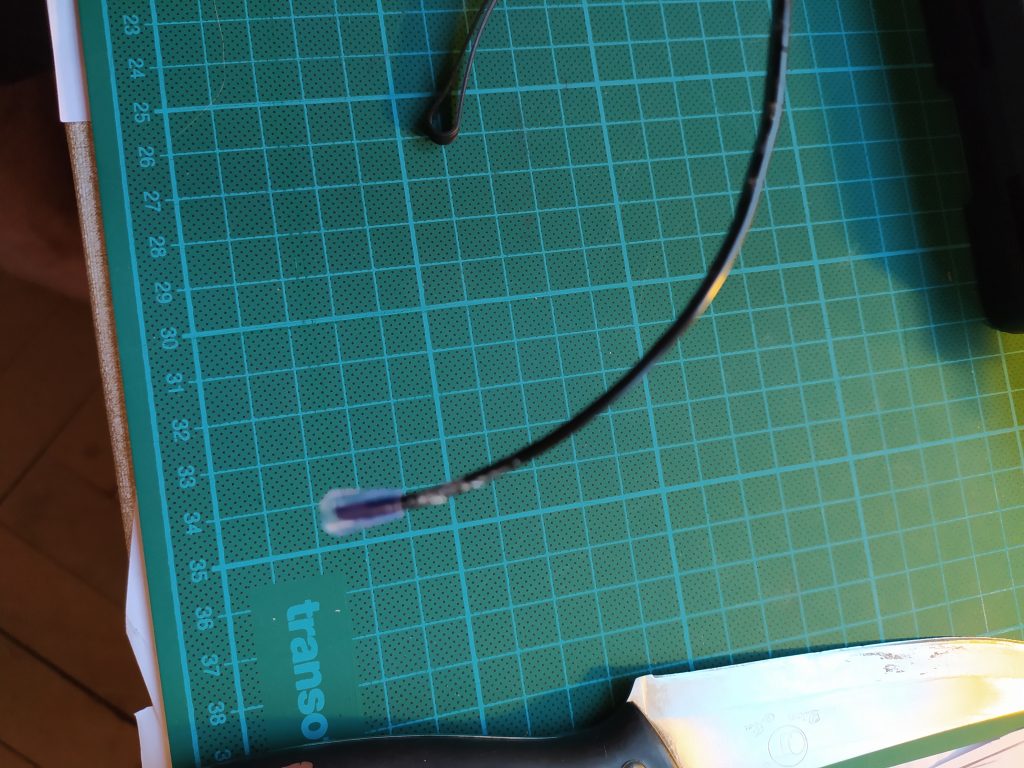
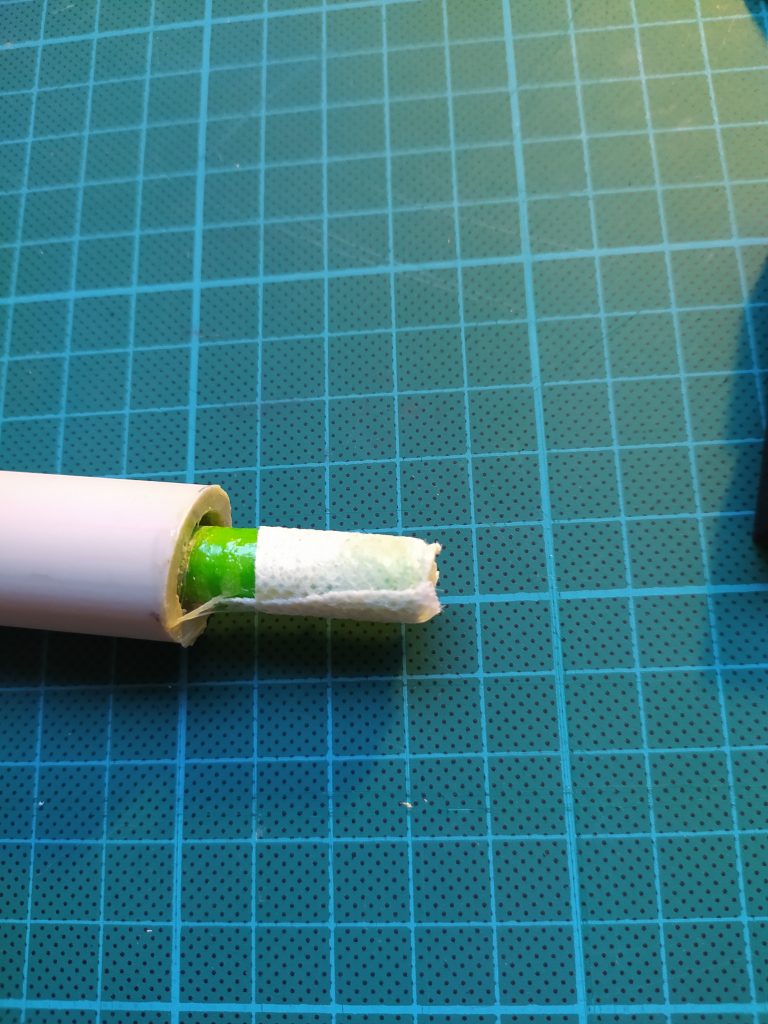
Quite importantly – the grill stick came with safety caps for when you store them after use (or, more likely, for safety until you buy them and loose the caps after first use). That was nice, because I got to use the caps for safety.

In addition, there are two strips of 3mm foam below the reinforcements to prevent it from sticking through the ductape after some unfortunate accident.

safety cap

Then… stick the core in the pipe of the handle, get your knife and go medieval on those forms. General shape, bevelling, you know the drill. I did not do particularily good job on the bevelling, but it turned out I was out of new blades and I did not feel like stopping for the day to go buy new ones. Momentum is important.

Good thing is that you can sand it afterwards with the dremmel. “Bury your sins”, as Adam Savage puts it.

cutting and bevelling

The last one is after the heat gun – to smooth the cuts even more and to close the cells of the foam nicely.

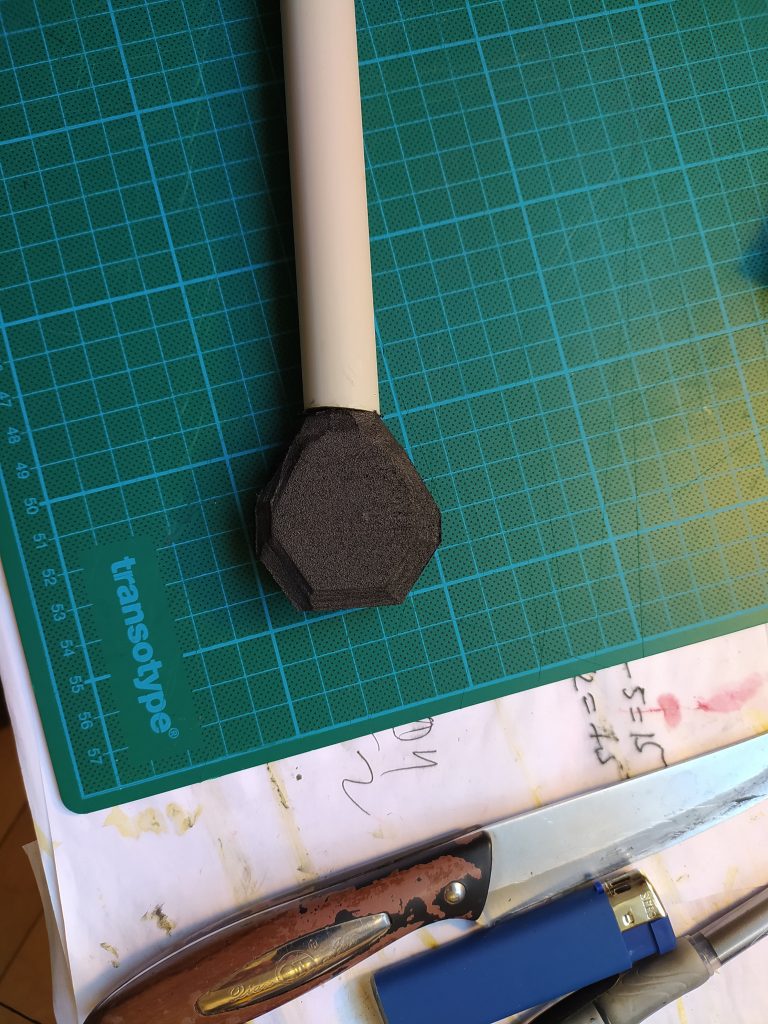
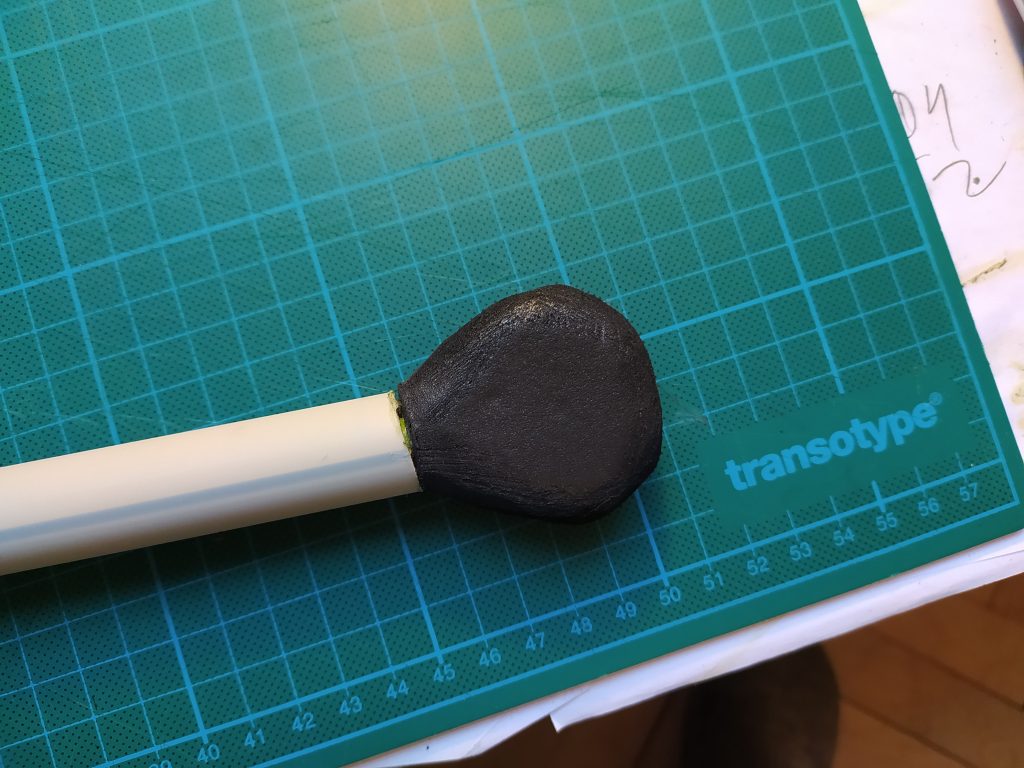
The pommel also gets part of the core, for stability. I found that I do count on the pommel when fighting to stop my hand of sliding off so it does take some stress, even though not too much.

pommel


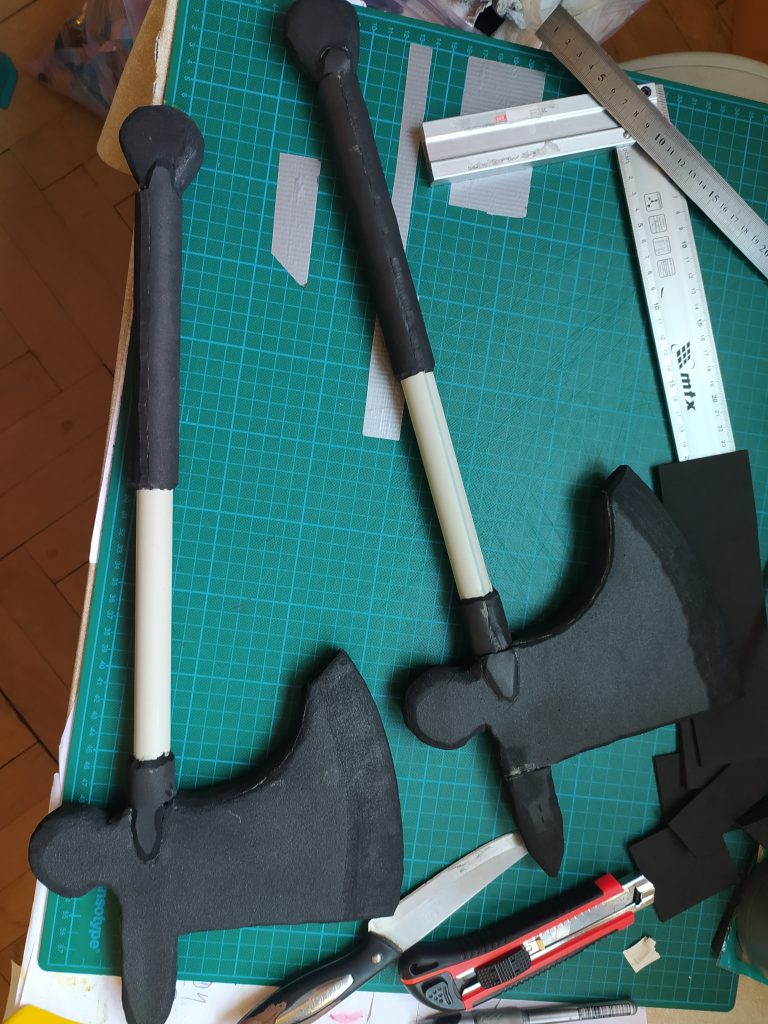
Lastly – some leather cover for the handles and we’re done. The half that’s close to the pommel is a bit wider, just for easier gripping. A layer of 3mm foam did the trick necely.

For the cover I got to use two different pieces of leather, for fancyness. I think at the end it worked out well.

handles and leather


P.S. A note about the use of the axes. I did mentioned that my initial idea was to fight with two short axes. It does indeed feel very cool, however during training I wound that I have to make a compromise for the sake of efficiency.

My current setup is one of those axes in my main hand, put forward. I use it to deflect and lock. In my non-dominant hand is a short sword that takes on the role of attacking from the back row, so to say. I’ve developed a somewhat reactive fighting style, heavily leaning on defense. My dominant hand takes the opponent’s blow and, preferrably, locks the weapon. Even without a lock I use the beard of the axe head to control the blade and push it aside, while simultaneously rapidly getting closer and attacking with the sword. Even if I can not get closer, whenever I manage to take the opponent’s blade aside, the arm becomes an open target for my sword.

For the sword part I casted one of the training short swords I made, but in time I’ll make a new one, specifically for that purpose. There is one important requirement. My fighting stance (for one-on-one situations) is similar to the HEMA long sword one. The shoulder of my dominant hand is forward. I found that ideally the point of the sword in my non-dominant hand (when in stance) precicely reaches the point of the spike of the axe. This way I am one shoulder forward which is good for my footing and movement and stability and for me being smaller target, but I have equal reach with both weapons. Drawback – I can not lunge with the sword, I can only do that with the axe, but that’s what the spike is for. Can’t have everything, after all.

I do plan on working on that technique and turning it into a stable fighting style. It looks promissing and, more importantly, it looks cool!

The sorting tree

After I stopped trying to improve on the performance of crystal sort (https://mossgoblin.com/sommath/2021/06/25/sorting-them-numbers/), I was left with the idea of the unused sorting algorithms.

See, the thing is, once the ball is rolling (the ball of finding the best solution of a problem, that is), it doesn’t stop to make sure it has covered all the path beneath it. In fact it doesn’t roll, it bounces. And wherever it touches the ground you have your next best solution. So a lot of ground never gets touched. You know how high the bar currently is and you know where you should start thinking onwards if you want to raise it even more. So, I think, there’s enough uncharted ground beneath that high performance bar for one to wander about.

Meaning – there are a lot of low hanging fruit to be picked, if you are so inclined. The point? Well, there’s exploration. That’s reason enough in and of itself. For me it is almost the same as finding yet another proof of the Pythagorean theorem. Not that anyone needs it, per se, but boy would I be proud if I found one!
I would not be as proud to find a relatively slow sorting algorithm, but it does please me enough.

Hence – Push Sort.

(to be properly documented and repo’d)

Again (as with crystal sort) I named it myself. Even though undoubtedly it has been by someone considered half a century (or more) ago, it is clearly not clever enough to be performing well, so it has sunk in obscurity.

It is a very brute force approach and I was surprised that it ranked in the middle of the test table – I gotta cite some data, but if I remember correctly it was somewhere around merge, I think. See the comparison algorithms I used in the readme of crystal sort’s repo (I reused the benchmarking base).

The idea is very simple – take the elements from the bucket one by one and move them into a sorted bucket, placing them in the correct place within all other already placed elements. Let’s say you choose to sort ascending. You take the next bucket element and compare with the first sorted element. If the new is smaller or equal, insert it there (place in at index 0 and shift the others). If it is larger, repeat comparison with the next. If there is no next, then you have the largest element so far, so place it at the end.

As I said – it works surprisingly well. No trailblazer, for sure, but still.

Anyways. I have more to say about the low hanging fruit, but I’ll leave that for some other time. May be with the next mediocre sorting algorithm.
 

P.S. I should start using pseudocode and code blocks here…
Elegant 2.0 – tape finish and result

I skipped a photo, I think. There should have been one showing the rough cut.

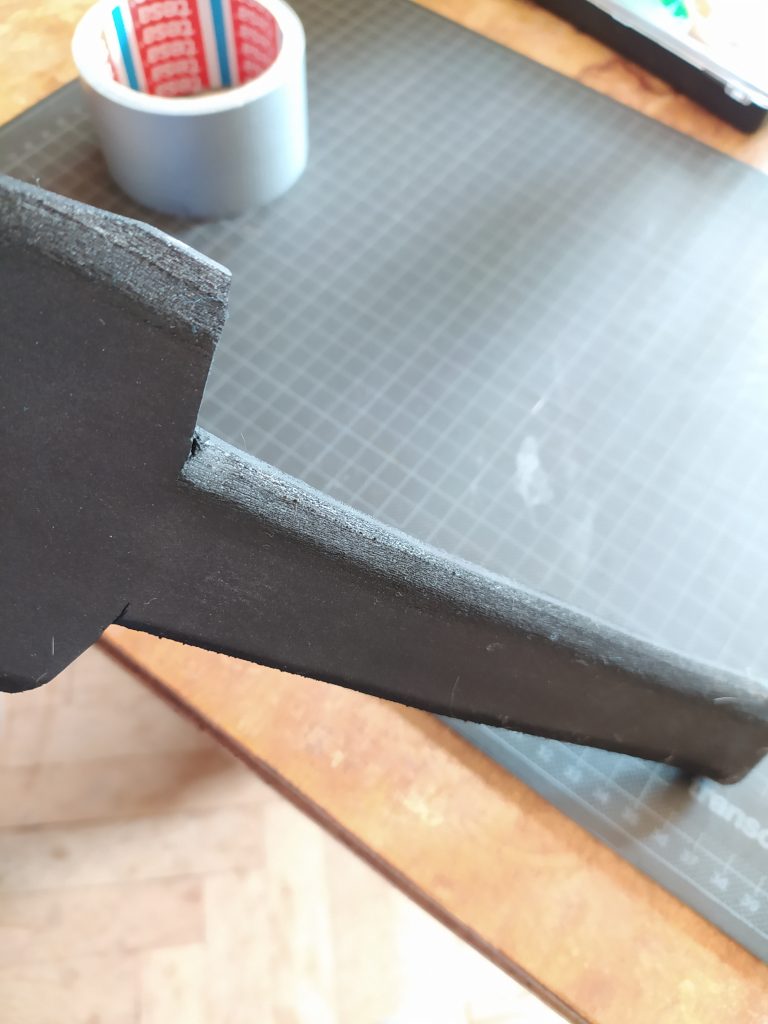
Anyway, it was (as it should be) the most nerve wrecking part, cause you can’t undo the cutting. And the experiment with a double core made me anxious, because I had 20mm I had to avoid in the middle, instead of 10mm.

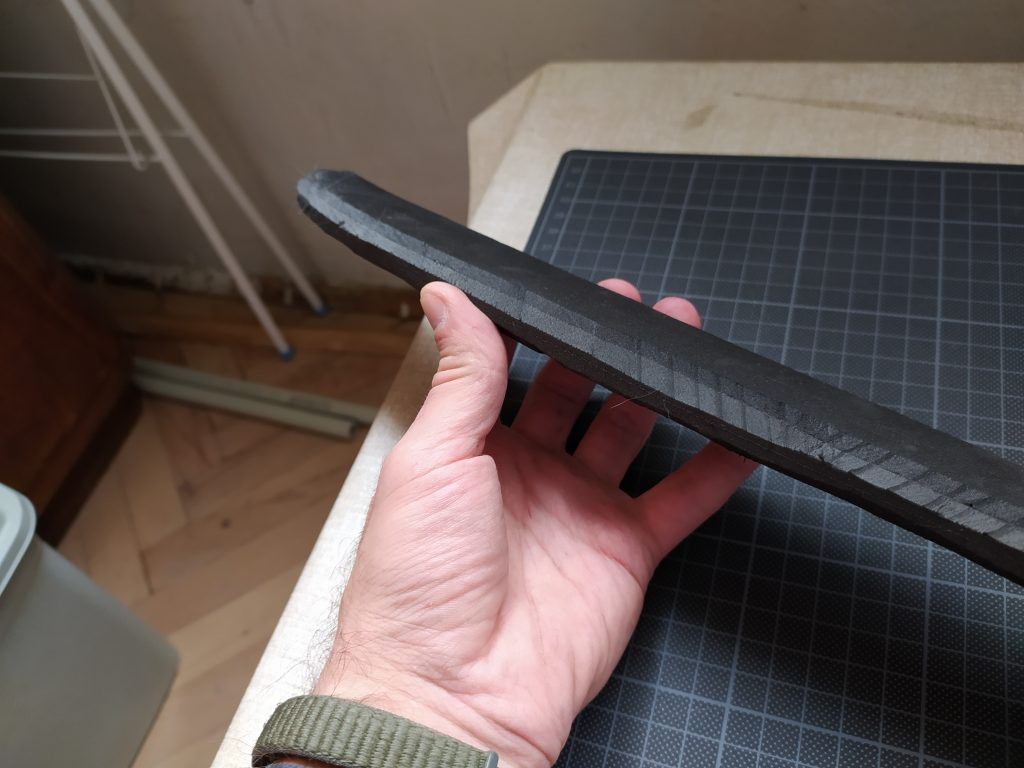
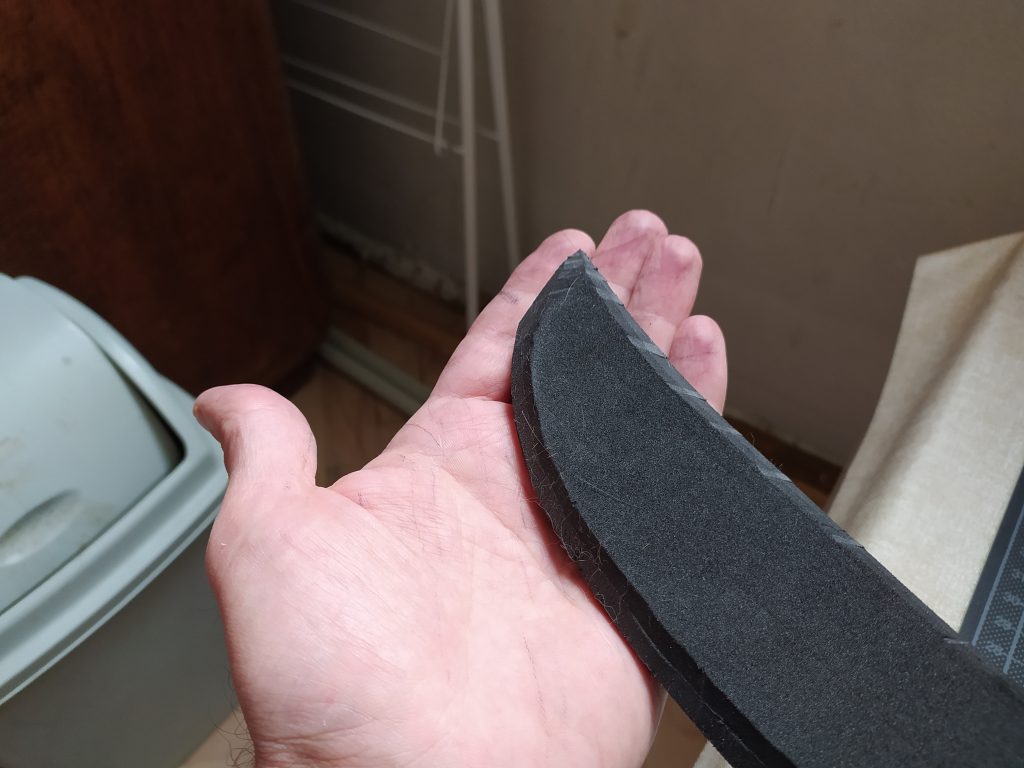
Anyway, I cut the shape, then beveled it as much as I could. Here is when I found that the core is too long, should have kept it ~30mm shorter (see at the end).

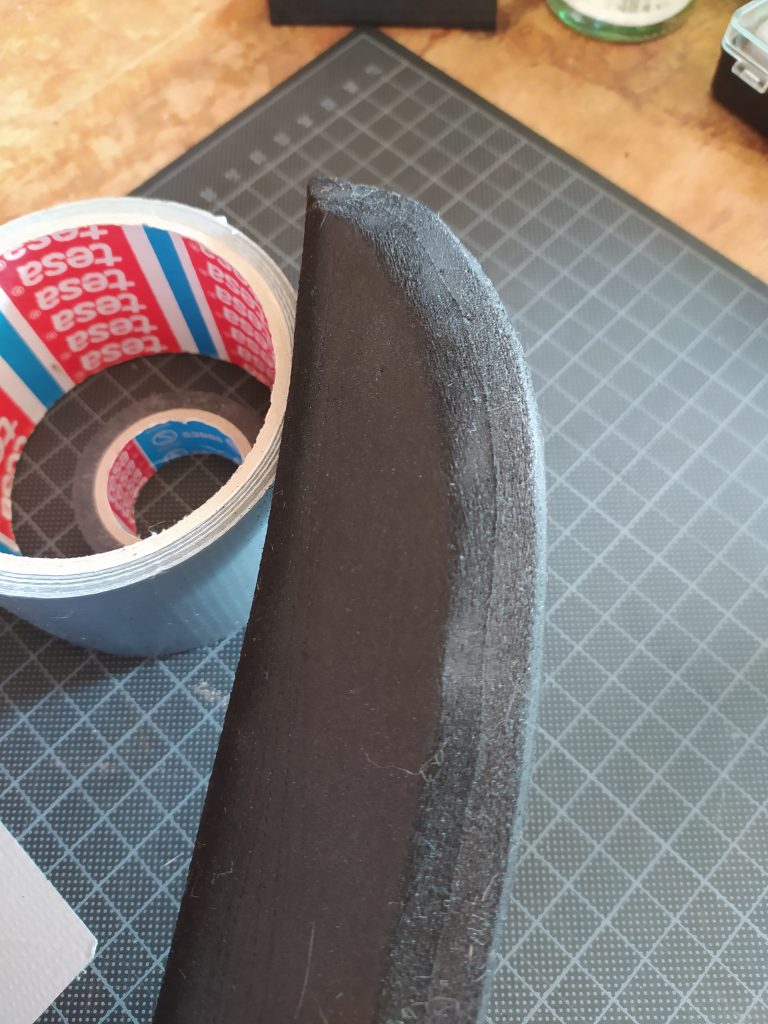
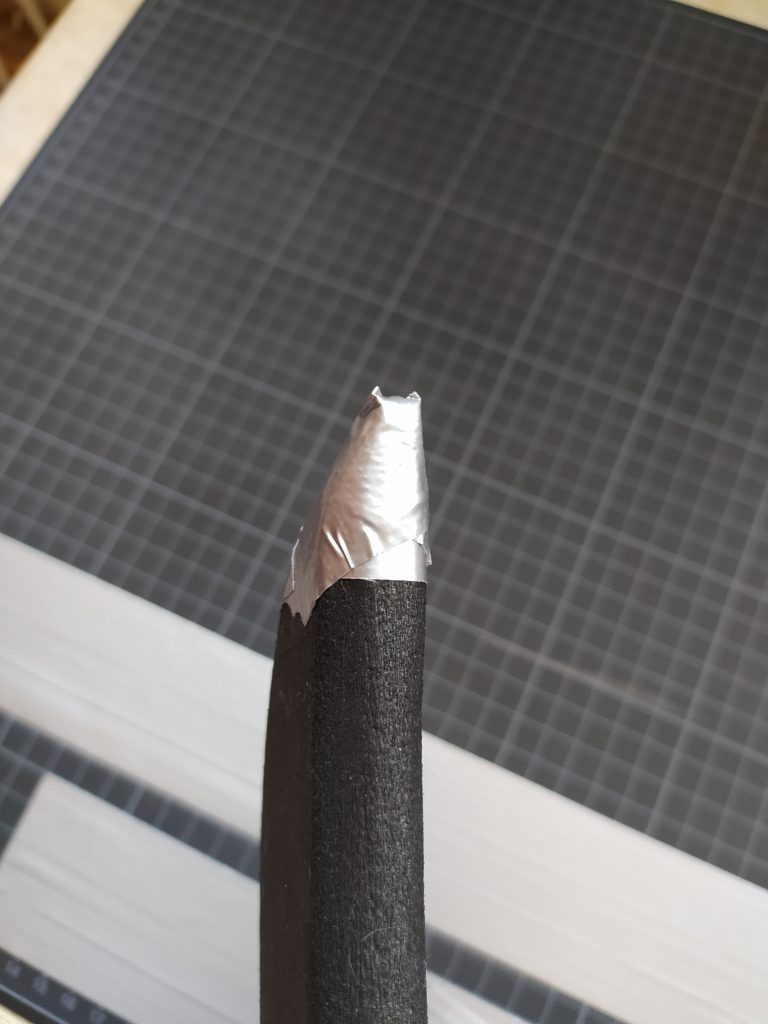
Here’s the tip after beveling:

Then… the hell begins.

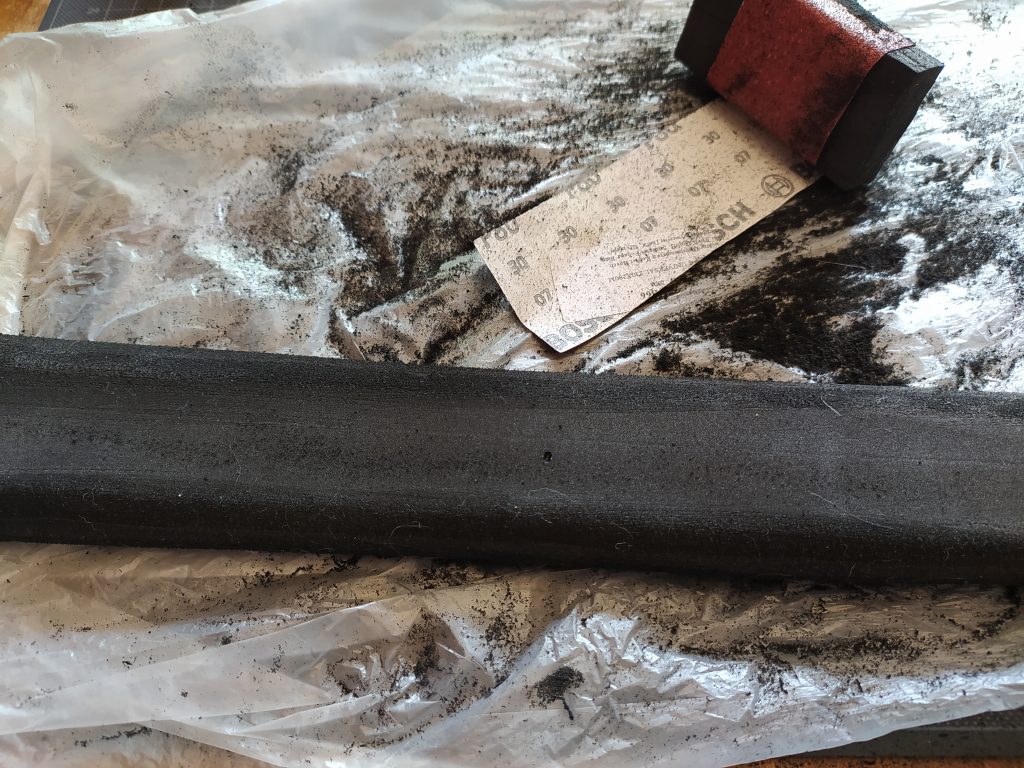
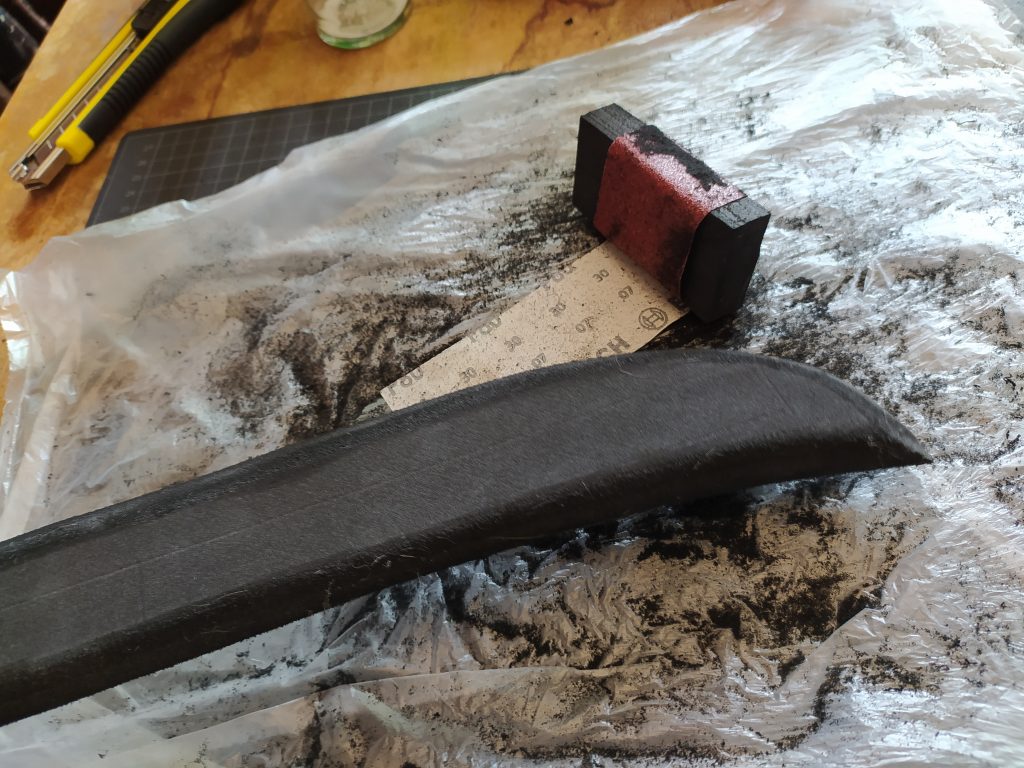
I don’t have a belt sander (nowhere to mount it, at least) and I currently don’t have a rotary tool, so I had to do the sanding by hand.

Technically sanding was not necessary for a training sword with a lot of new and untested stuff, but I did it for the XP.

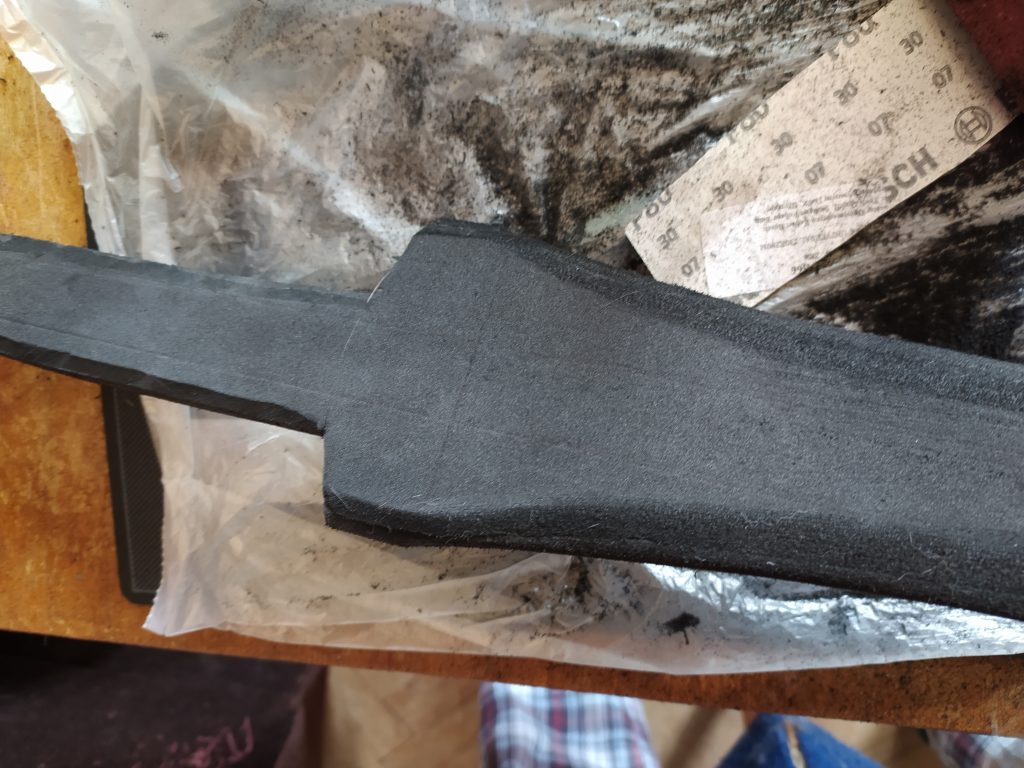
And yeah, 100% density EVA foam makes a mess.

The good thing is that the dust does not pick up static electricity. It inevitably ends up beyond the boundaries of your working area, but at least it’s easy to vacuum later and even clean by hand from the smooth surfaces.

This part of the process is wide open for improvements.

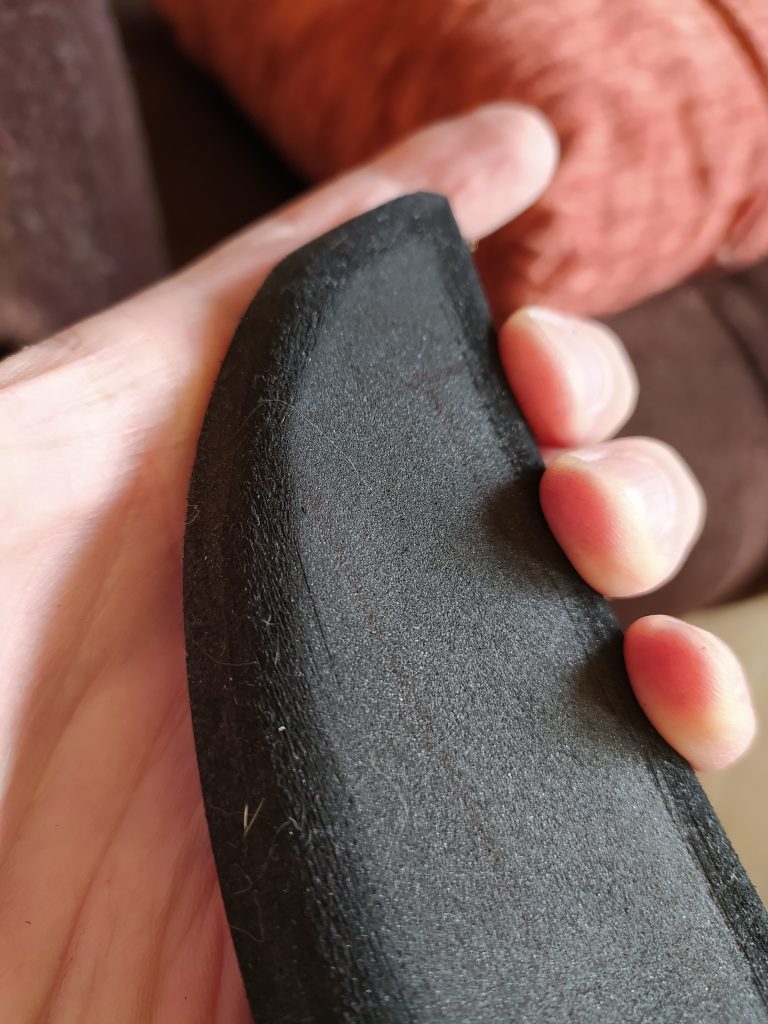
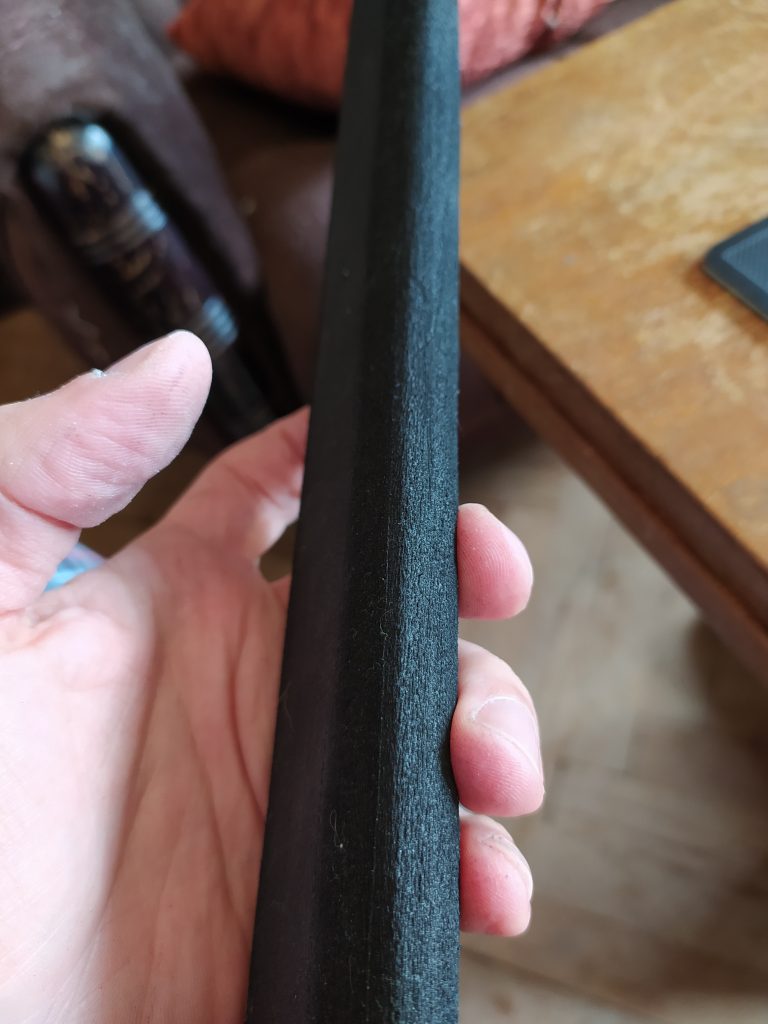
Then there’s a part that is again not necessary for duct taped training weapon, but I did it for consistency – passing over the sanded areas with the heat gun. At the least, it gives great satisfaction to see the foam cells close in a wave under the hot air.

You can still see the roughness of the surface. That’s because I did the sanding by hand and also used only one size sandpaper – 80. In an ideal world (proper power tools) the sanding would be much finer with a 120 after the 80, may be with an even finer grade at the end.

Also, the cuts between the grip and the blade are not perfect. Again – good for a training sword.

Yup, last portion – the covering.

Here’s what’s important to have in mind:

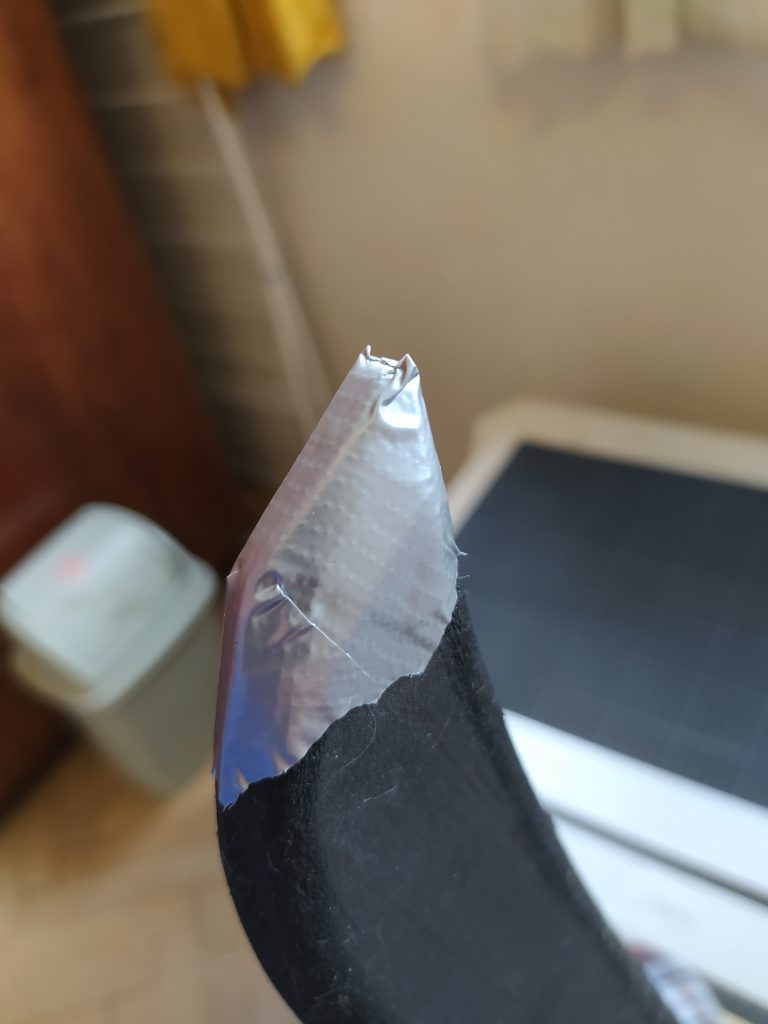
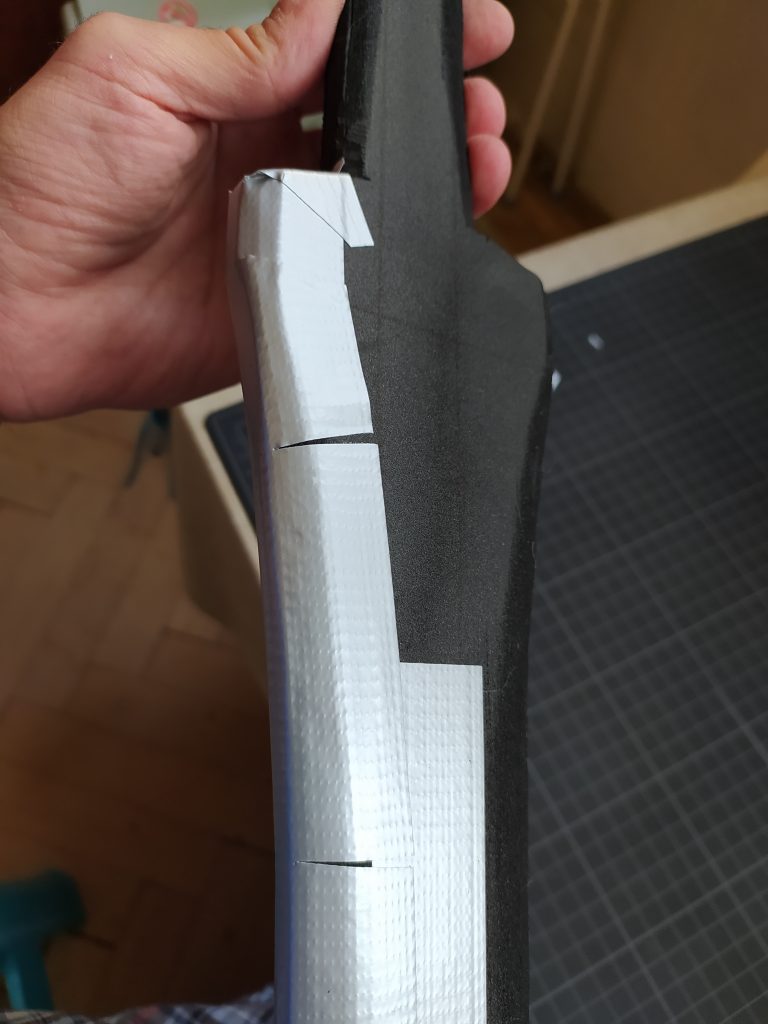
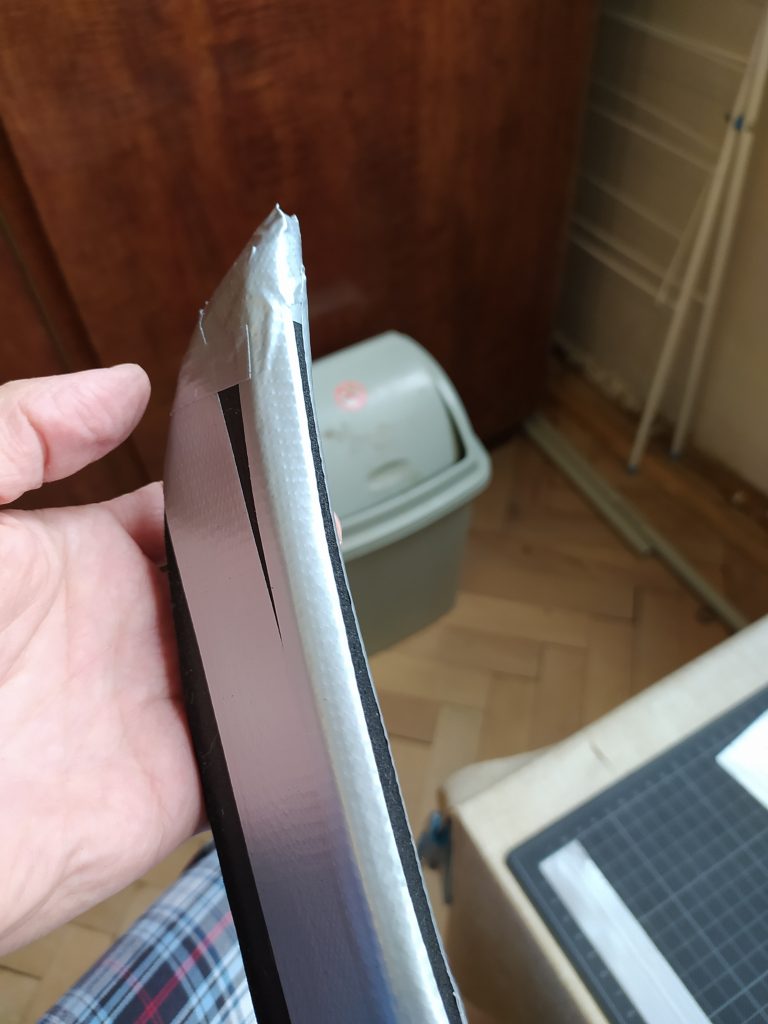
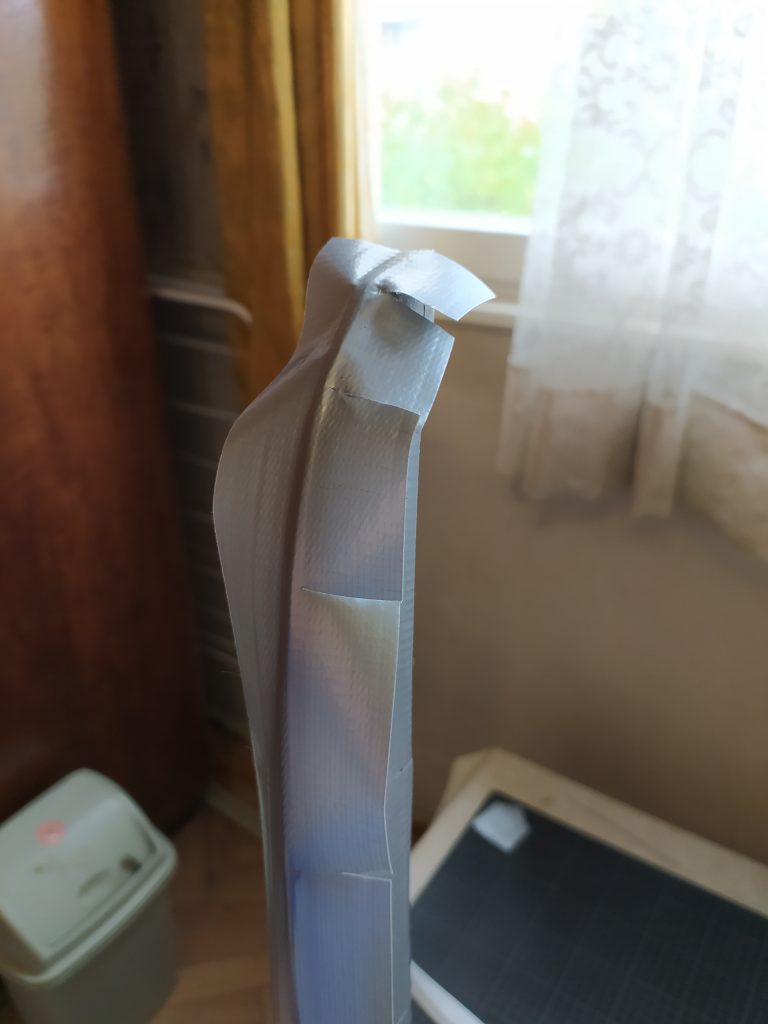
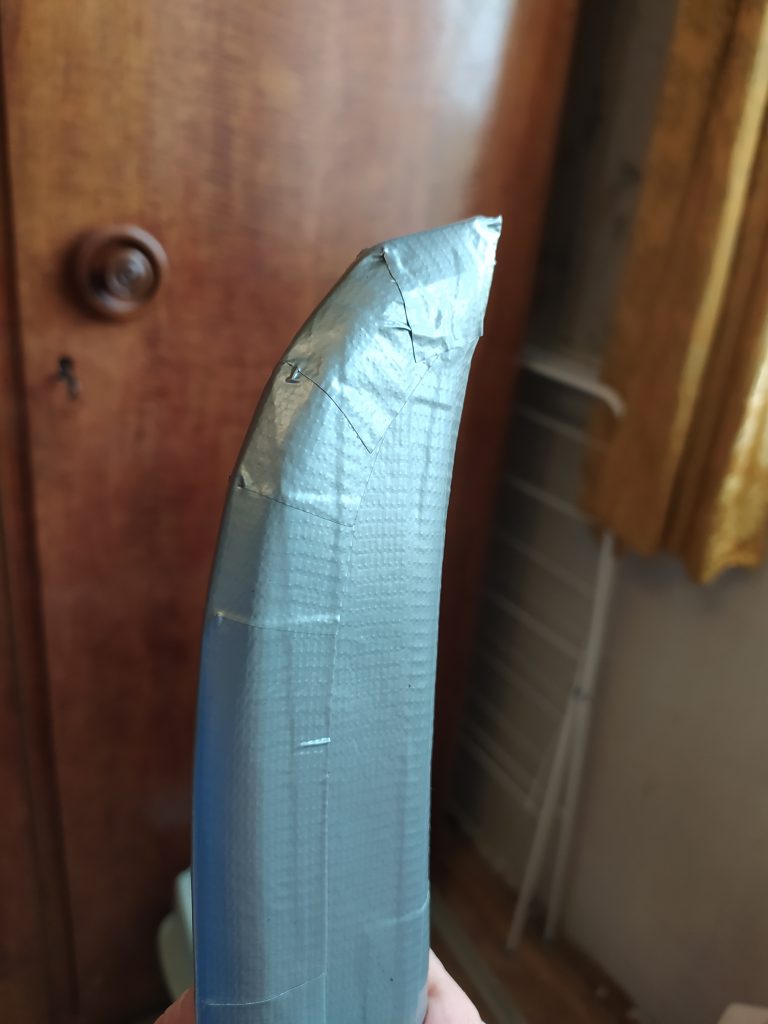
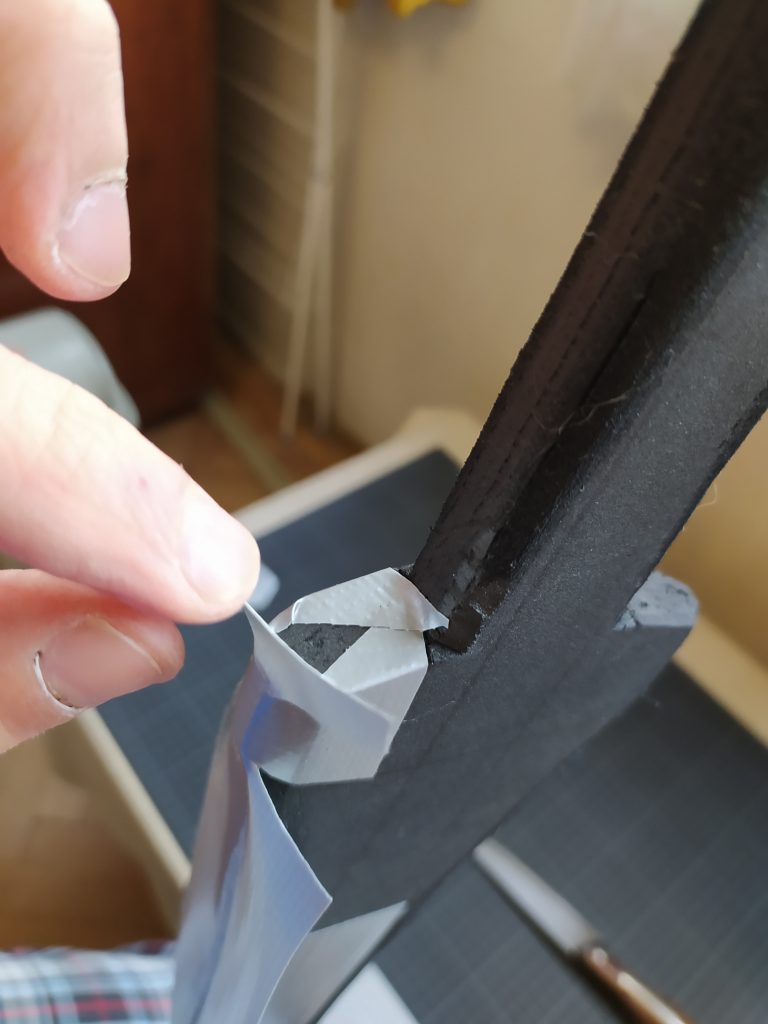
  1. I don’t have a way to prevent fragmentation of the tape at the tip – it is what it is, the duct tape does not bend, so there will be a lot of cuts.
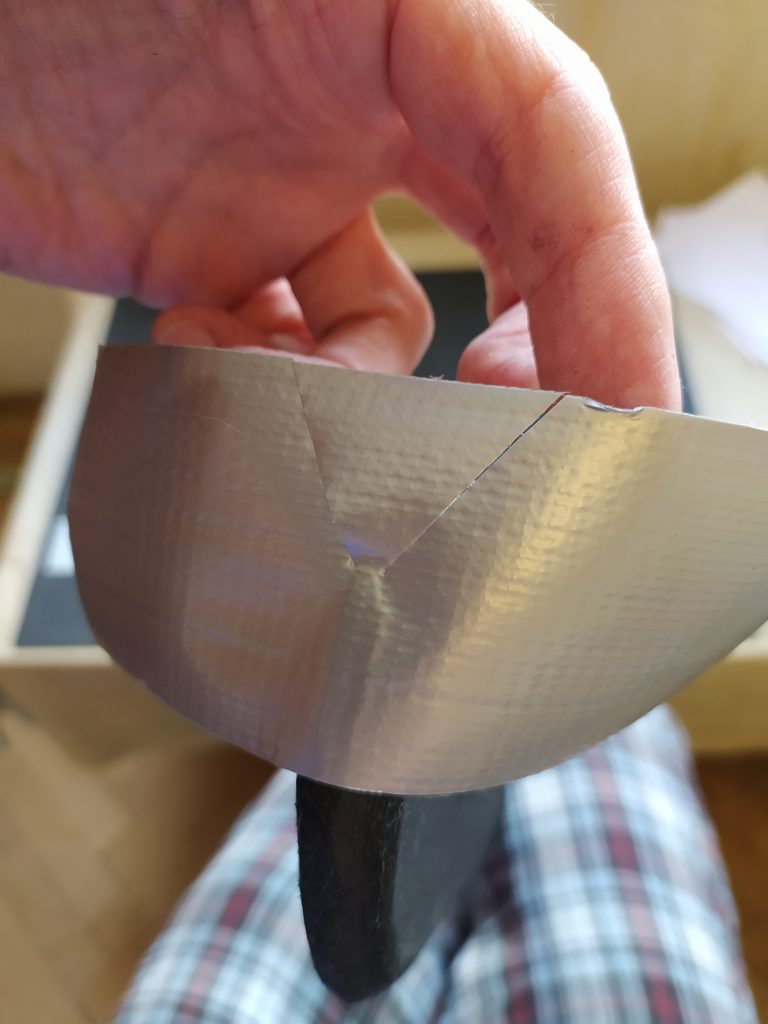
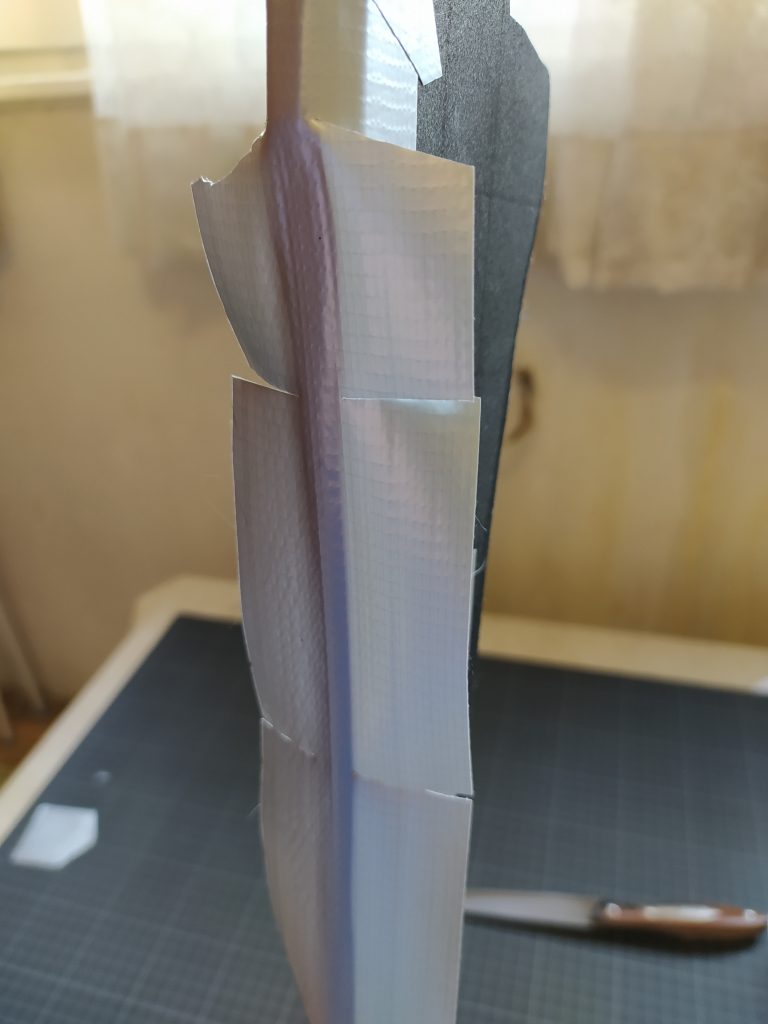
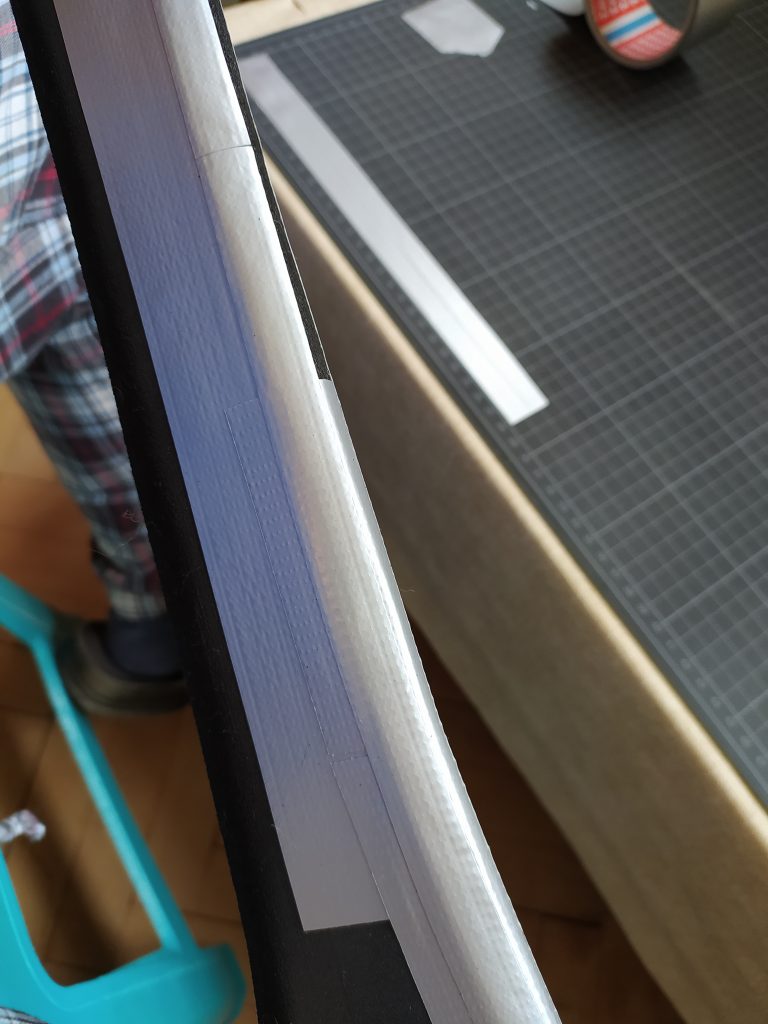
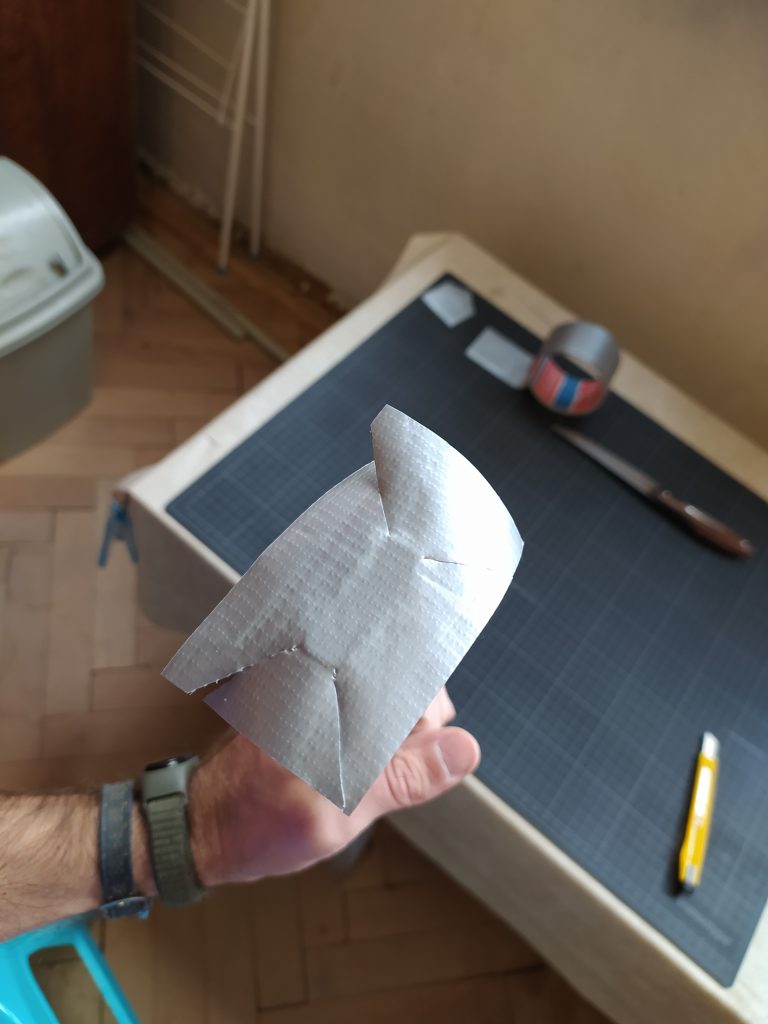
  2. Concave parts of the edges have to have separating cuts – the stronger the curvature, the closer the cuts to each other. This results in empty ‘slices’ on the sides of the blade where the cuts are made (it will start making sense in the photos).
  3. Convex parts of the edges will also have such cuts, this time to prevent wrinkles. And the concaveness means the pieces surrounding the supporting cuts will overlap. So at least they should overlap in the same direction (symmetrically on both sides of the blade).
  4. Some parts of the sides of the blade need to be covered before anything else, to ensure that when longer, more conforming to the shape strips of tape are put, there will be no visible foam around them.

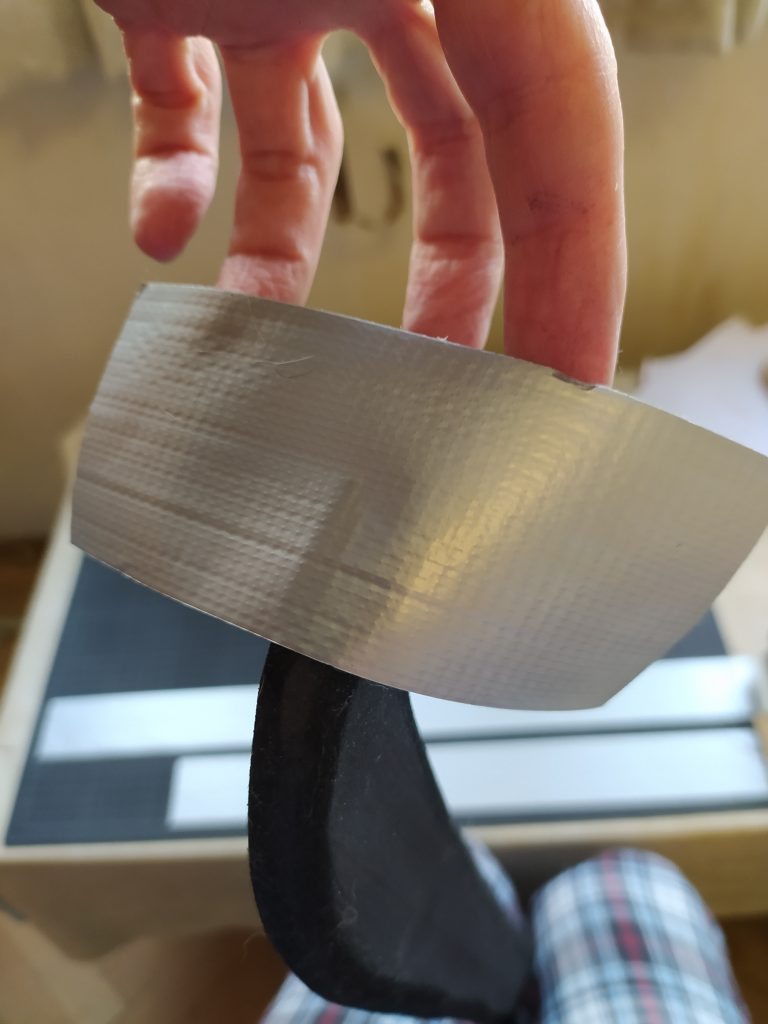
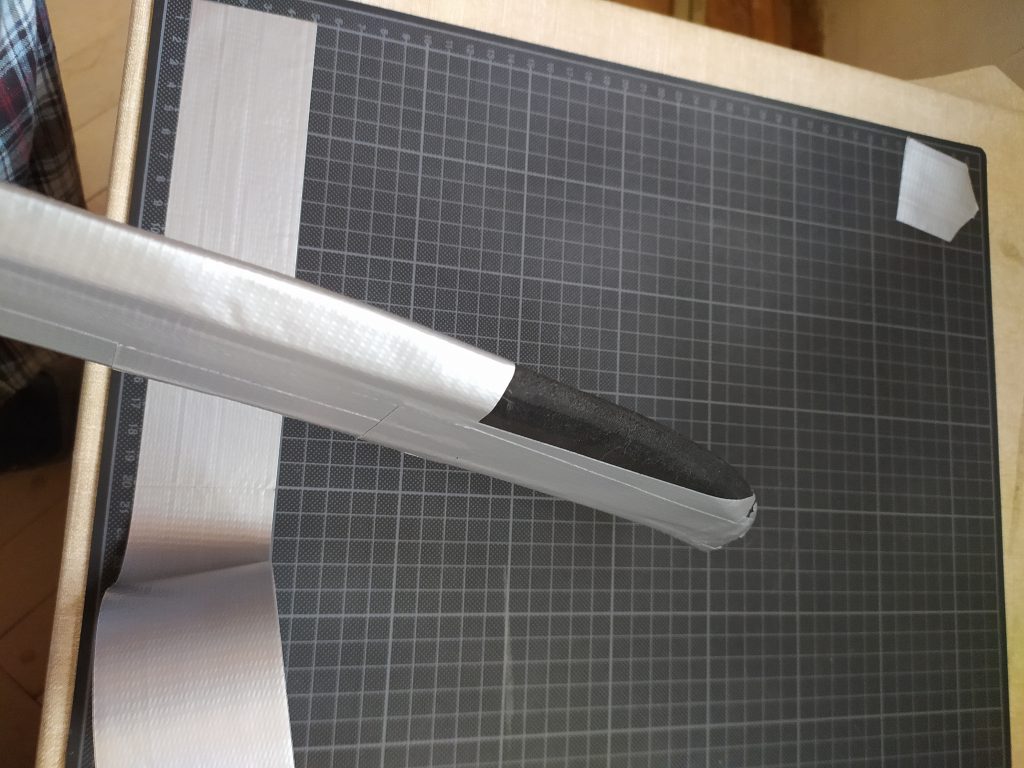
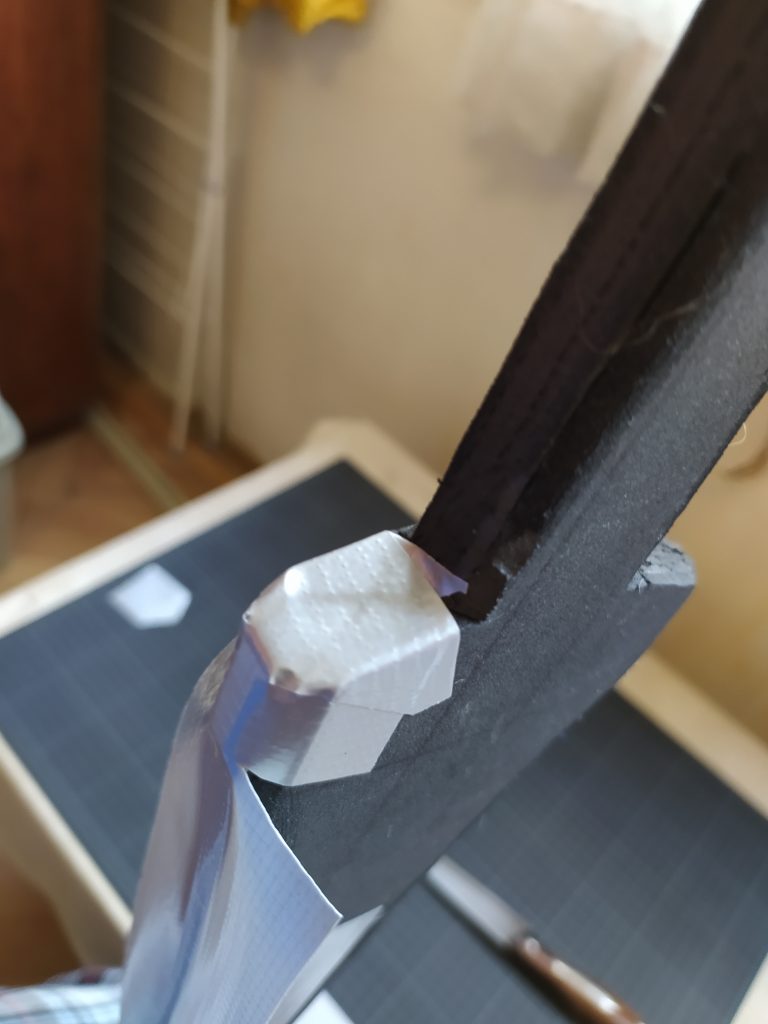
First – initial layer for the tip of the tip.

  • Place a piece of tape.
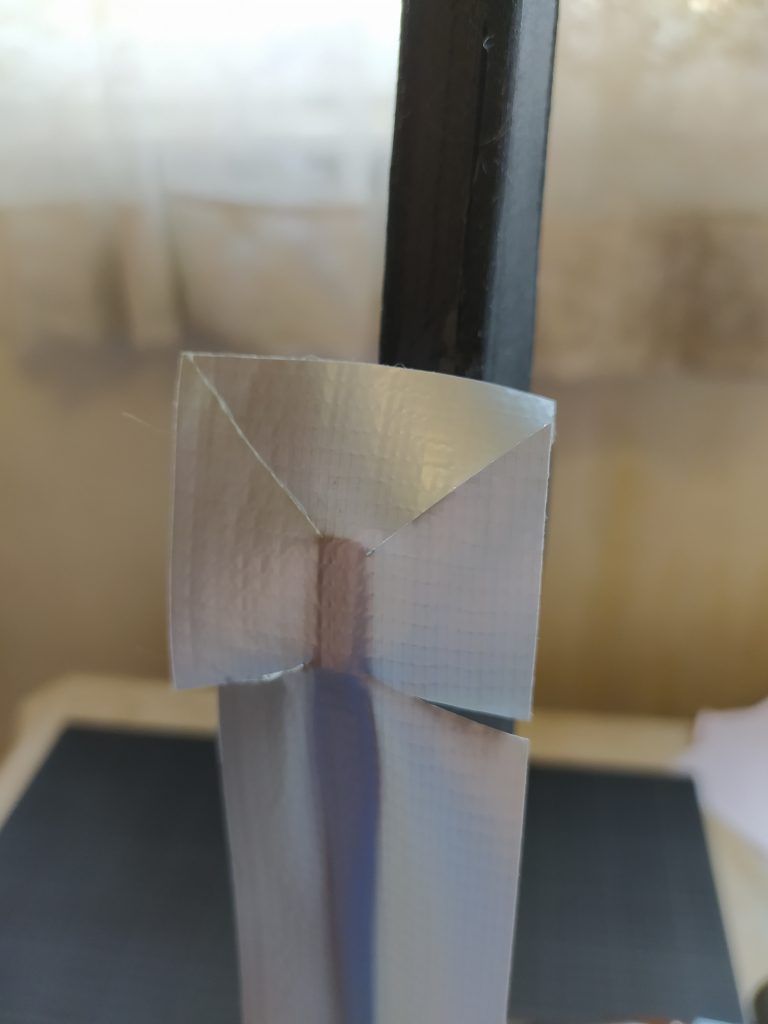
  • Make radial cuts, starting from the tip – this will separate the tape into portions that will cover the tip from different sides, while keeping the tape at the tip of the tip continuous.
  • Fold.


A bit ugly, I know.

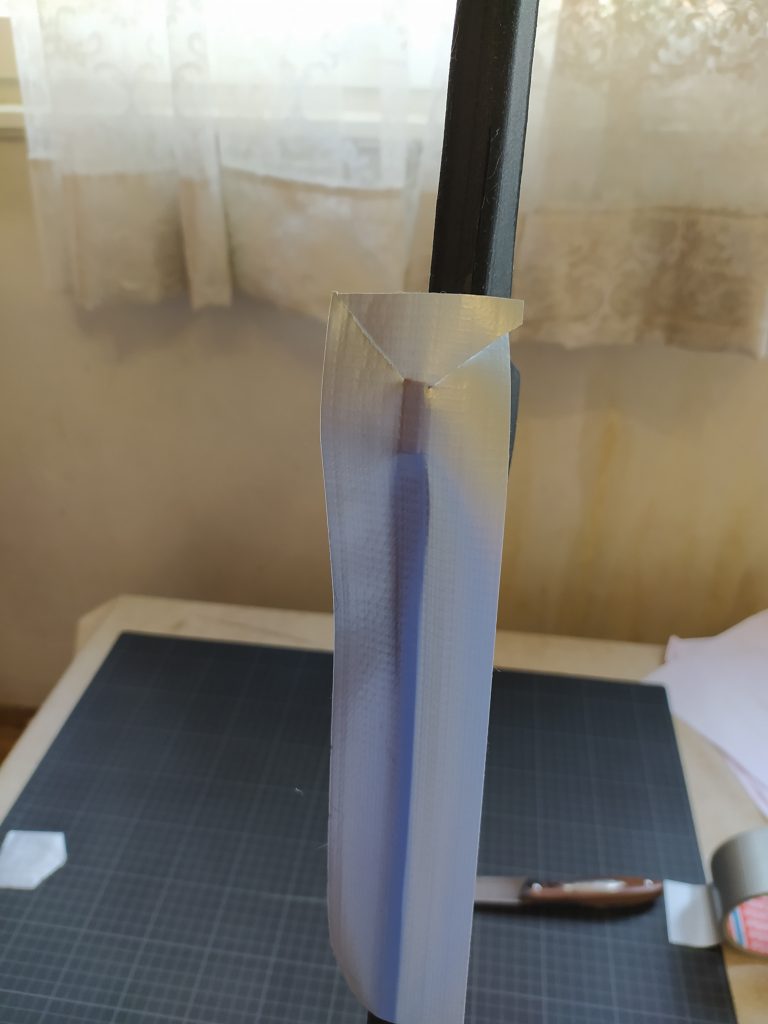
Then lay in the ground work for the back side of the blade. Most of this will be covered with another layer, but we need to make sure everything is covered on the lowest level.

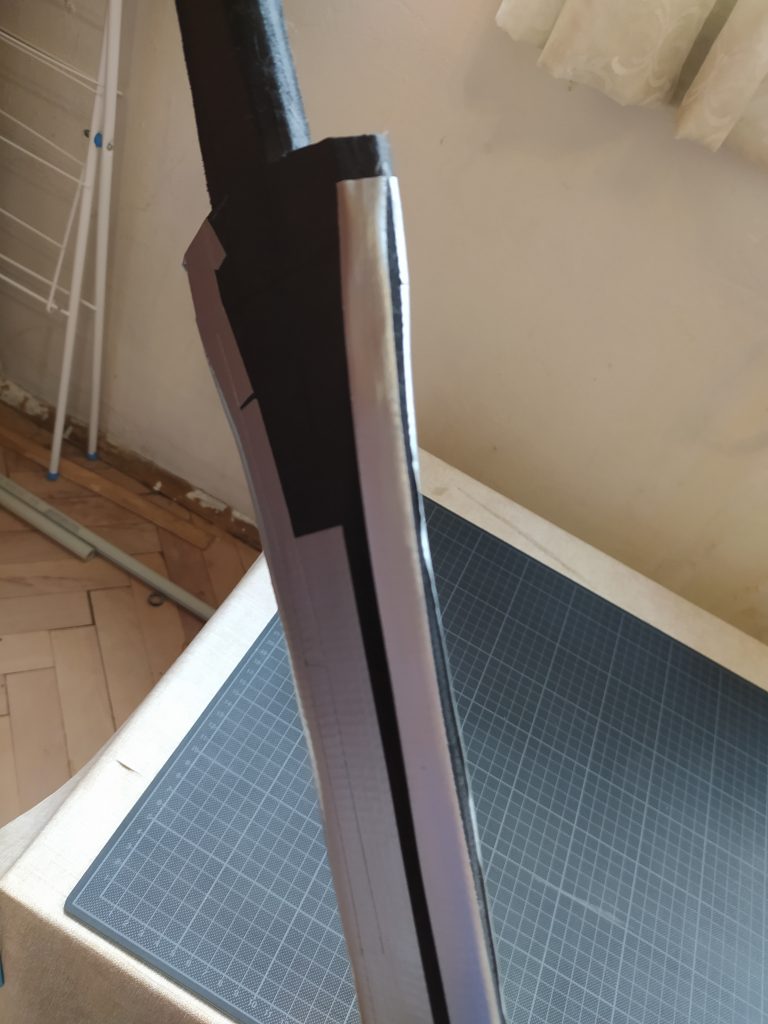
You can see here the empty patches left when you make the supporting cuts along the tape. And you can not avoid the cuts, because:

a) curvature (negative; curse you, Gauss!)

b) non-stretchiness

Usually, I place thin supporting tapes below that, but I needed Q.E.D for the photos. So now I’ll place the tapes above the… fractures (I like that term for this, I may continue using it).

Here are those supporting tapes around the concave portions of the edges.

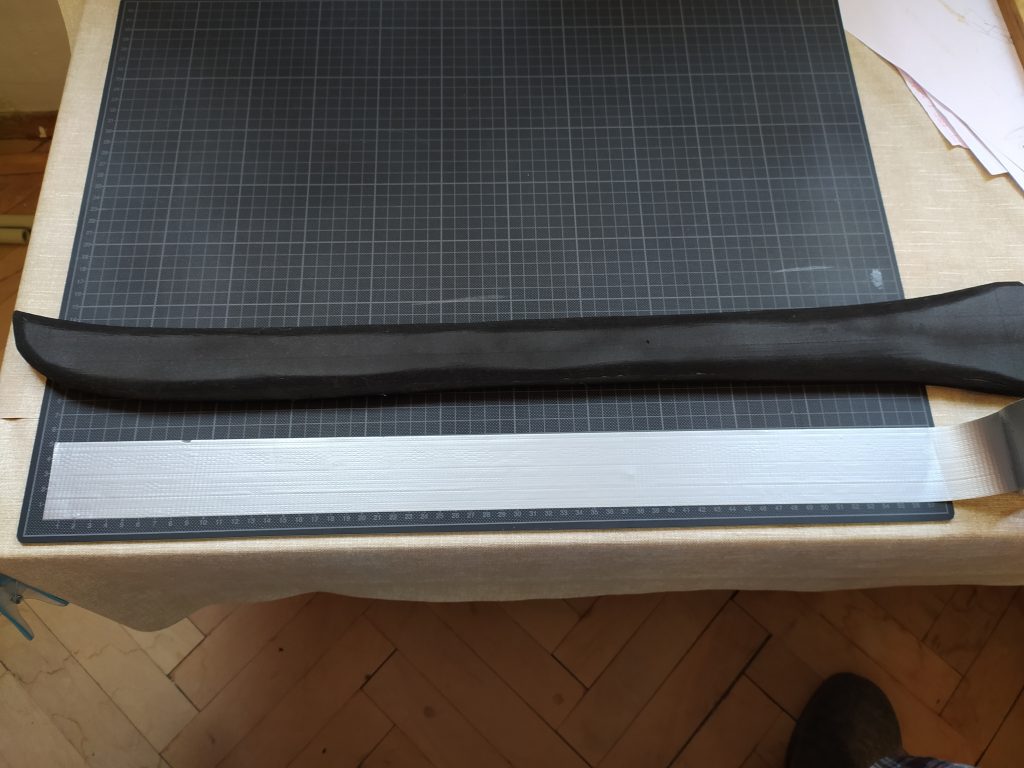
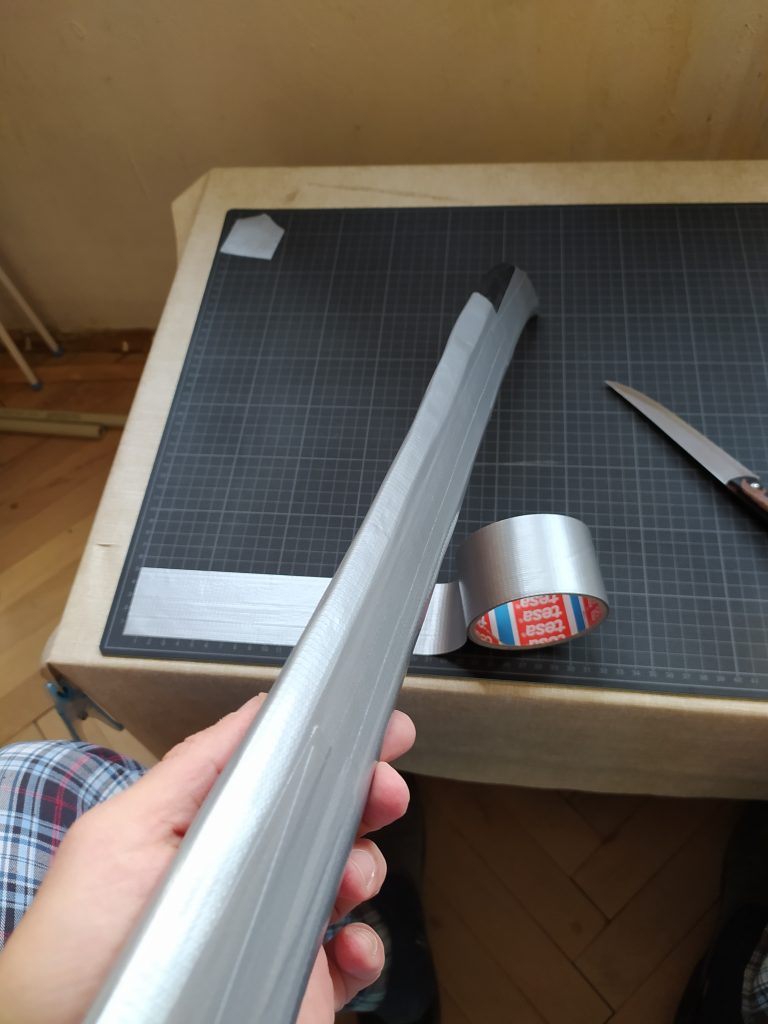
Aaanyway. After the thin strips to support the concave curvatures and the wider patches to cover the tricky bits, it’s time for long, full width strips to cover most of the blade.

I could go full length, but it’s easer to prepare a tape not longer than my cutting board. Also, for a training weapon, it’s good to have long continuous strips of coverage, but it’s not a disaster it you do not cover the whole edge in one go. The longer strip you try to use, the more unwieldy it gets, so at some point it’s not worth the trouble and the risk of a sticky tangle.

So I start by covering about 60cm, starting from the back of the blade.

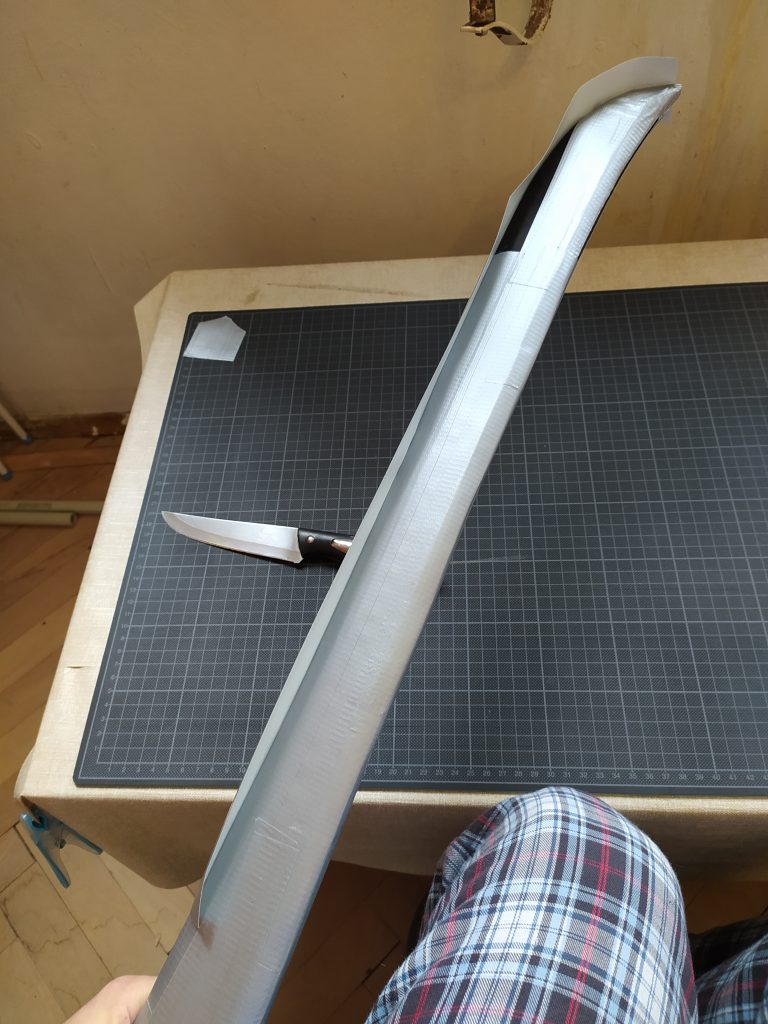
Then we start on the tip side of the blade. The edge is convex, so the supporting cuts will overlap (as I mentioned above). We can place a long full-length strip right away.

Position it on the edge itself, make supporting cuts – close together where the curvature is greater, sparser apart where the edge is almost straight. Then start applying the tape to the sides. And for both sides of the blade, start applying in the same direction – top to button or the other way around. You want the overlaps to be symmetrical.


Covering the small leftover areas at the bottom of the blade is trivial.

I added one last layer of tape, making sure the longest straightest strips are on top of the more fragmented ones. You can go up to 3-4 layers of duct tape before starting to lose flexibility in any noticeable amount.

Last place to be covered with duct tape (for this sword, at least) – the pommel. The design calls for small to non-existent pommel and I have left it as simple as possible (only with slight bevel on the grip edges).

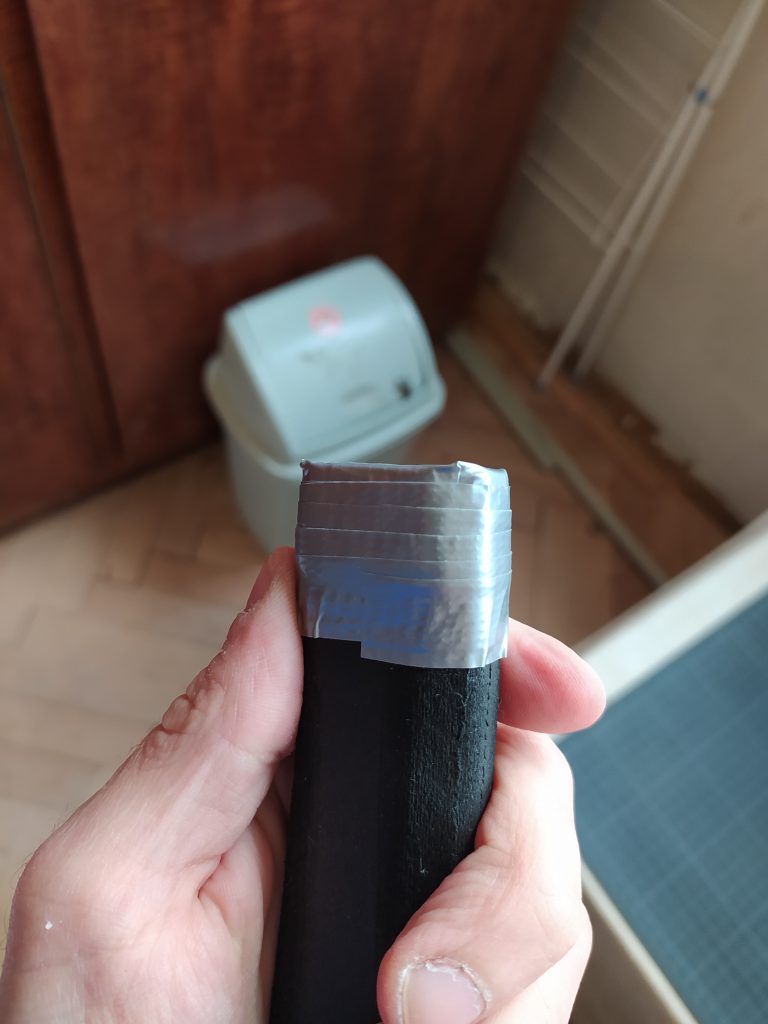
I only need to cover the tip of the pommel and may be 1-1.5cm of the grip.

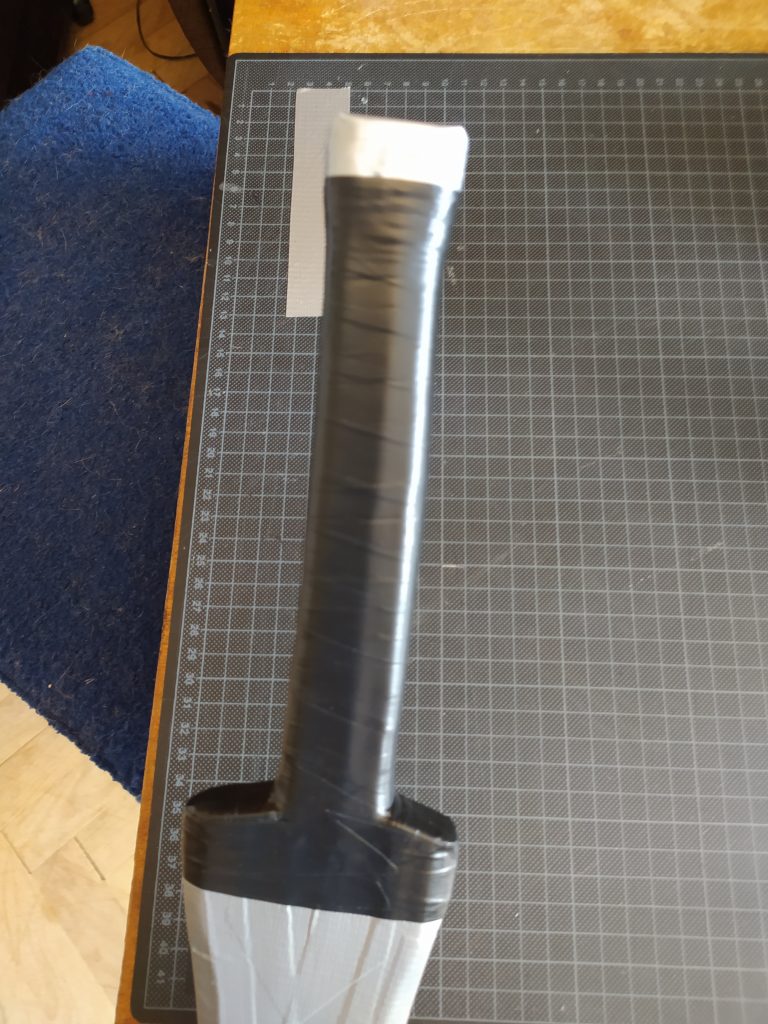
Several overlapping thin strips of duct tape around the pommel – for visual structure, mainly. And also for a slight increase of grip width (the rest of the grip will have 2+ layers of electrical tape, so I don’t want the pommel to end up tapering off).

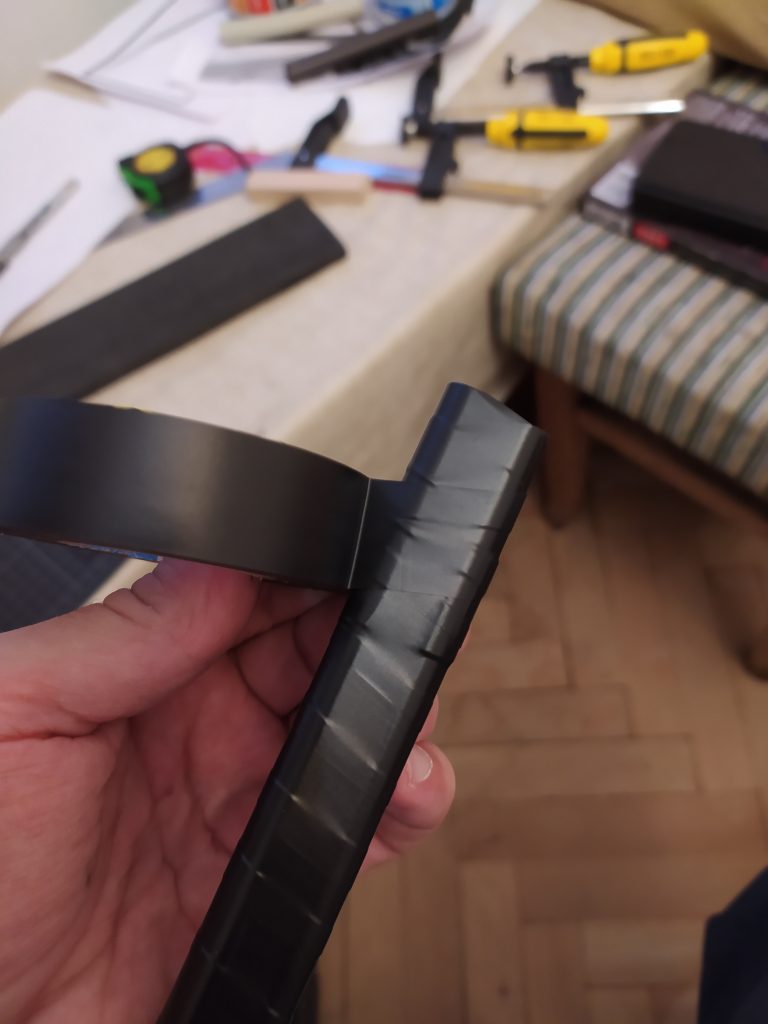
The electrical tape I did not take a photo of (got distracted). But there’s nothing tricky there. Using electrical tape is easy – it is relatively stretchy, so you can cover curvature with a long continuous strip. This makes it easy to cover the boundary between the blade and the grip.

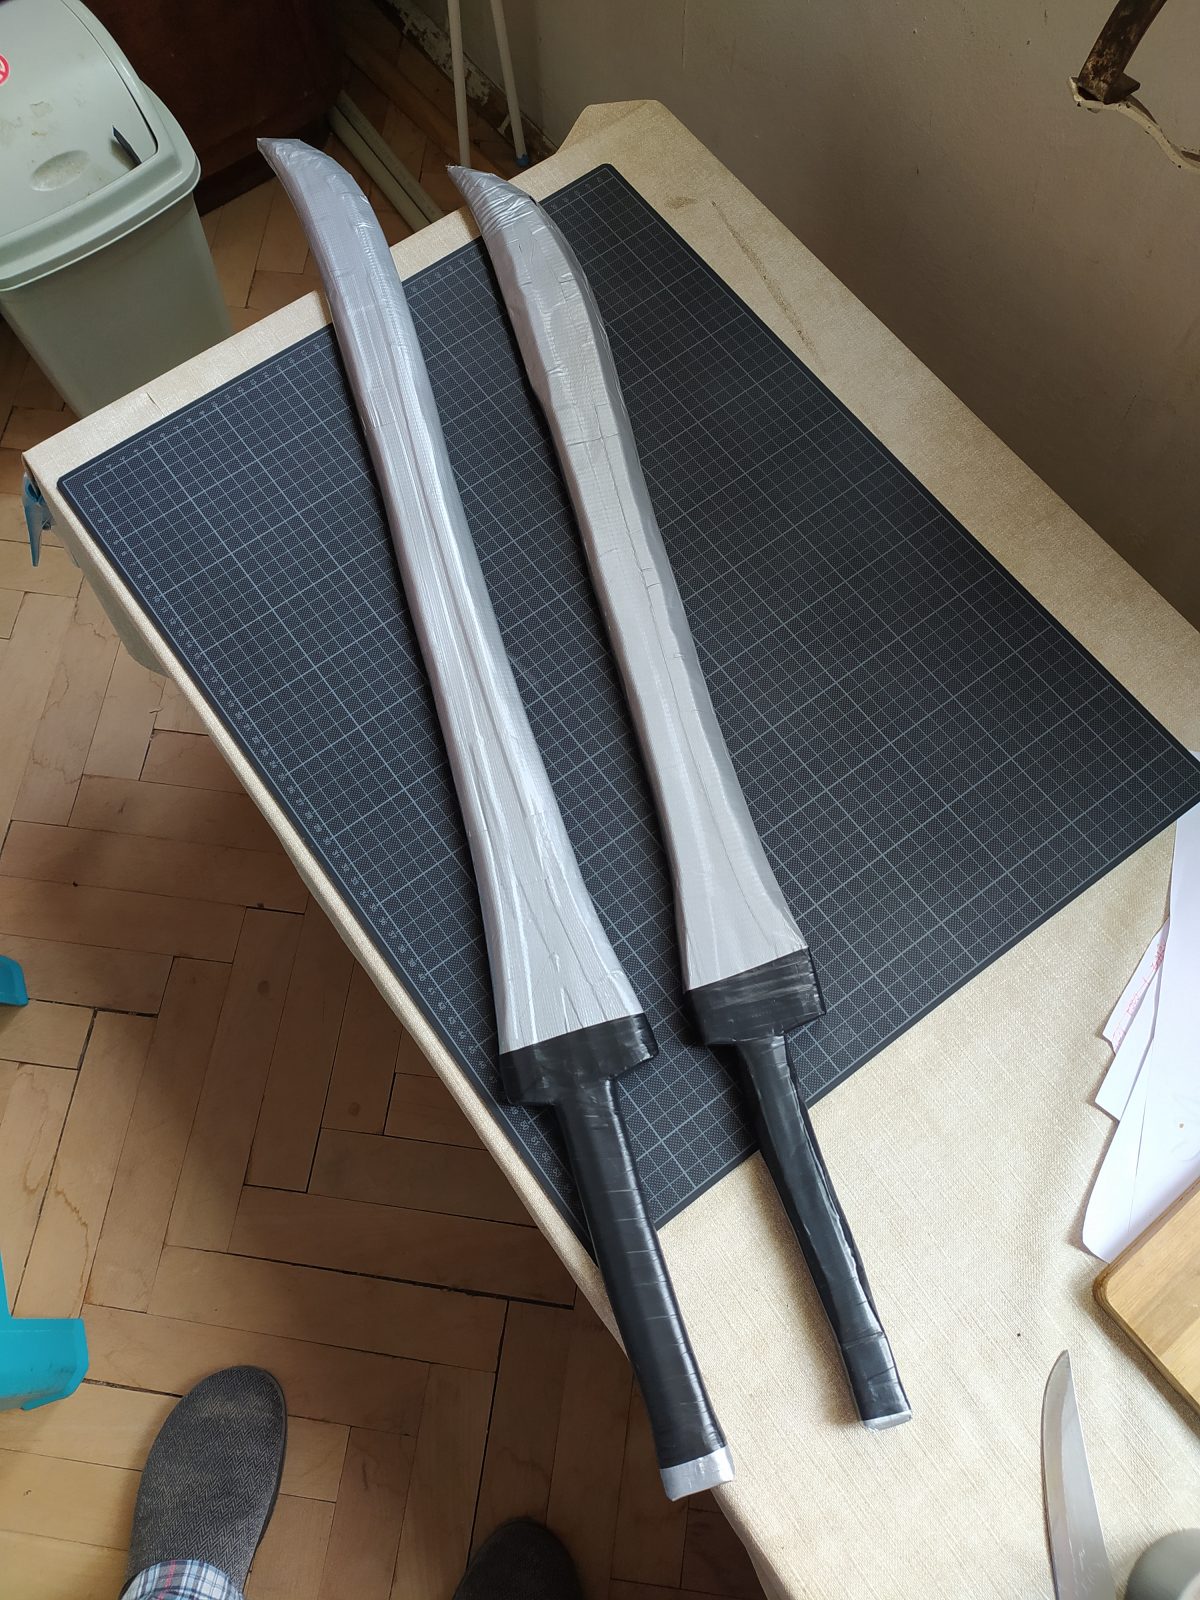
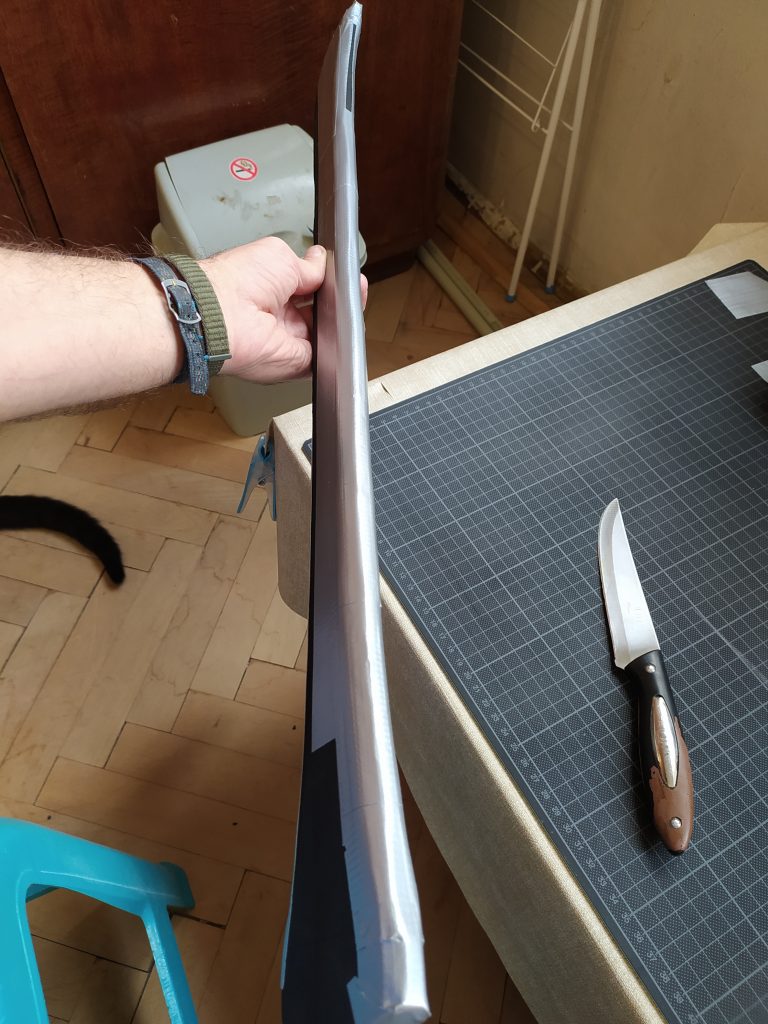
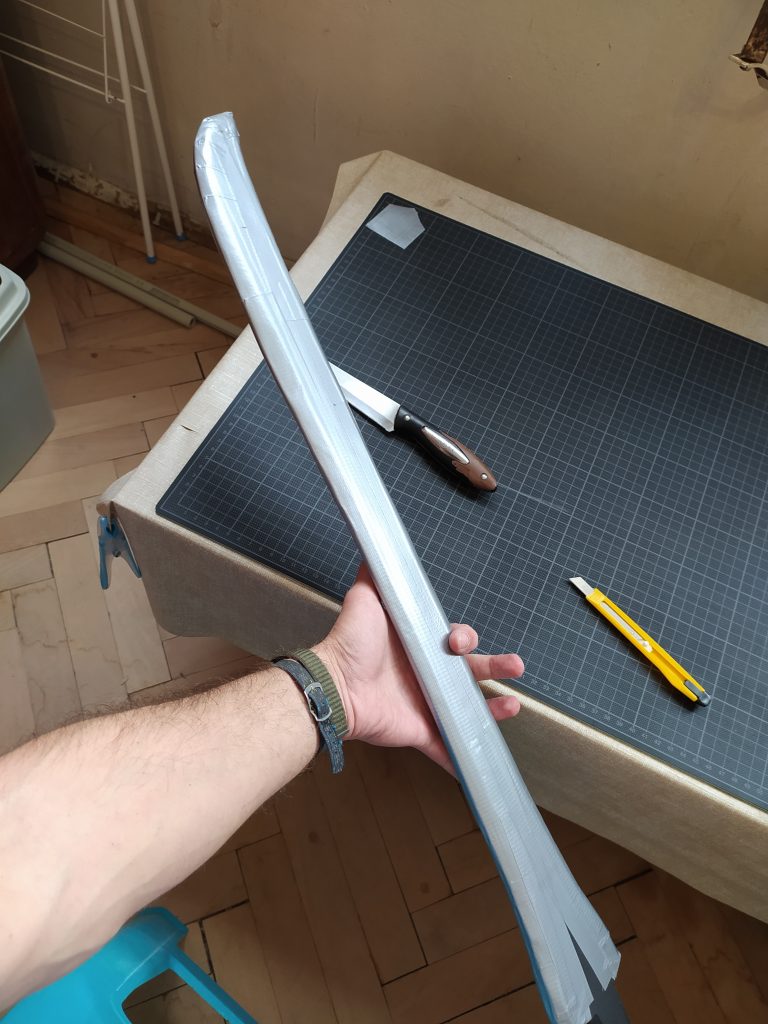
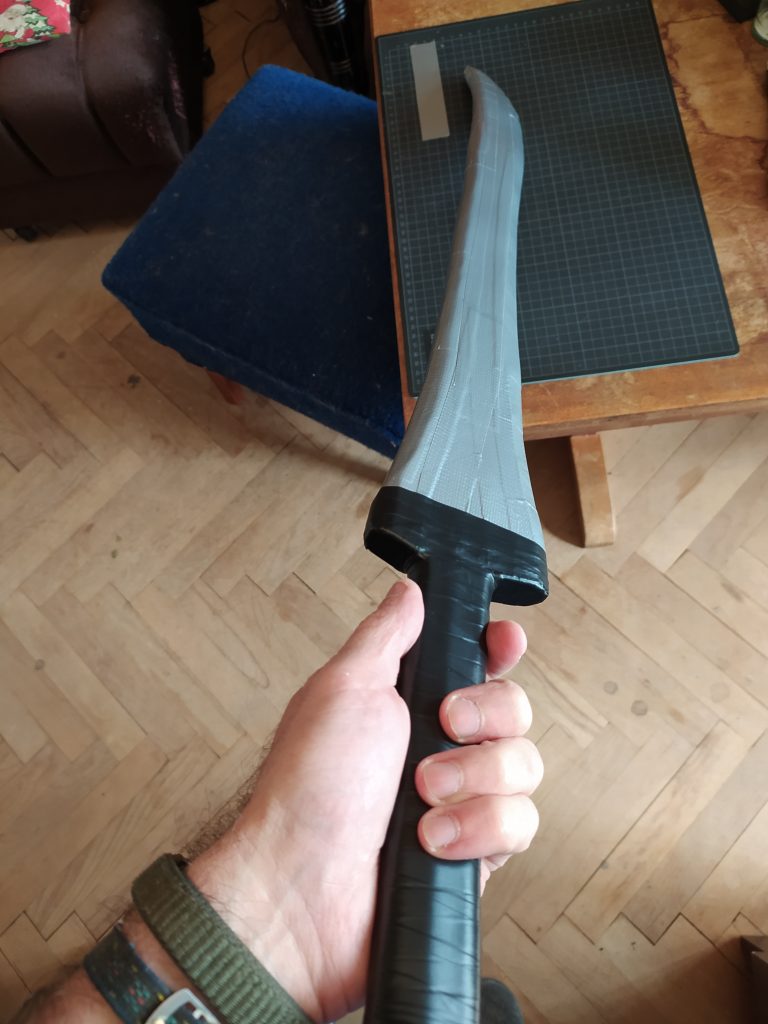
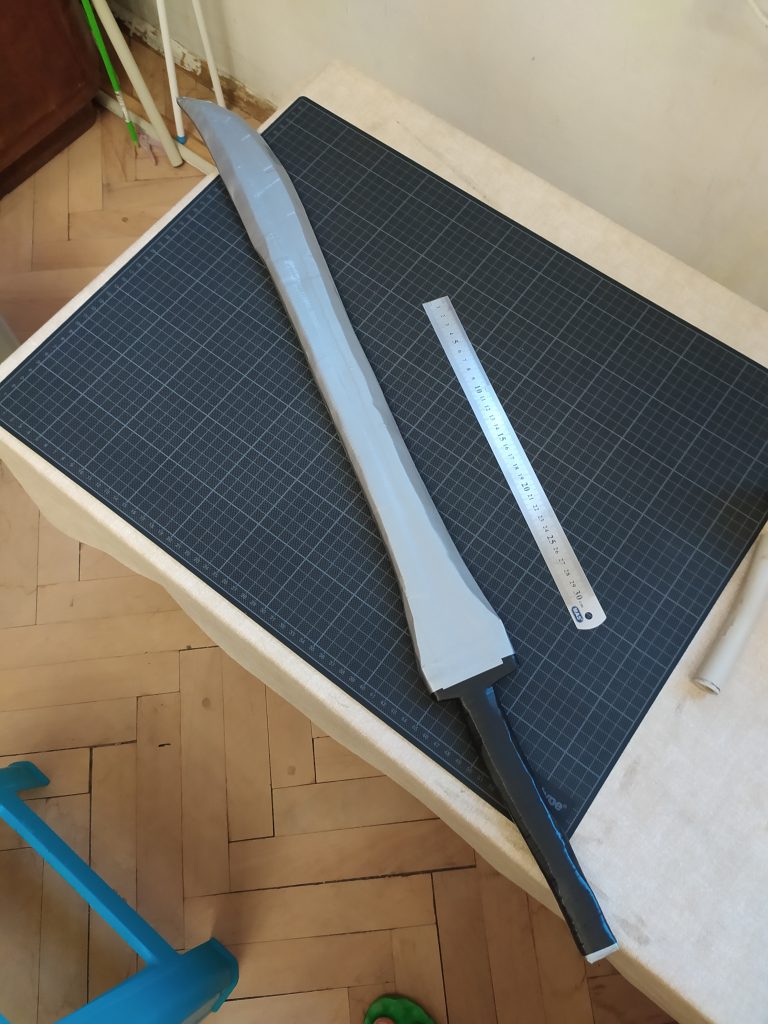
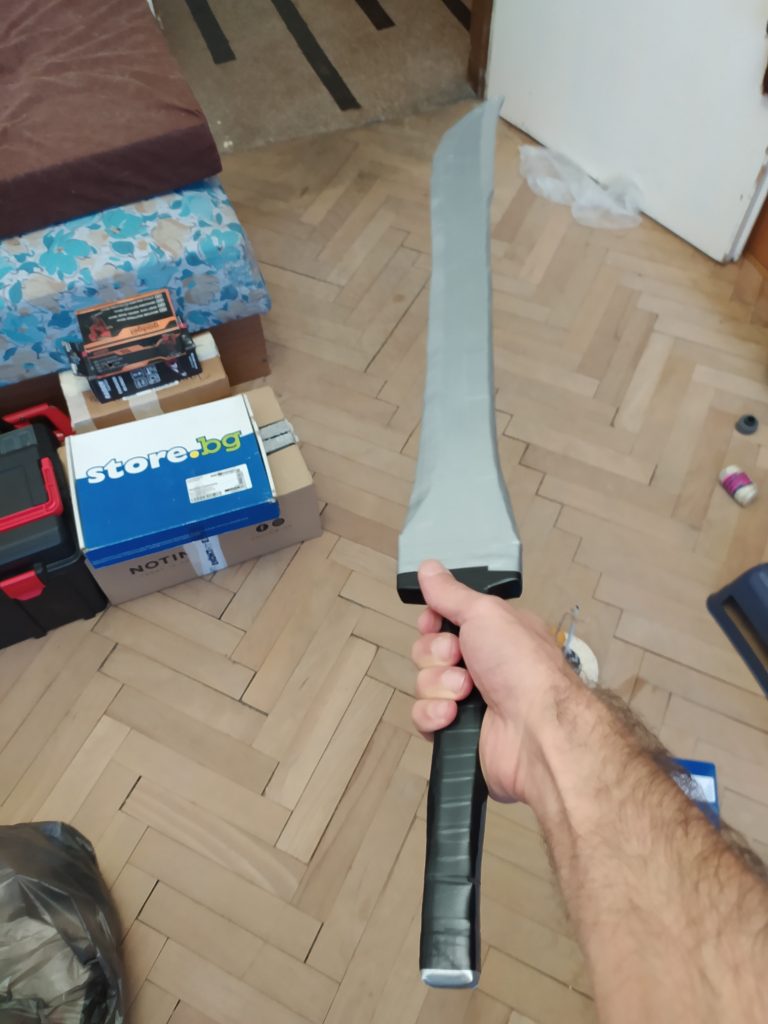
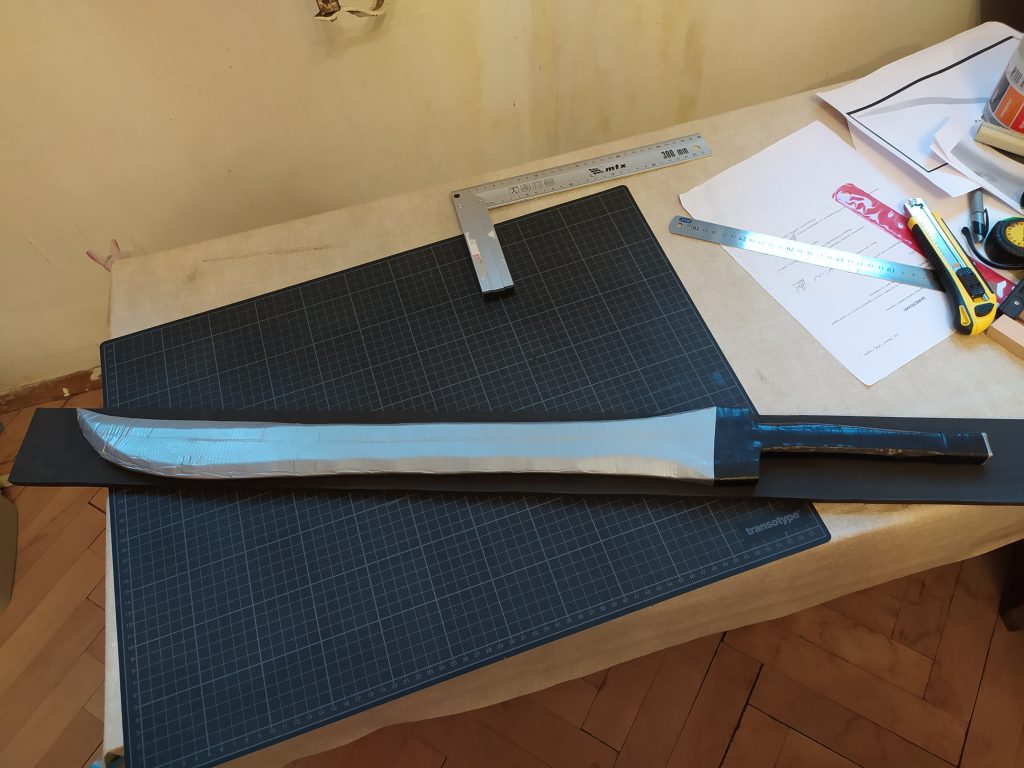
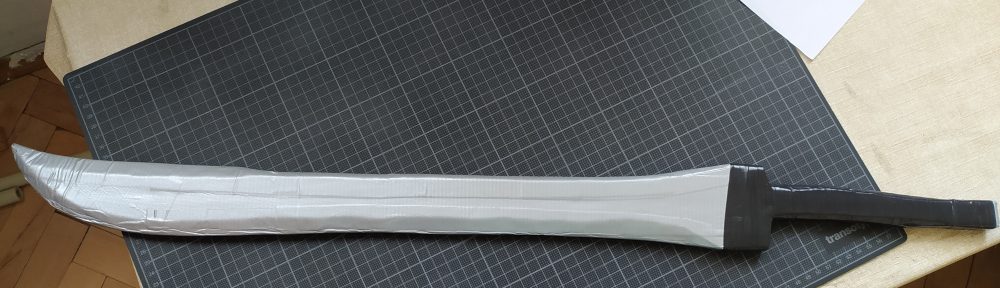
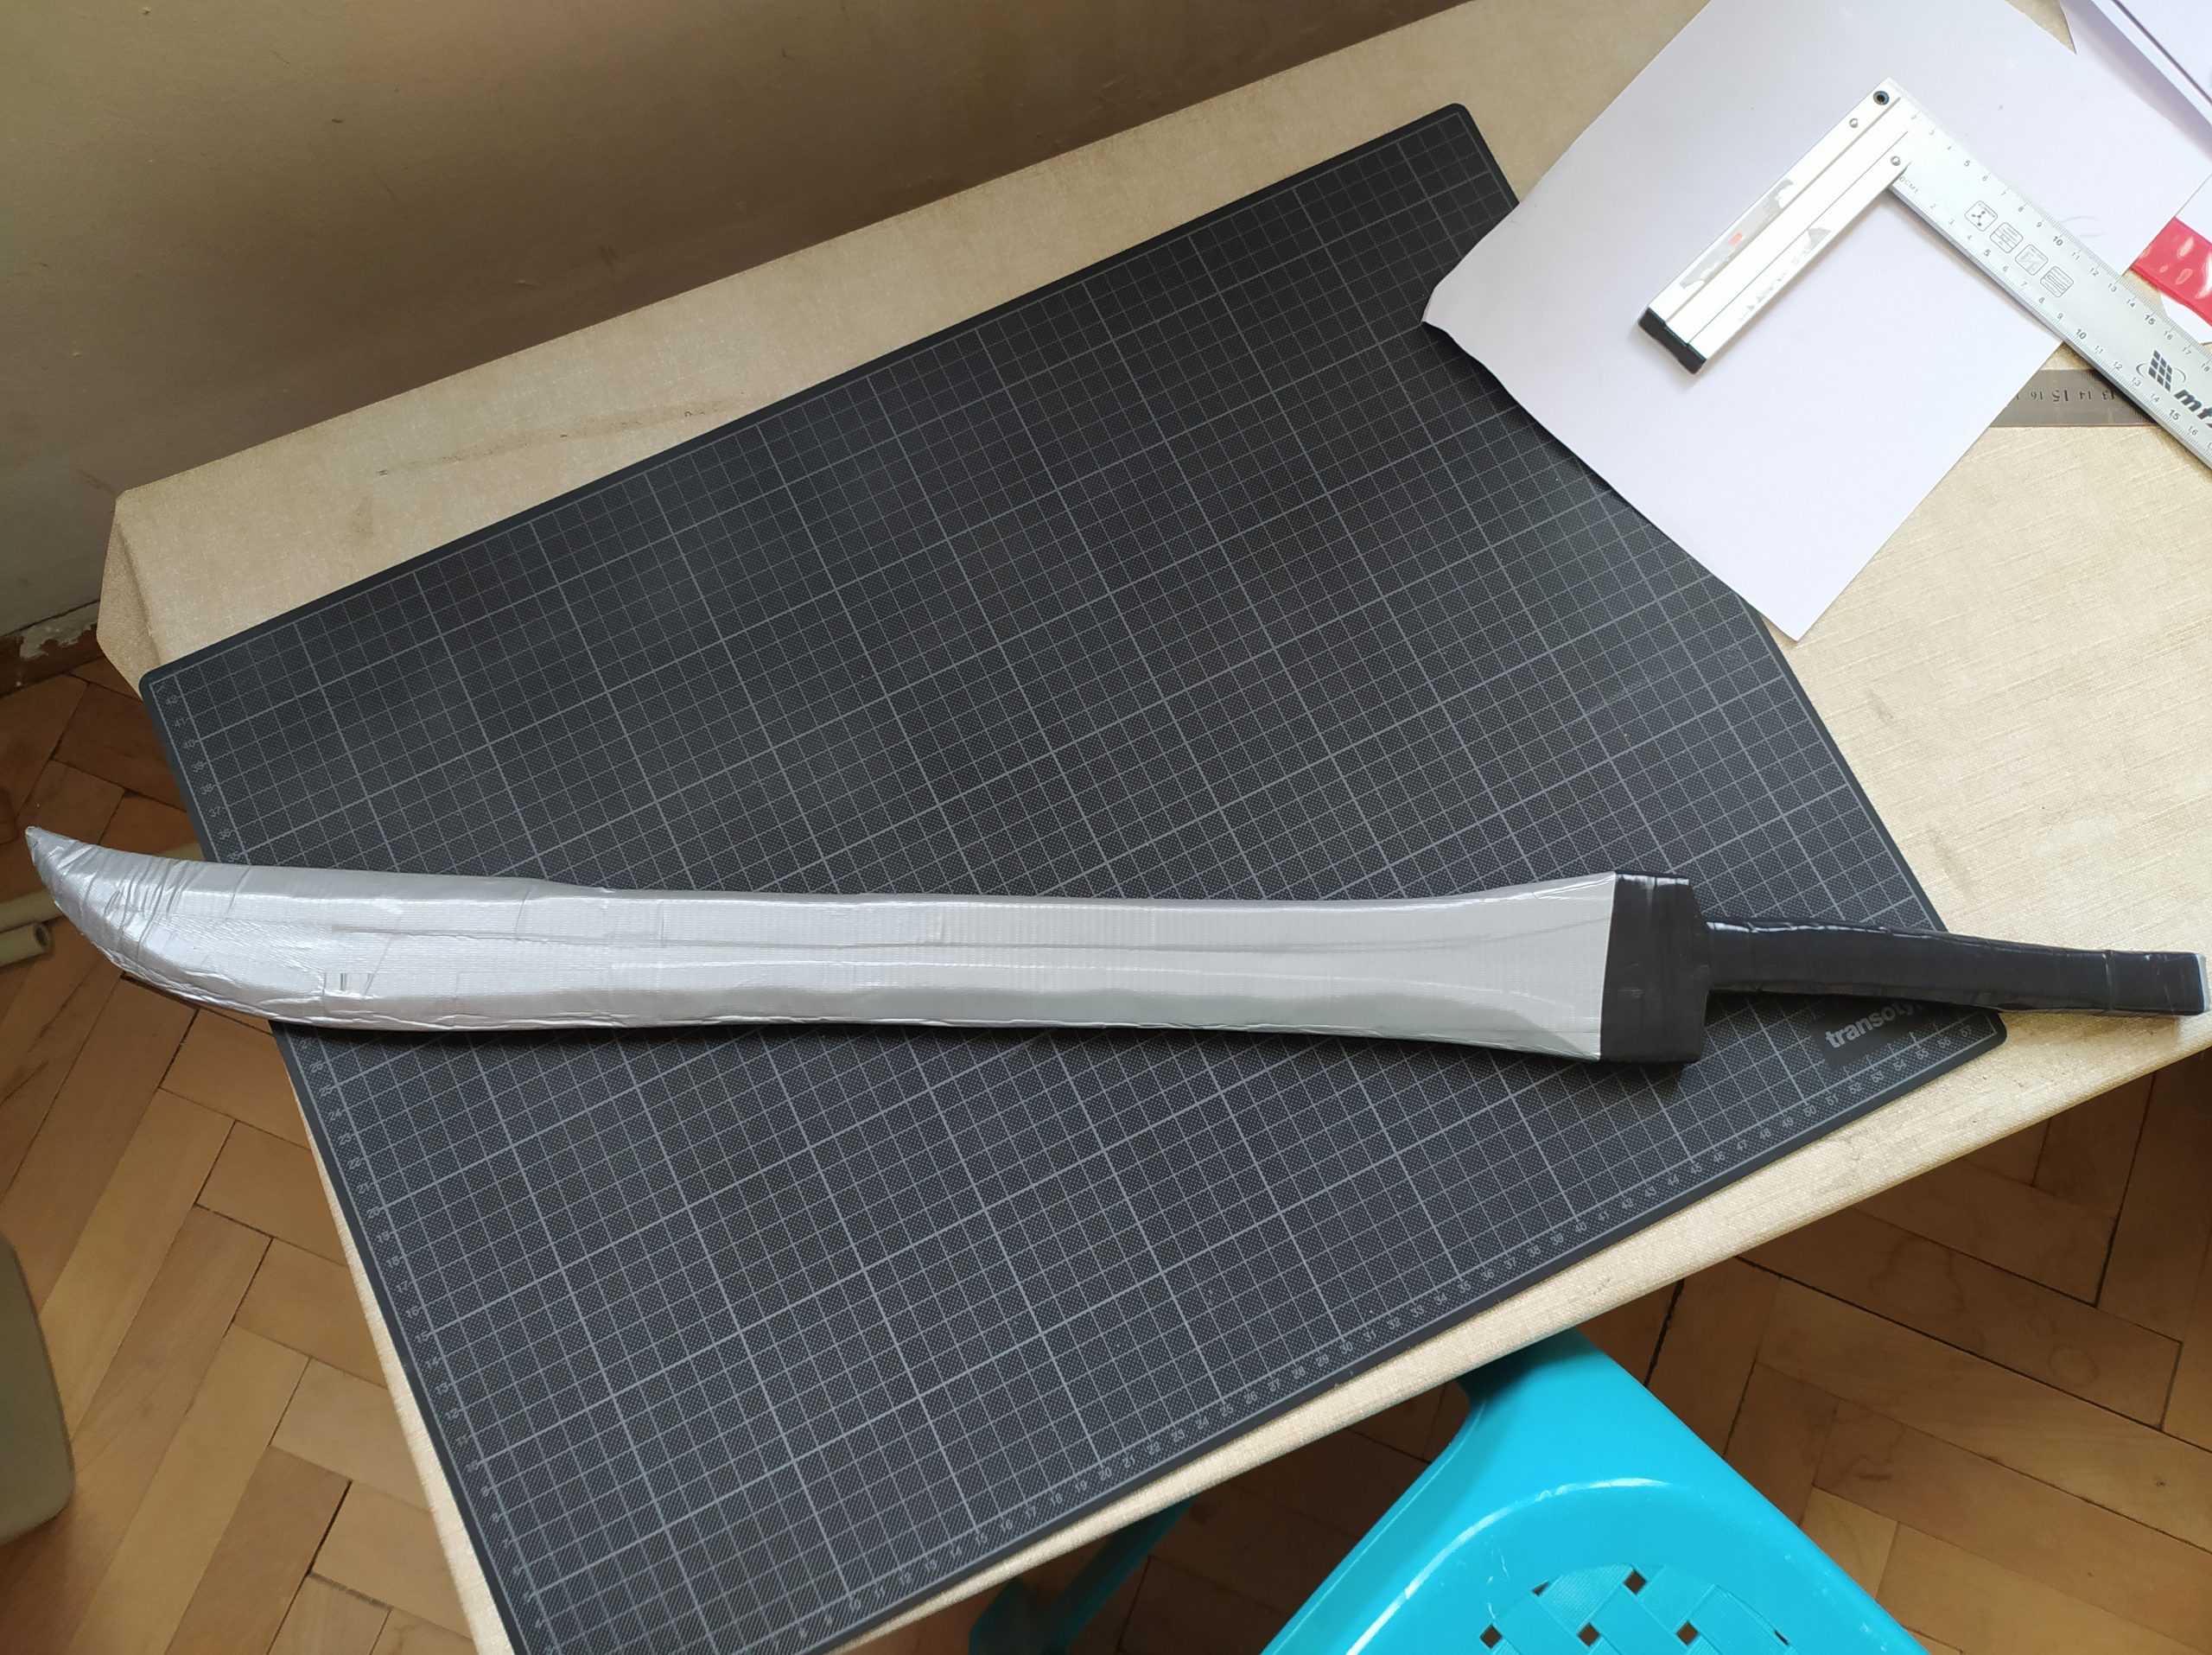
All in all, here’s the result.

Aaand it’s done!

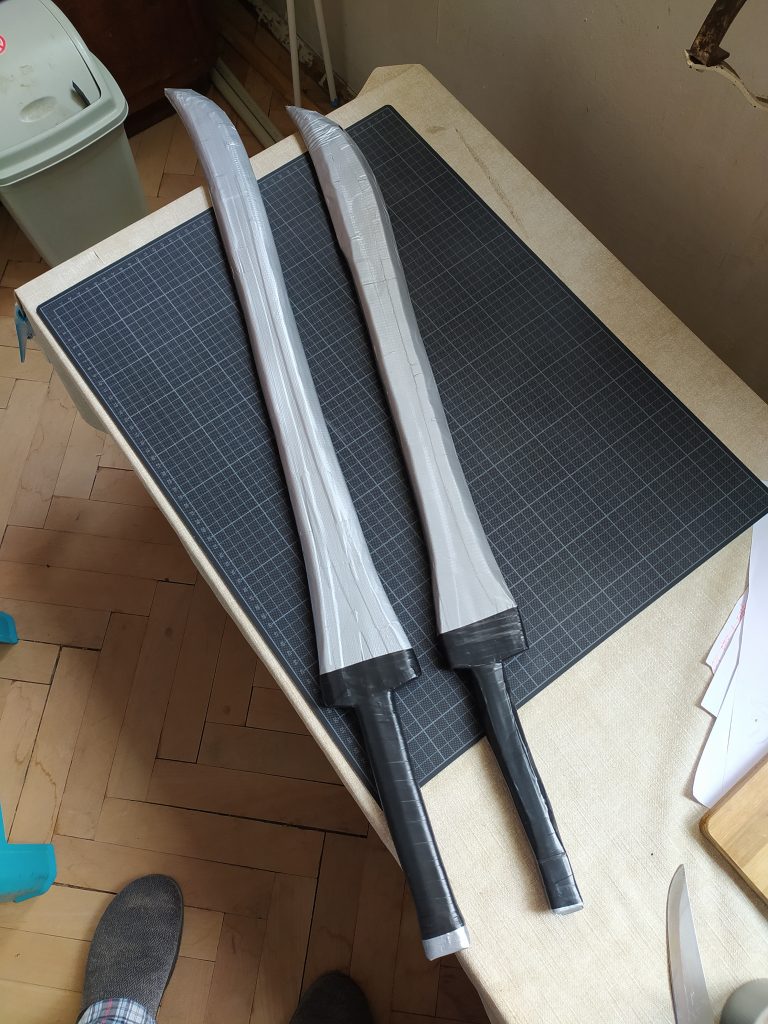
Here it is by itself and with v1.0.

How does it feel? Heavier. And you can tell that it’s not the foam itself. The core felt heavier to wield even before the sword was assembled and now that it is ready you can tell the core is heavier.

We’ll see, the double core was part of the planned experiment.

The sword is definitely too long for me (for one hand, at least), but it’s not for me, so it’s ok.

Problem – The core is too long for this sword. There is about 10mm of foam left at the back end (the pommel), in order to make sure the pommel is well supported (see problem 4 with v1.0). So the core is pretty close to the back of the weapon. And yet, the tip of the blade has only 50mm core-less. This may sound like a “no-problemo” for a straight edged weapon, but not for a curved one. I ended up lacking the freedom to make the curve as smooth as I would like. Also, when I beveled the edges, I could not do it with a smoother, larger bevel, because I would end up exposing the core at the middle of the edge curve. Bad planning. Note to self.

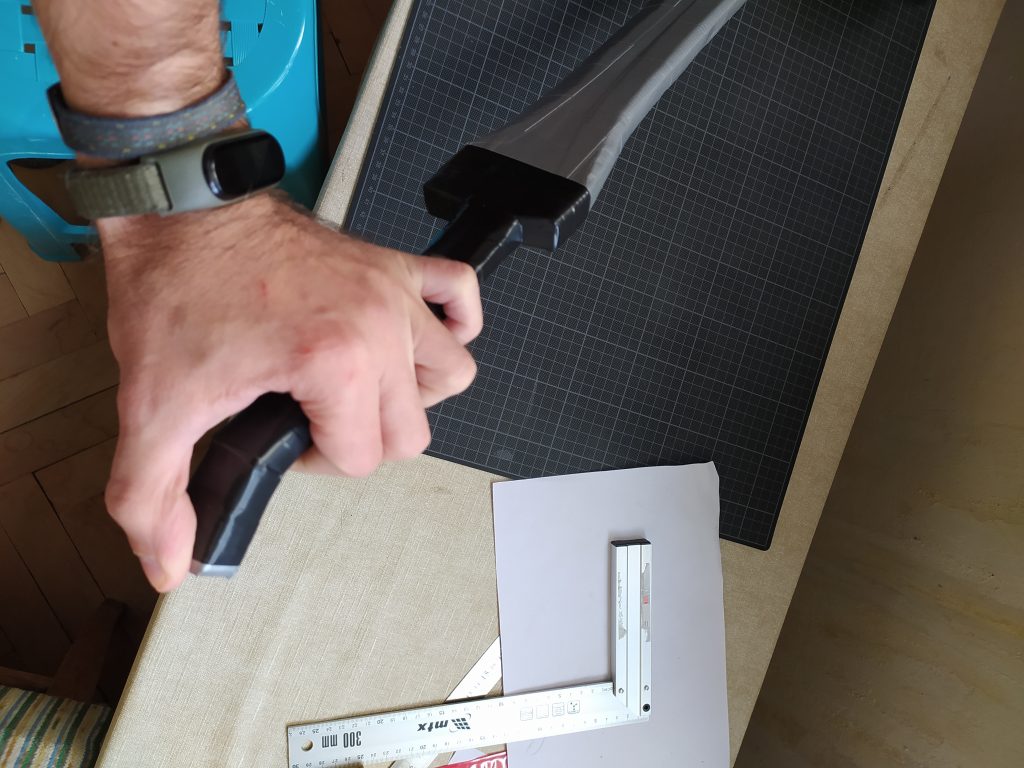
Question – The grip is wide enough (or at least wider than v1.0, as planned), but… is it thick enough? I could have added a 3mm foam strip on each side and that would probably have improved the profile. If it turns out that the grip as it is is not comfortable, I may end up trying to re-do it. As it is electrical tape only, it may prove… possible.

We’ll see!

Elegant 2.0 – gluing it all together

So, I left it aside for a while, cause I had to quickly put together another sword.

(It is my first long sword, so I left it undocumented, mainly because I don’t like to document the experiments, but also because I was pressed for time. Perhaps I will place here it’s second version. We’ll see)

Getting back to it, my next step is gluing the layers together. One thing that I find annoying in my current layer choices (3mm, 10mm, 3mm) is that I trace the silhouette of the sword on the main later (the thick middle one), because I need to mark and cut out the slot for the core. However, when I make the foam sandwich, I need another tracing on one of the sides, so that I can actually cut the silhouette. And both tracings need to match (at least to a reasonably high extent). So… Double work with some chance of mismatch. Sloppy.

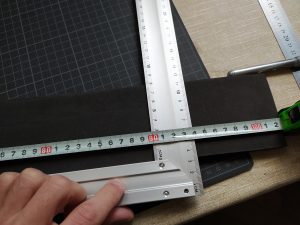
Anyways, I got the thin layers cut to the same starting width – 80mm.

Cutting it down to size. The sword will be 90cm total. The foam sheets I’m using are supposed to be 1×2m, but it turns out the short side is actually a bit more (I have not checked the long side). Irrelevant in this case.

Here I am missing a photo. As I mentioned, here I trace the dimensions of the groove on the thick layer. Here’s the tricky part:

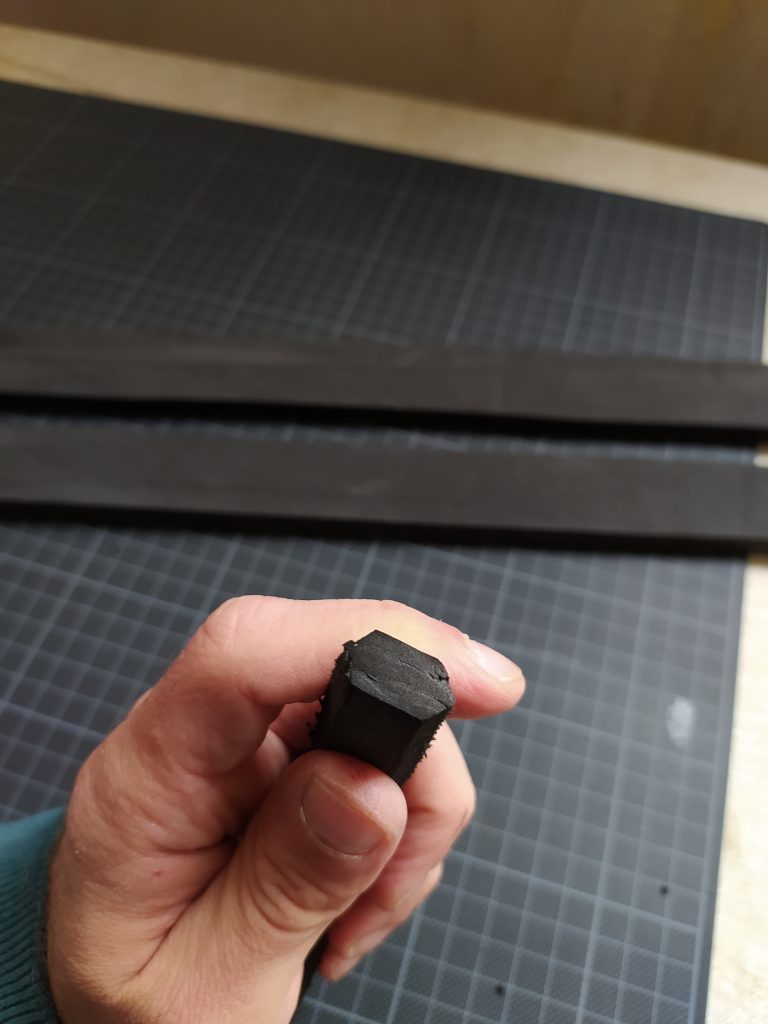
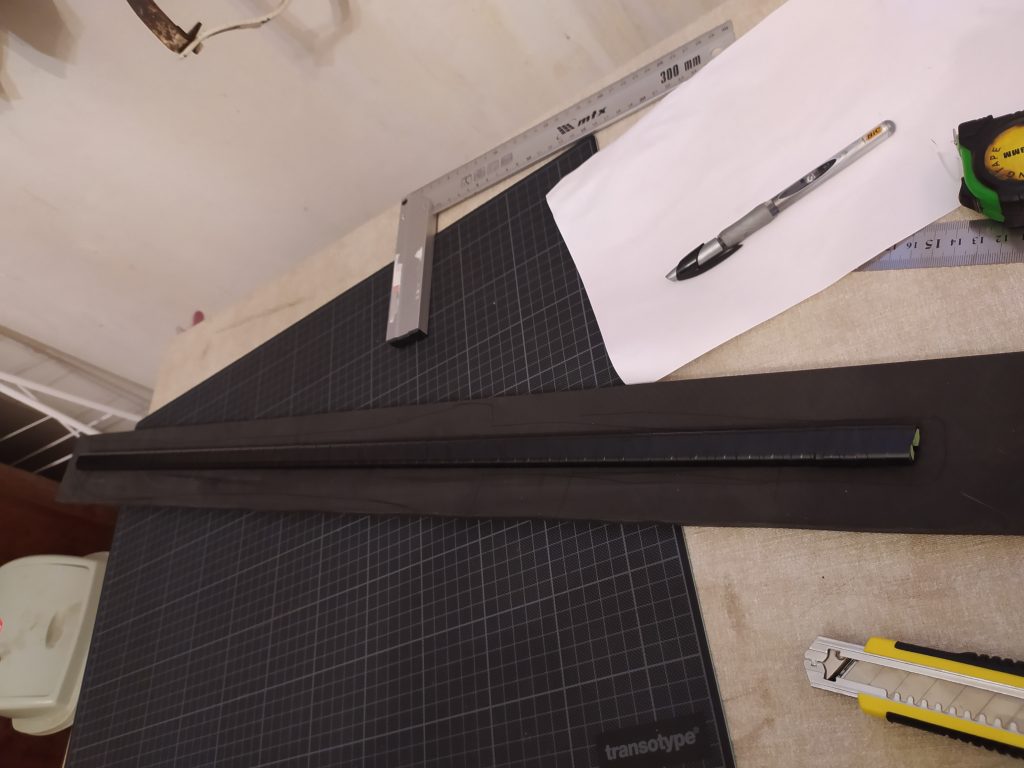
The core is being brought up to a thickness of 10mm (by the use of electrical tape), but the sides of it are still rounded. If I cut a straight groove in the foam, the sides of the core would not fit well. The space there would be too large for my peace of mind. I want the groove to be as close as possible to the cross section of the core, so that I can really count on the glue.

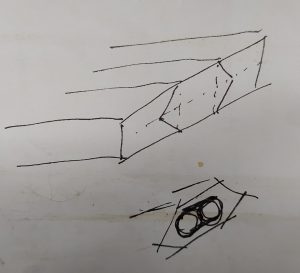
So I need a cut with an internal profile. Something like this:

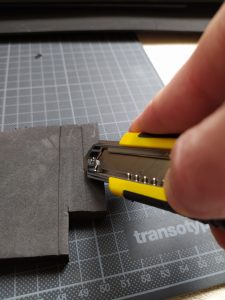
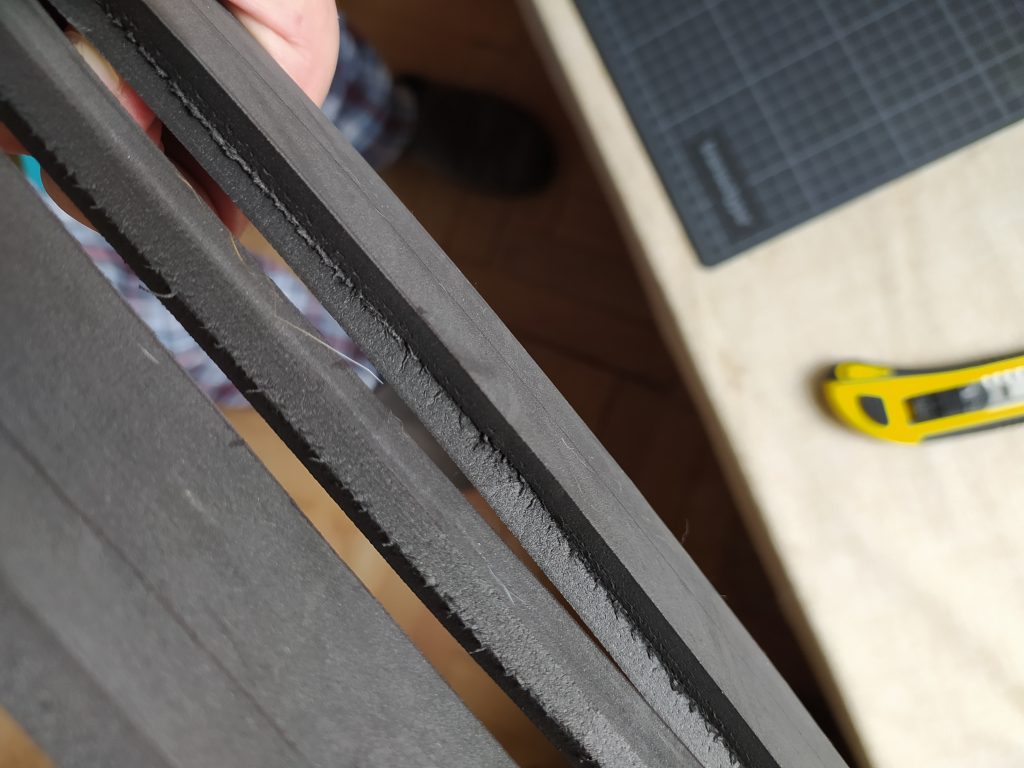
Cut it at an angle along each line, the blade pointing outwards, and you should get what you need. It worked surprisingly well.

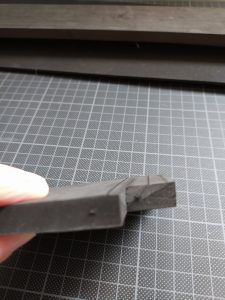
(those are test cuts on a leftover piece of foam)

The middle part separates easily after the cuts.

If you are careful (and with some luck), the space left will comfortably accommodate the core.

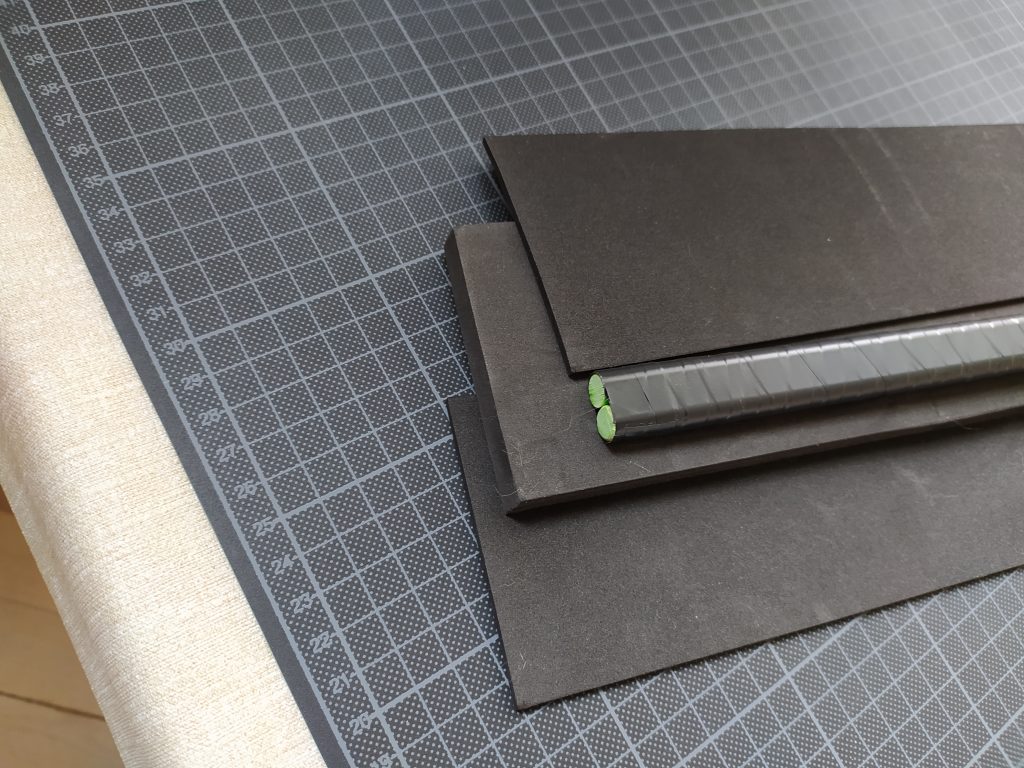
And… a lot of glue – thin layer, thick layer with a well-covered in glue core, then another thin layer. Then fix in place with weights or clamps and wait for the glue to cure. We’ll see in a while.

What I learned:

Cutting the profiled groove: I estimated that if the groove should be a little more than 20mm at it’s widest (in the middle of the foam), then I should make my cuts a little more than 10mm apart. This needs to be a bit more… calculated. I ended up with a groove that is a bit too tight for my liking. Should have ended up with another 1-2mm. Anyways, it was not a disaster.

Cutting a profiled groove: Using the craft knife is not perfect – the body of the knife gets in the way. I’ll start using a blade only, with a marking for the depth of the cut.

Elegant 2.0 – core, foam, basic dimensions

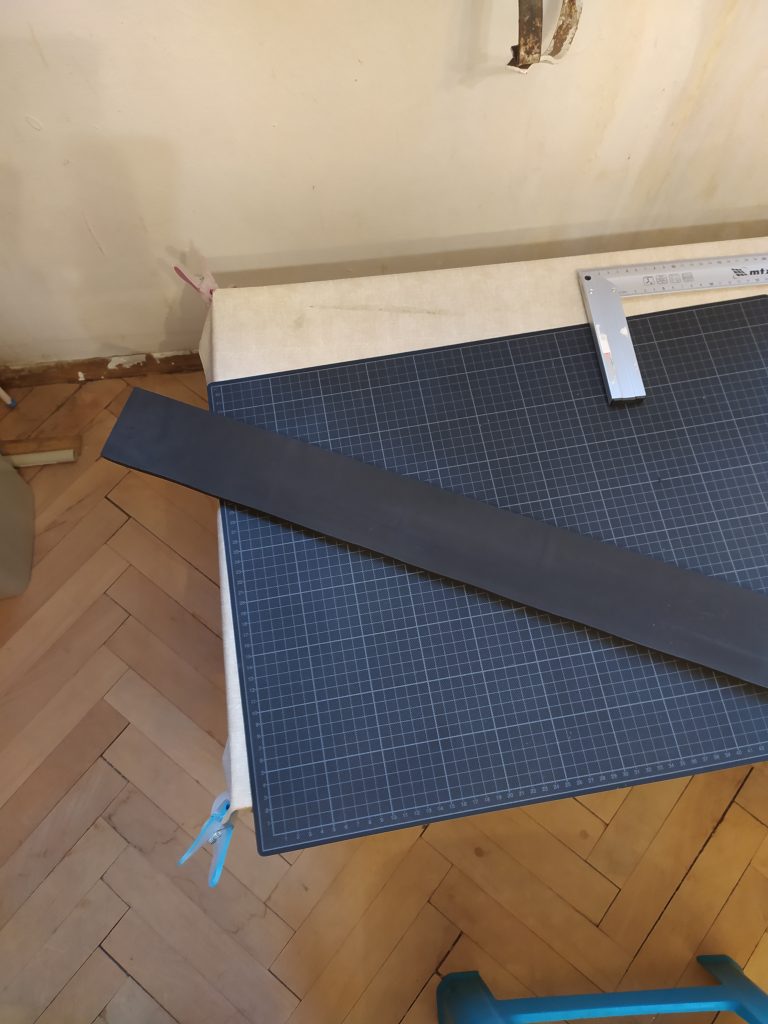
Easy part – getting the basic dimensions of the foam. Version 1.0 of the sword is still around, so I could easily cut a piece of foam for the main layer. The sheet of foam I have is 100cm length, so there will be some leftover, but I don’t consider it a loss at this point, cause I use those pieces for practicing my cuts.

I’m starting with this:

Foam: 8×100cm EVA foam, 10mm, 100% density:

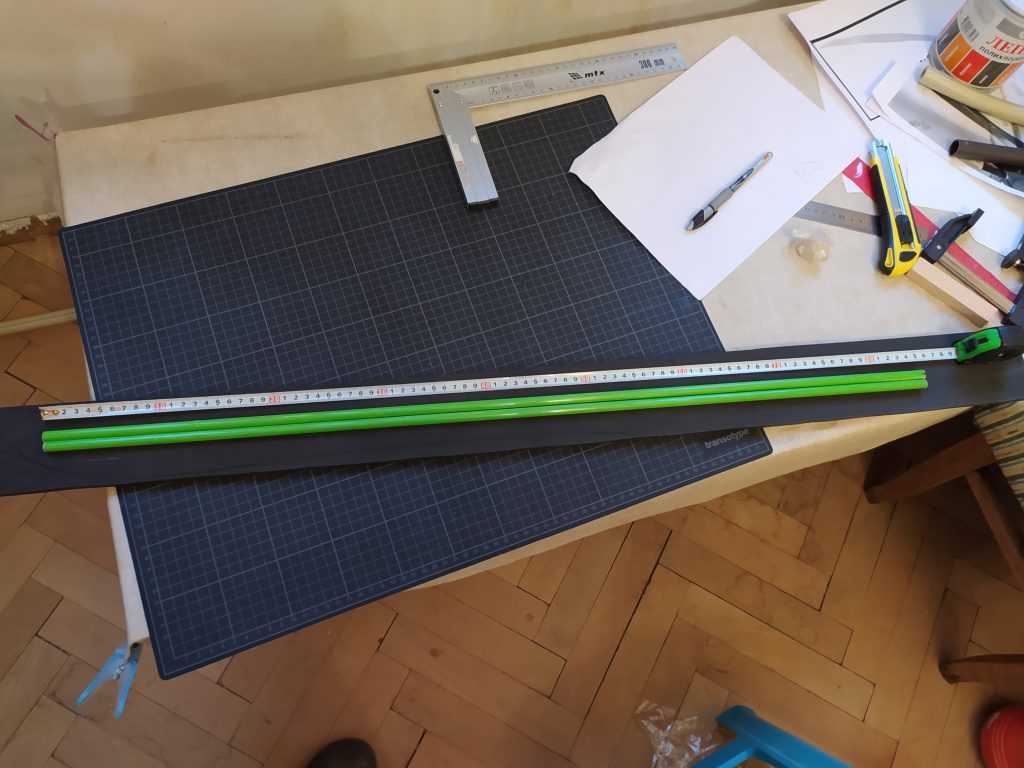
The first version has a single rod for a core. It is not too flexible, but we decided to try with two to explore the differences. 85cm rods to accommodate the lengthening of the blade, compared to v1.0.

Then comes the width work.

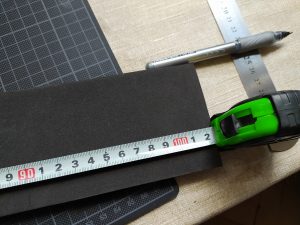
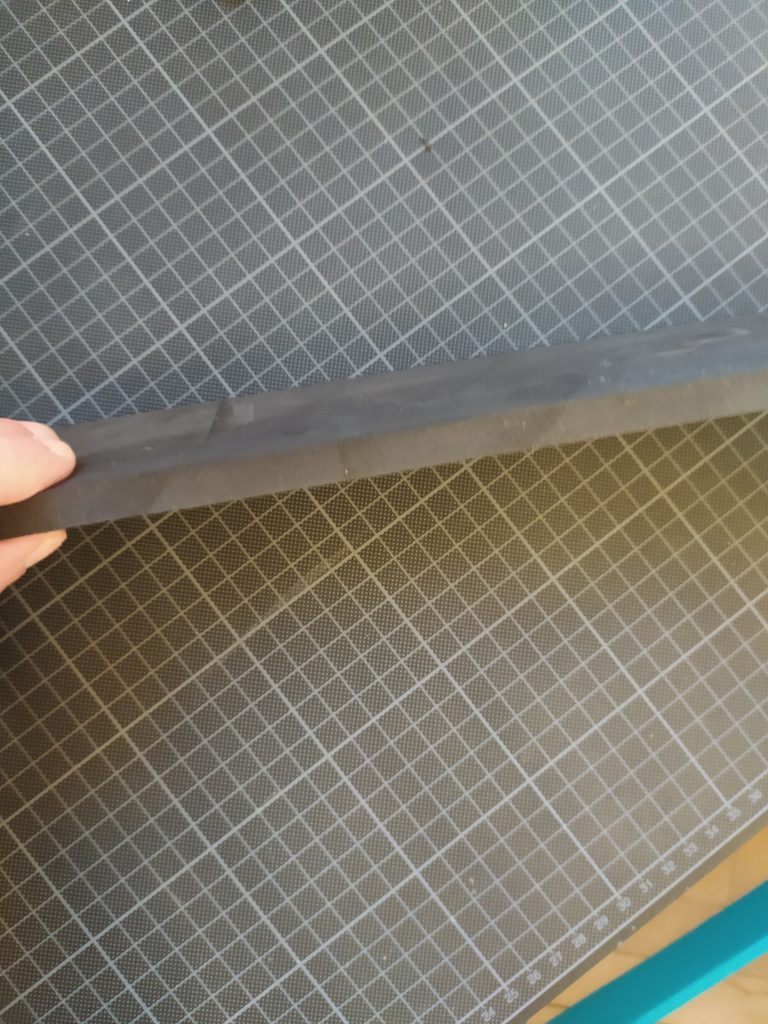
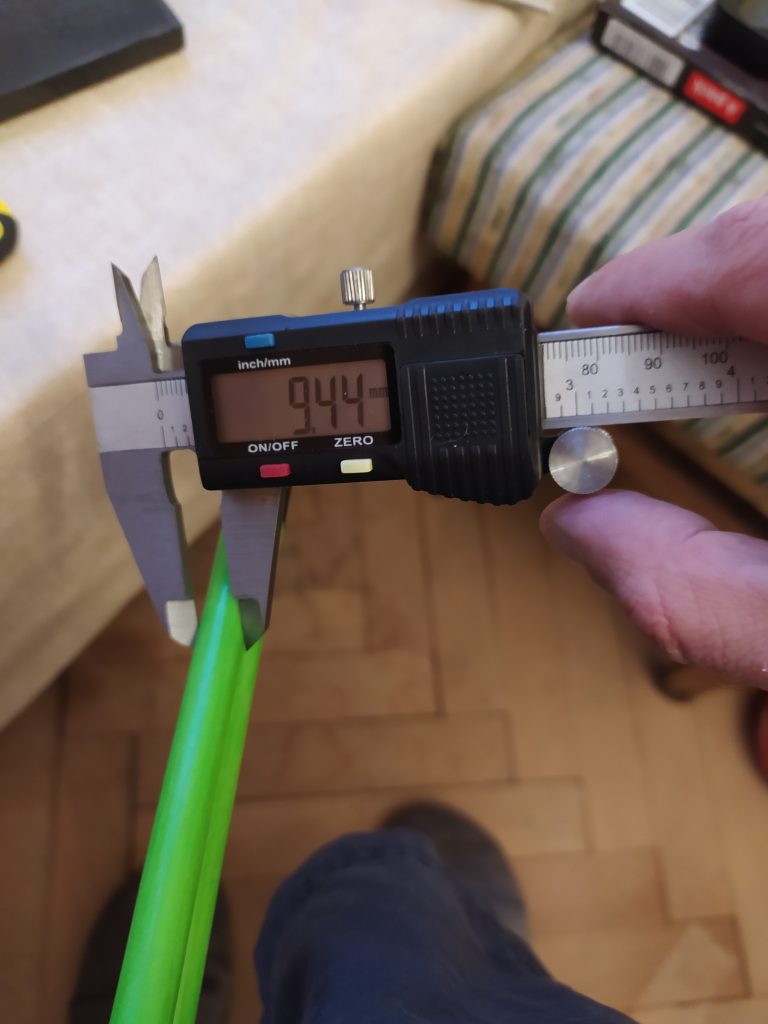
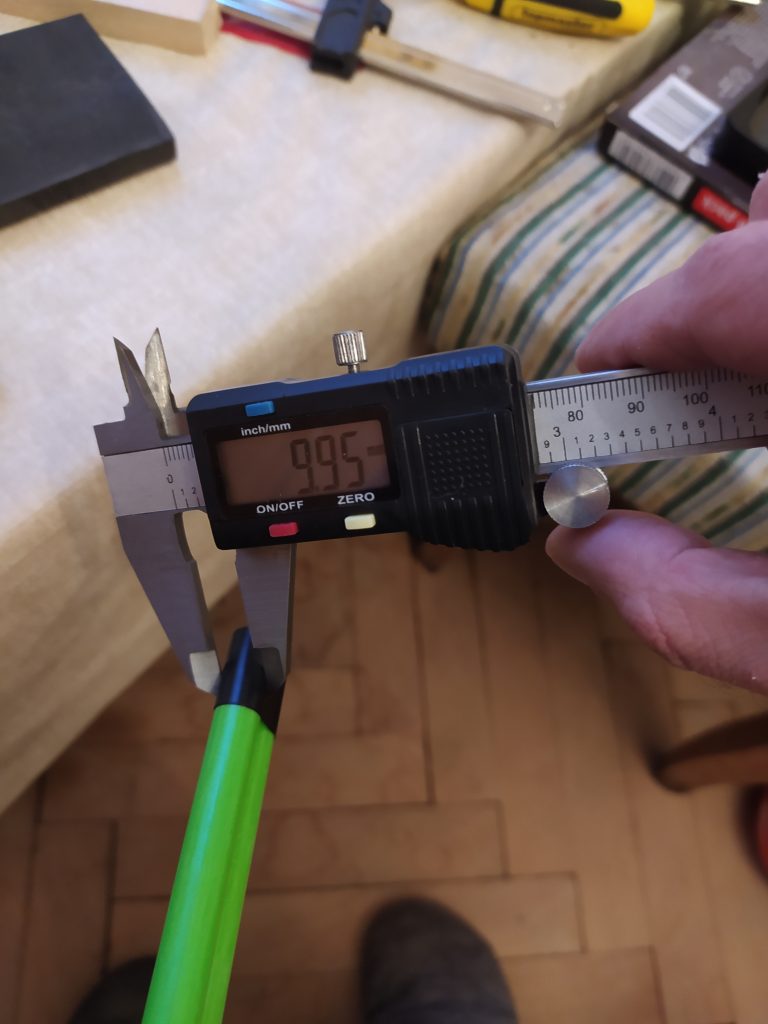
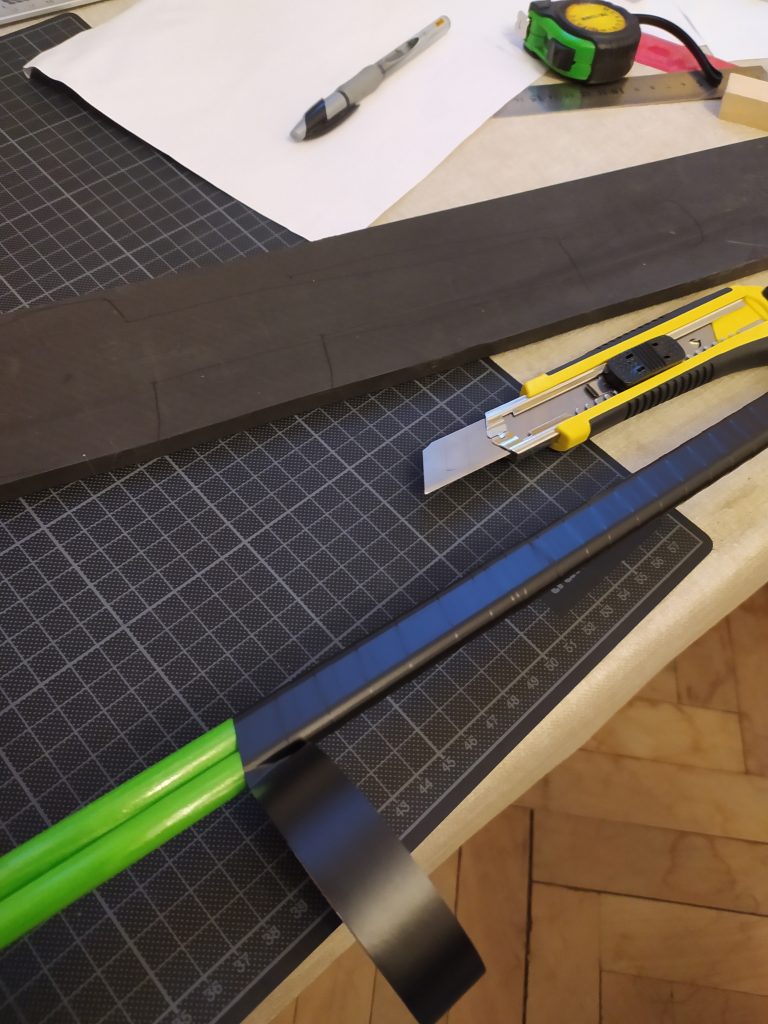
The rod is 9.5mm thick, while the foam is 10mm. It’s kind of fortunate, because the rods need to be tightened together into a single core. This will require a couple of layers of tape, which would also take care of the width discrepancy.

One layer, two layers, double core:

So far so good. Cutting next time.

Elegant v2.0 project (Elegant 1.0)

A second version of an already made sword.

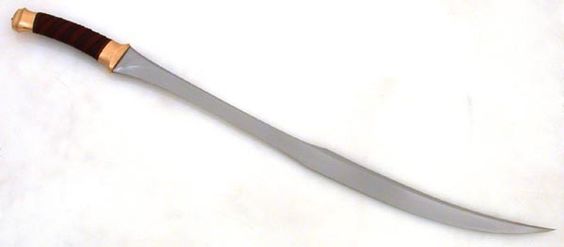
Idea: side sword, single edge, curved at the end (reference image below), training sword (duct tape finish)

https://www.raven-armoury.co.uk/0207scim.html

Reference notes – curvature in the top third of the blade, curvature of the grip, no guard, no large pommel, grip length – standard for side sword

That was my first sword with glass fiber core and EVA foam. The result was encouraging.

Elegant v1.0

Feedback from the first battle test:

  1. Preference – Should be a bit longer (~5cm)
  2. Preference – The grip should be wider (~1cm).
  3. Preference – The widening at the back before the tip should be removed, along with the false edge.
  4. Problem – the end of the grip (where the not-pronounced pommel is) suffers a bit – the sword is generally used with one hand, but the second hand does help from time to time and the end of the grip is not supported (the core does not extend all the way). May be this should addressed. Core does not eatend all teh way through the grip.
  5. Problem – As the layering at the moment is 3 + 10 + 3mm, the boundaries between the closing 3mm later and the main 10mm layer are prone to heavier tear (see below). I’ll try another layering later on, but for now I’m stuck with this. Clearly this works only for training weapons (duct tape finish). For spray-and-paint weapons I’ll have to revert to two-layered pattern (the way most people do it on the net, see Resources).
  6. Hidden problem – by mistake the weapon is actually made out of two parts – the blade and the grip were separate and currently being held together by elaborate pattern of electrical tape ‘wiring’. I’m waiting to see how long it will take for the sword to break apart during training at the grip. It is quite a light sword, with good balance even without weighting, so the sword may live longer that I initially anticipated, but… we’ll see.
  7. Problem – the core of the weapon is a 9.5mm rod, while the main foam layer is 10mm. I did forget to compensate that, so you can feel that there is a hidden groove in the blade. This means that the glue does not pull it’s weight and the blade is prone to dismantling.

Resources!

Materials

EVA foam:

Selecta – distributors of EVA foam; large variety; hard to find online, as it turns out, but if you know them – that is THE PLACE. It’s advisable to check online or over the phone if they have your particular foam in stock, but they usually do.

Fiberglass rods

badu.bg/Sterado – Badu is only a seller’s platform. The company selling the rods is called Sterado. Badu is very hard to… navigate. I think their product search is non functional. So I’m still looking for another source of the stuff. Another problem with these rods is that Sterado sell 7.9 and 9.5mm rods (diameter). I’ve been using only 9.5 up until now, because a layer or two of electrical tape can compensate for the missing 0.5mm, so that my core can match the width of the EVA foam I use (10mm). Other sources are in need…

Video resources

The treasure hole:

In my opinion – the BEST set of video tutorials out there! Focus on the “cheap”, without ending up with a scrap weapon. And the guy has real talent for making those videos.

It is a pity he only made those three videos, but on the other hand – nothing is missing in terms of content.

TtcCraftworks:

Great channel! Well presented stuff, clear and understandable procedures, basic tools only (or mostly, he has a belt sander). Justifications for each procedure, so you know the “whys” behind the “whats” and “hows”.

I wish the channel was more popular.

Handheld sewing machine:

Yup, I got one as a gift. I have only done basic testing on a piece of cloth, but it would be sufficient for small things.

This video has all you need for familiarizing yourself with the use of the thingy.

Addition:

This cool video:

The guy has made only one video so far, but his method of work is similar to mine, so it’s relevant. More importantly – he explains well his actions and their consequences, so it is worth watching. Also he includes some sparring with the weapon and shows the effects of that.

Addition:

https://www.youtube.com/@MarisArmoury/videos
MarisArmory has a lot of good info. Purely in crafting terms, most videos are about sewing (which I have recently picked up), but there’s also a lot of good advice and shared experience.