
I skipped a photo, I think. There should have been one showing the rough cut.
Anyway, it was (as it should be) the most nerve wrecking part, cause you can’t undo the cutting. And the experiment with a double core made me anxious, because I had 20mm I had to avoid in the middle, instead of 10mm.
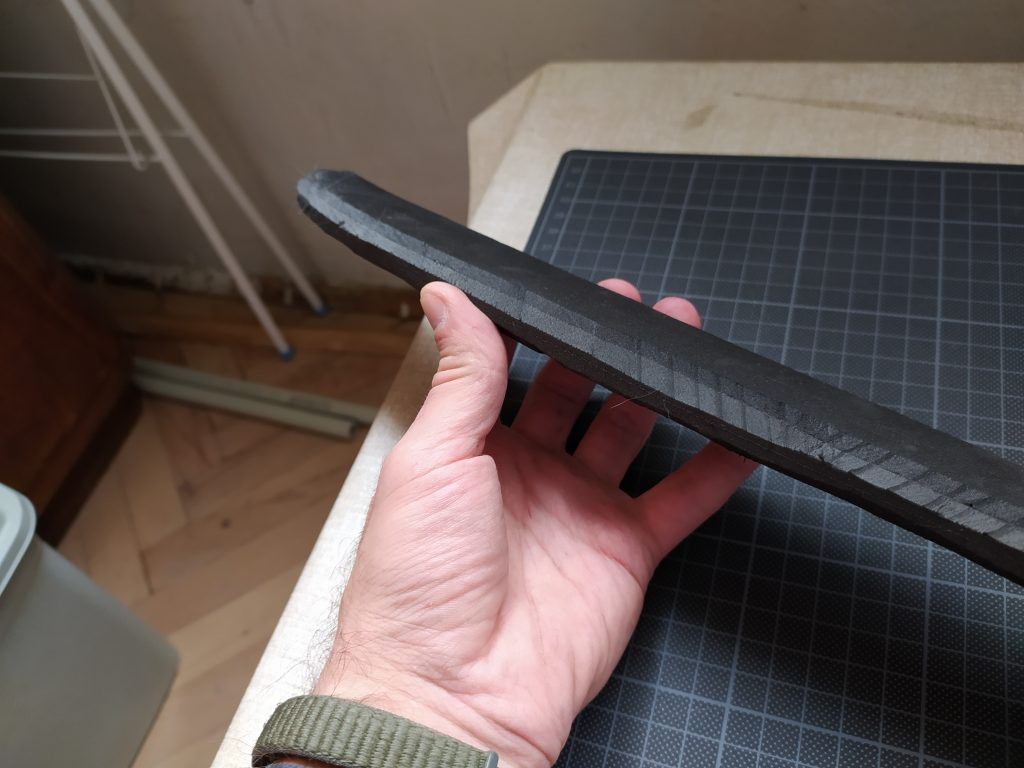
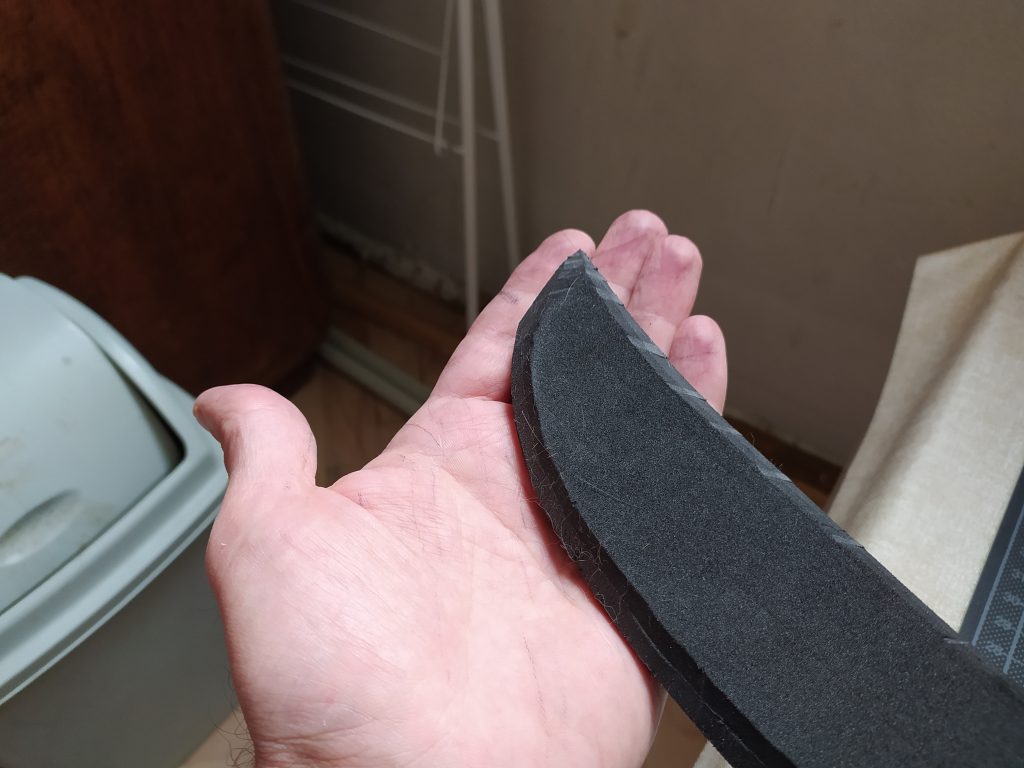
Anyway, I cut the shape, then beveled it as much as I could. Here is when I found that the core is too long, should have kept it ~30mm shorter (see at the end).
Here’s the tip after beveling:
Then… the hell begins.
I don’t have a belt sander (nowhere to mount it, at least) and I currently don’t have a rotary tool, so I had to do the sanding by hand.
Technically sanding was not necessary for a training sword with a lot of new and untested stuff, but I did it for the XP.
And yeah, 100% density EVA foam makes a mess.
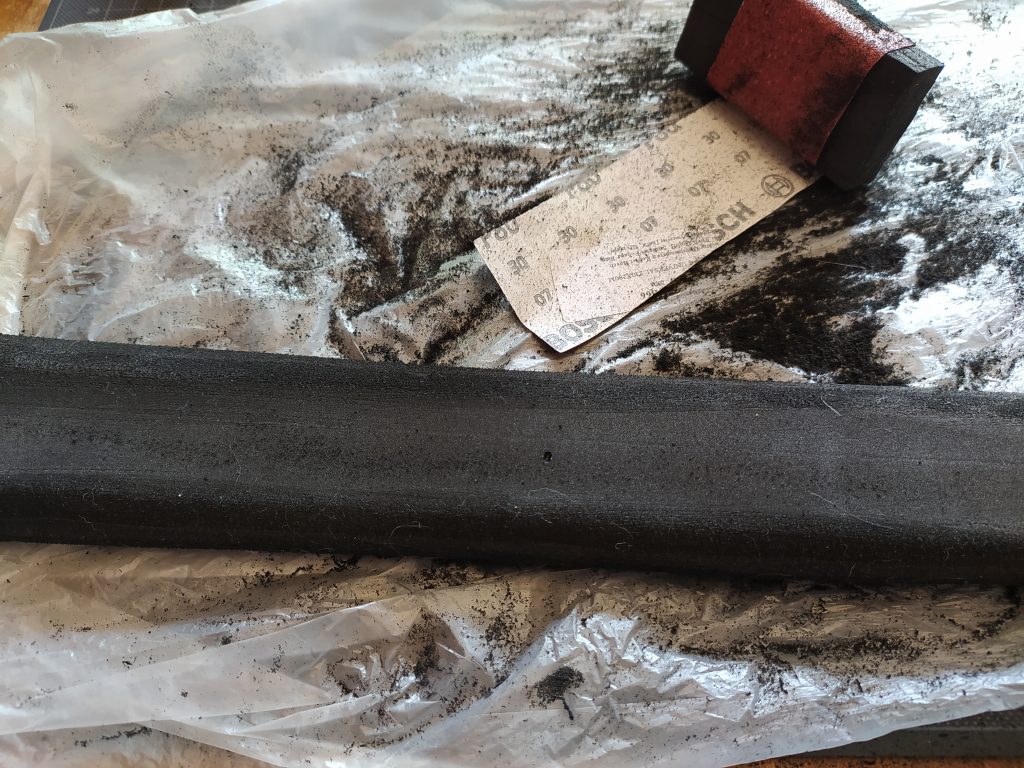
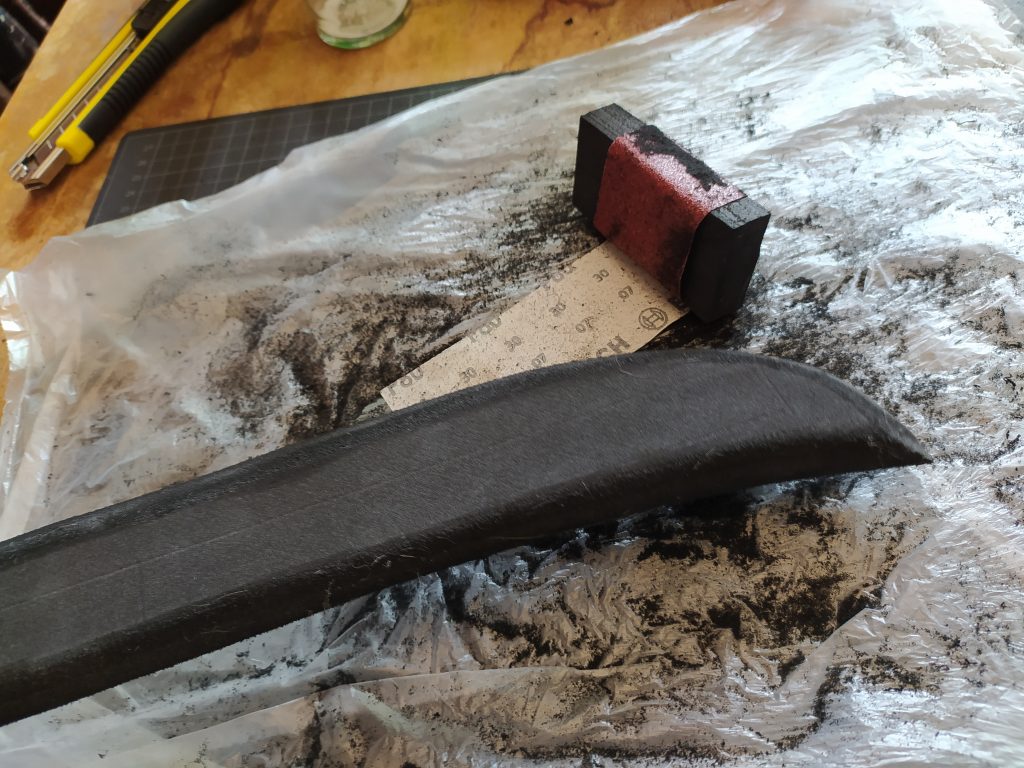
The good thing is that the dust does not pick up static electricity. It inevitably ends up beyond the boundaries of your working area, but at least it’s easy to vacuum later and even clean by hand from the smooth surfaces.
This part of the process is wide open for improvements.
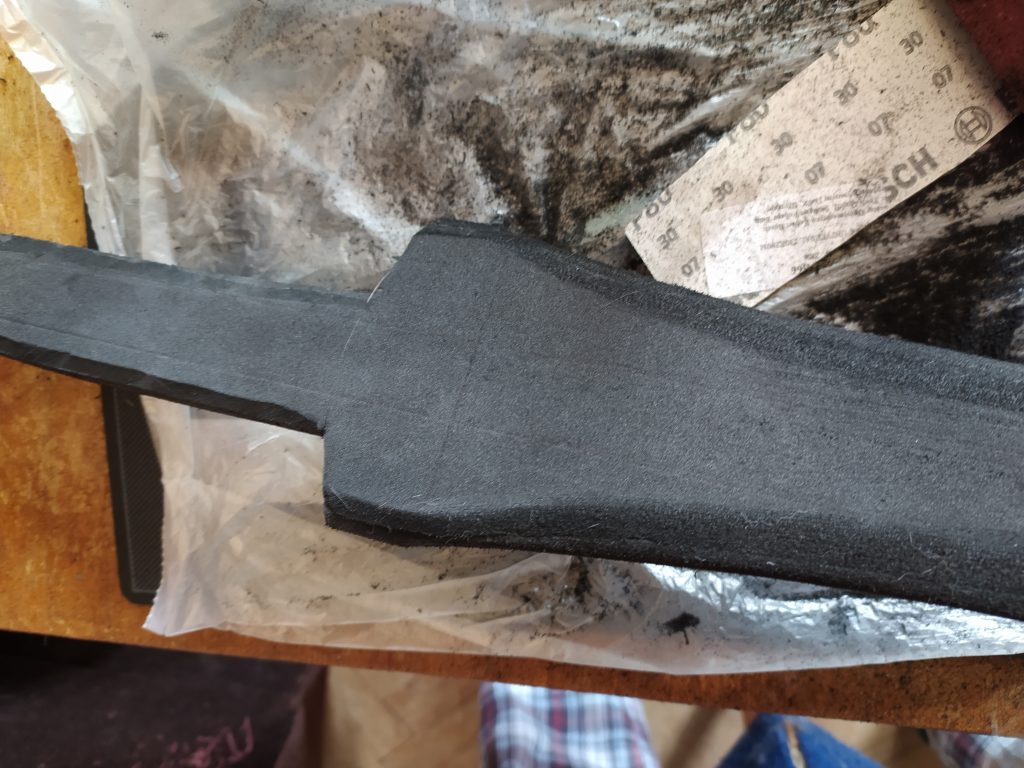
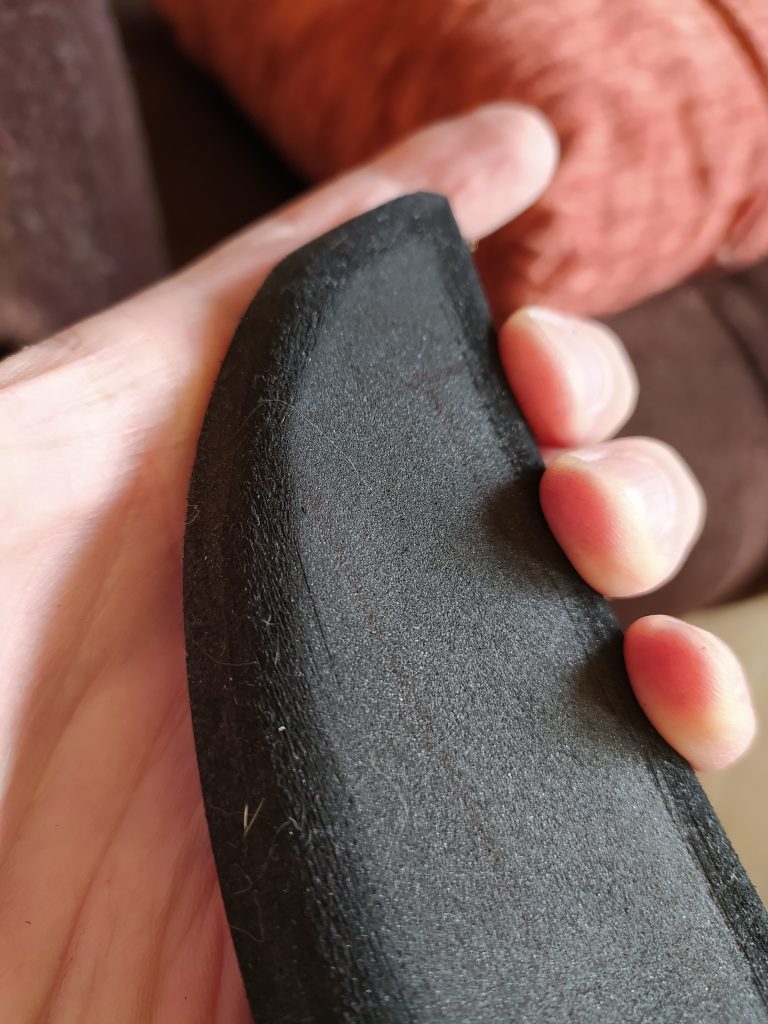
Then there’s a part that is again not necessary for duct taped training weapon, but I did it for consistency – passing over the sanded areas with the heat gun. At the least, it gives great satisfaction to see the foam cells close in a wave under the hot air.
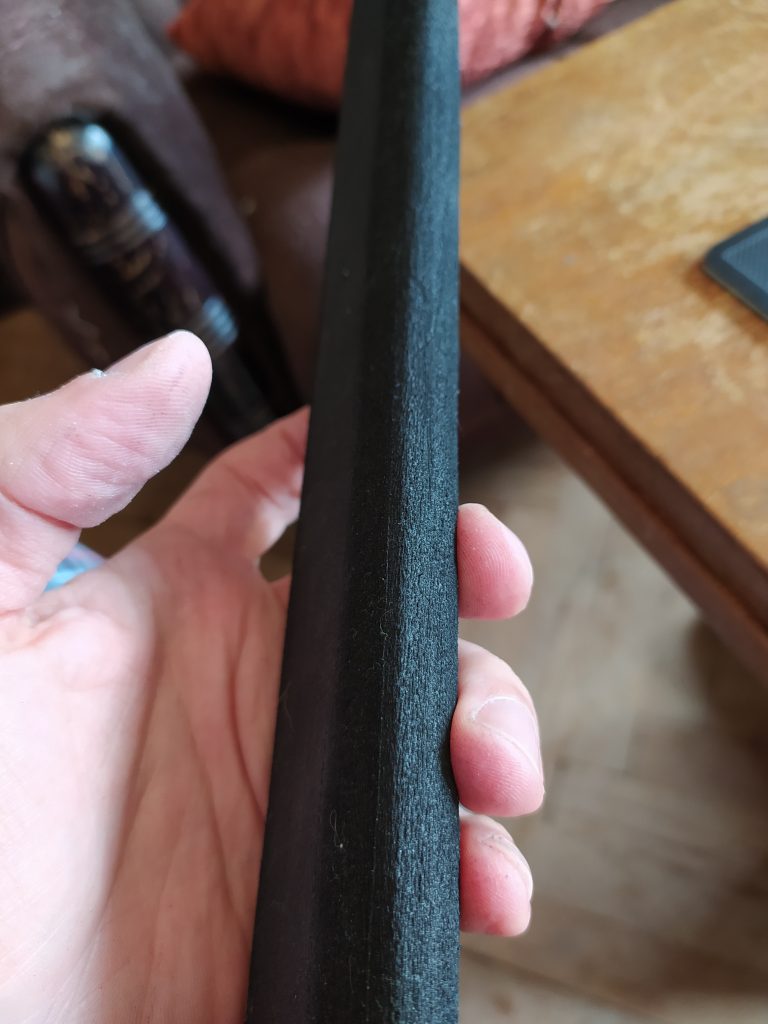
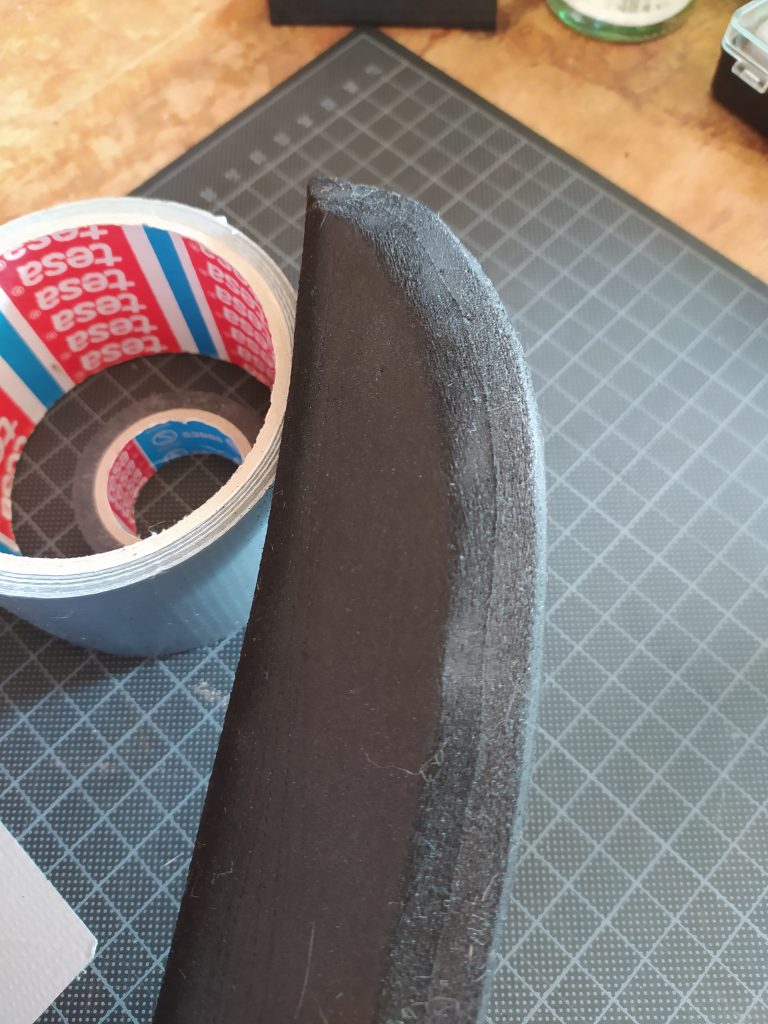
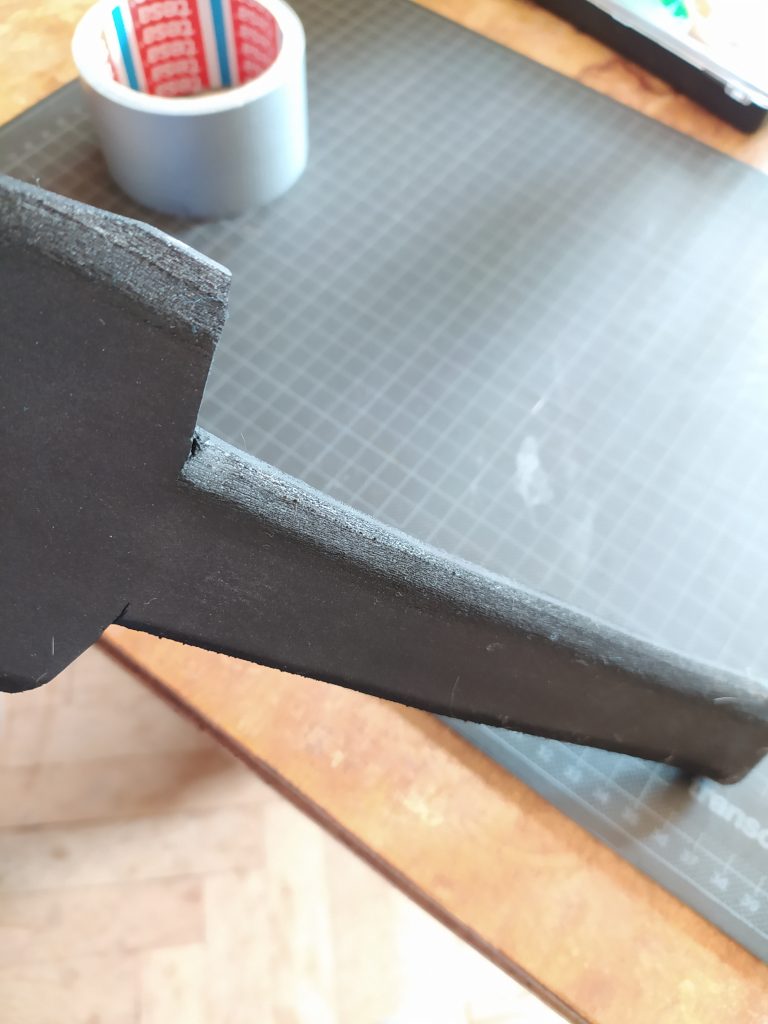
You can still see the roughness of the surface. That’s because I did the sanding by hand and also used only one size sandpaper – 80. In an ideal world (proper power tools) the sanding would be much finer with a 120 after the 80, may be with an even finer grade at the end.
Also, the cuts between the grip and the blade are not perfect. Again – good for a training sword.
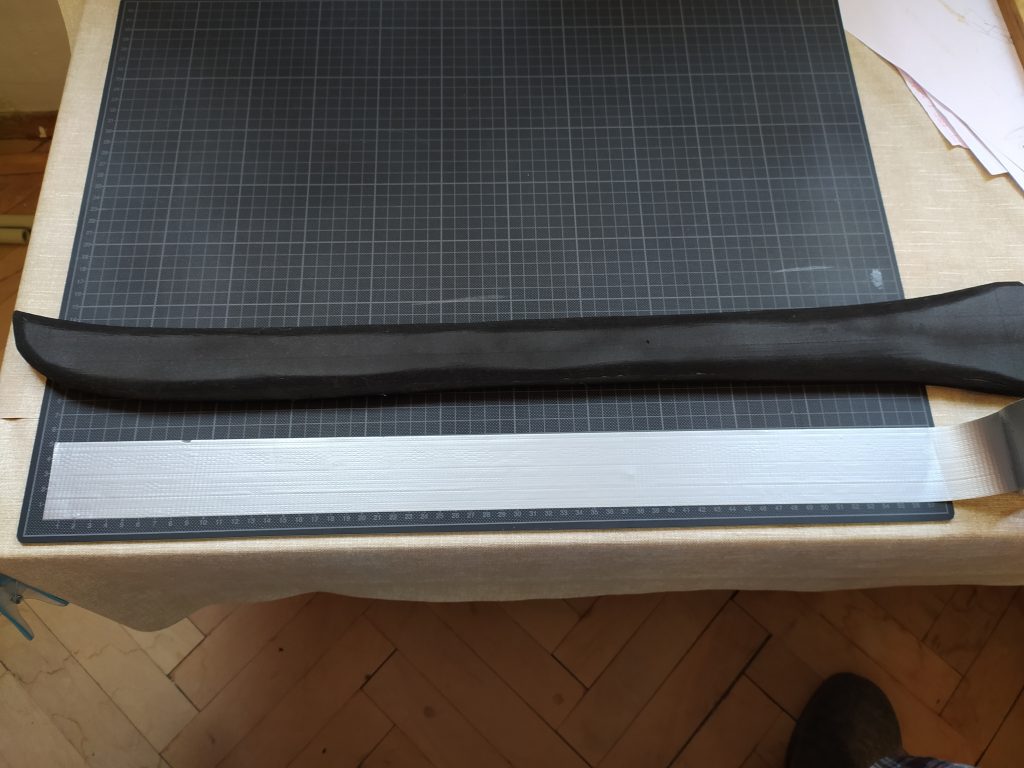
Yup, last portion – the covering.
Here’s what’s important to have in mind:
- I don’t have a way to prevent fragmentation of the tape at the tip – it is what it is, the duct tape does not bend, so there will be a lot of cuts.
- Concave parts of the edges have to have separating cuts – the stronger the curvature, the closer the cuts to each other. This results in empty ‘slices’ on the sides of the blade where the cuts are made (it will start making sense in the photos).
- Convex parts of the edges will also have such cuts, this time to prevent wrinkles. And the concaveness means the pieces surrounding the supporting cuts will overlap. So at least they should overlap in the same direction (symmetrically on both sides of the blade).
- Some parts of the sides of the blade need to be covered before anything else, to ensure that when longer, more conforming to the shape strips of tape are put, there will be no visible foam around them.
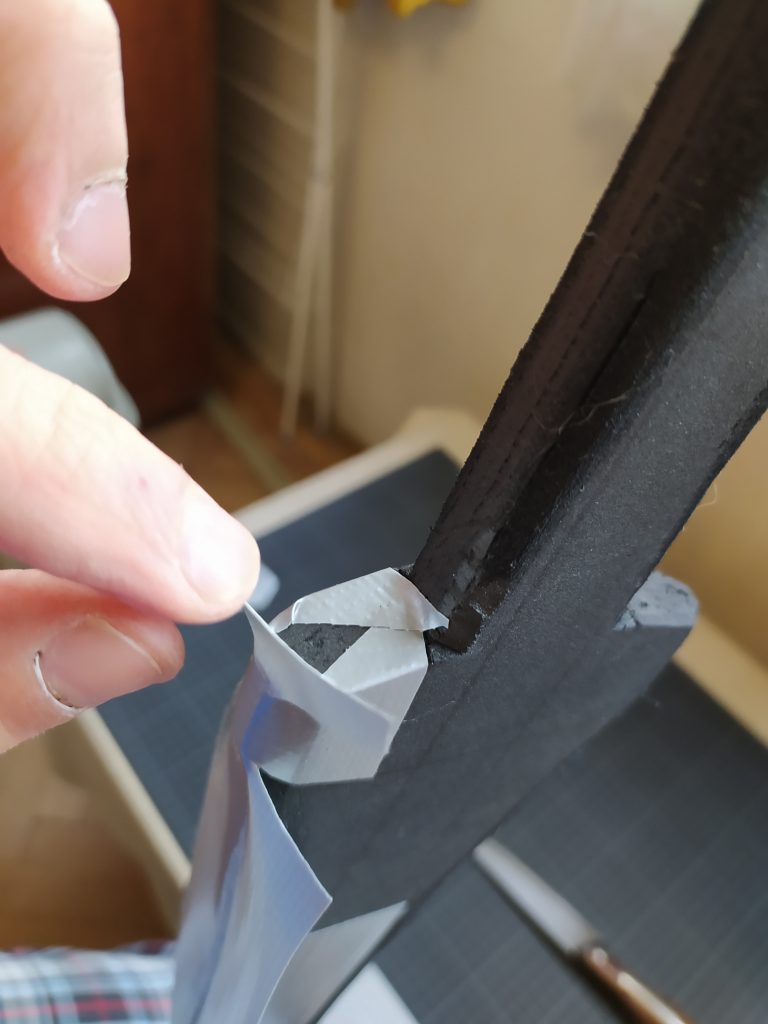
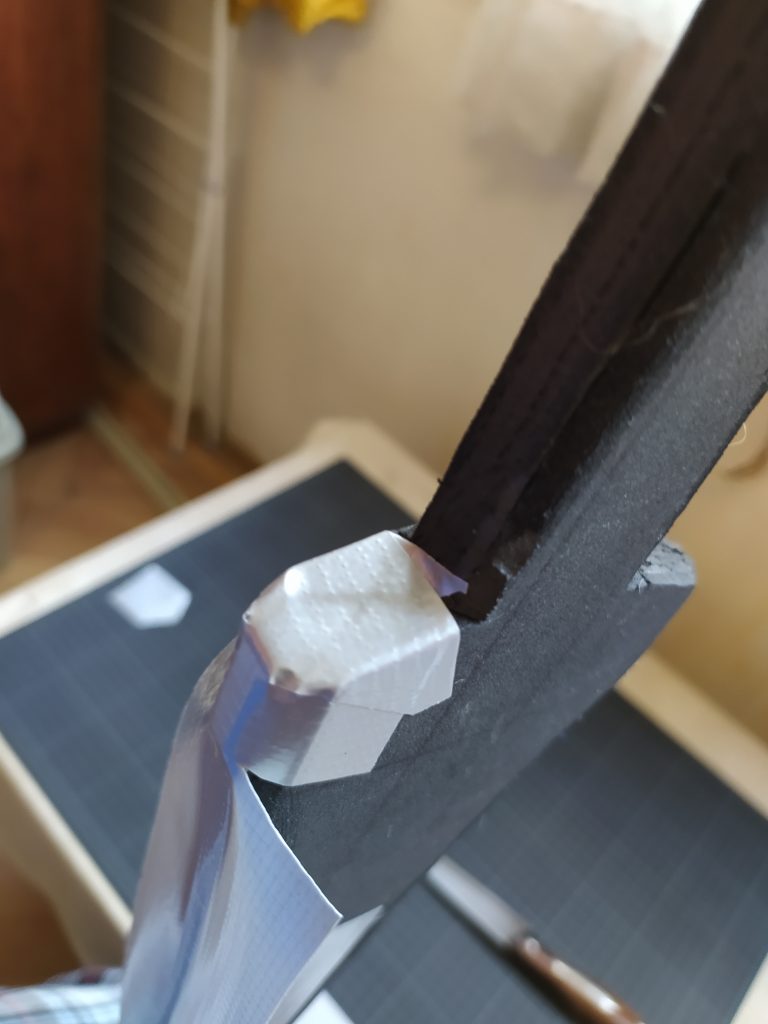
First – initial layer for the tip of the tip.
- Place a piece of tape.
- Make radial cuts, starting from the tip – this will separate the tape into portions that will cover the tip from different sides, while keeping the tape at the tip of the tip continuous.
- Fold.
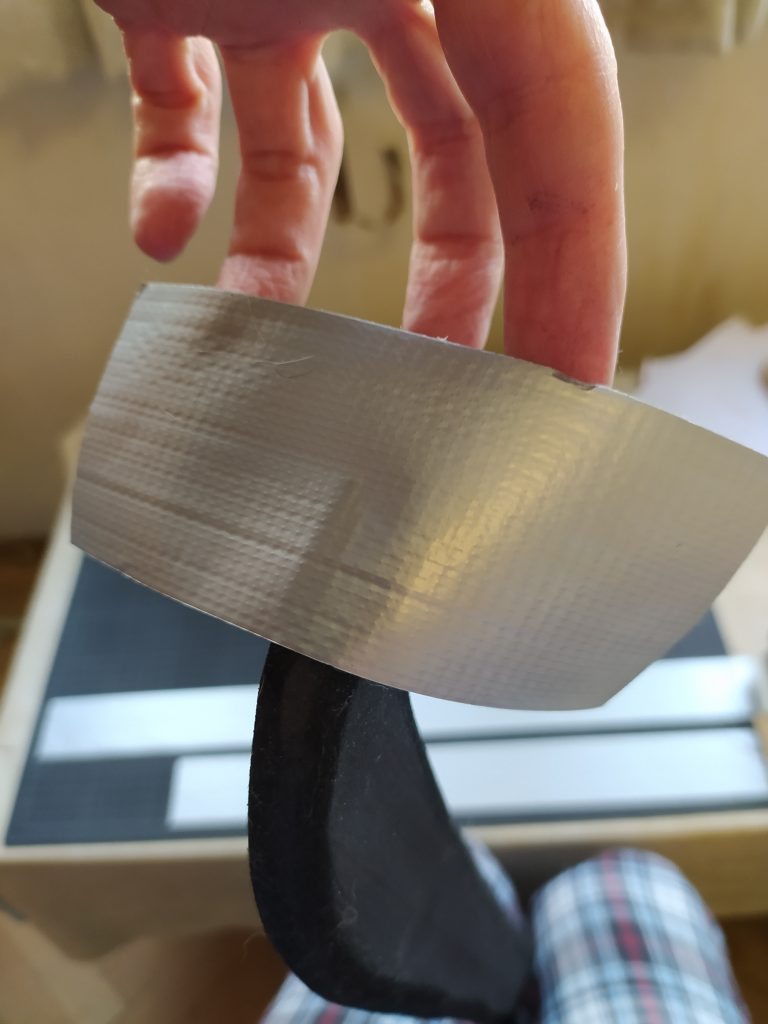
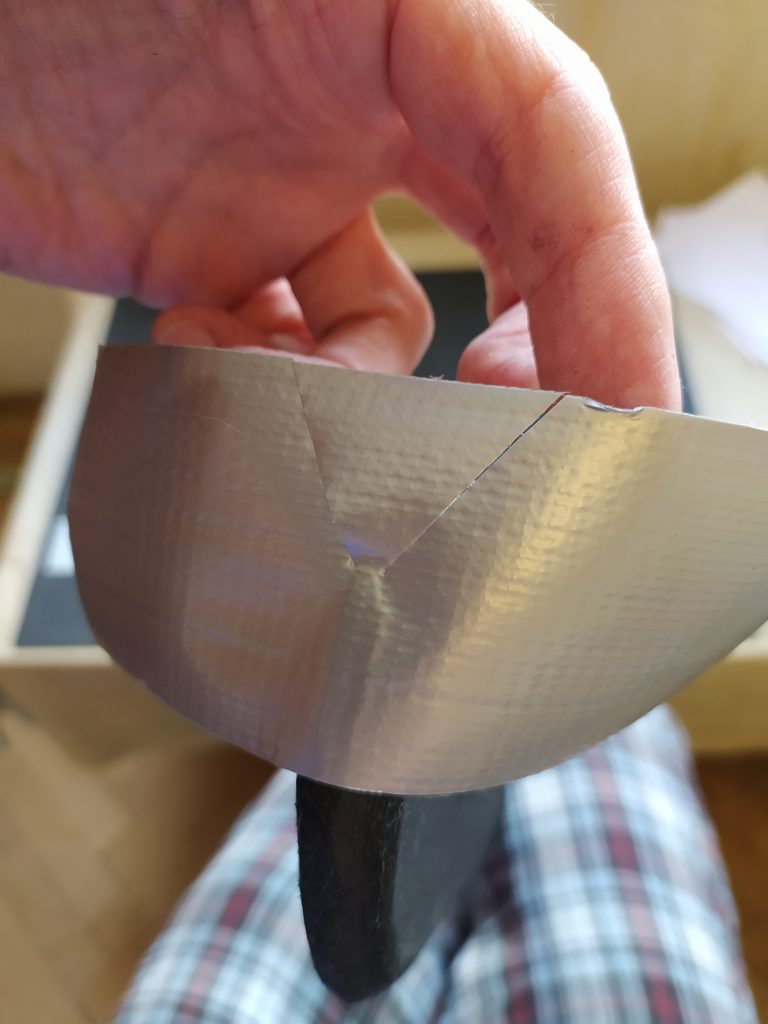
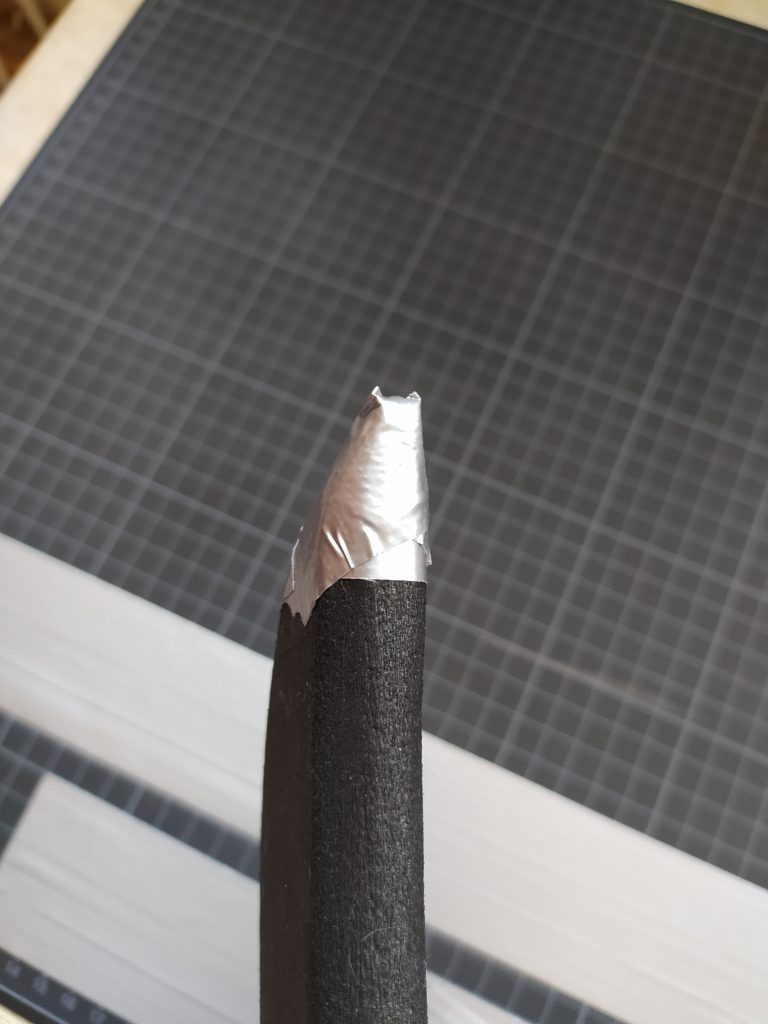
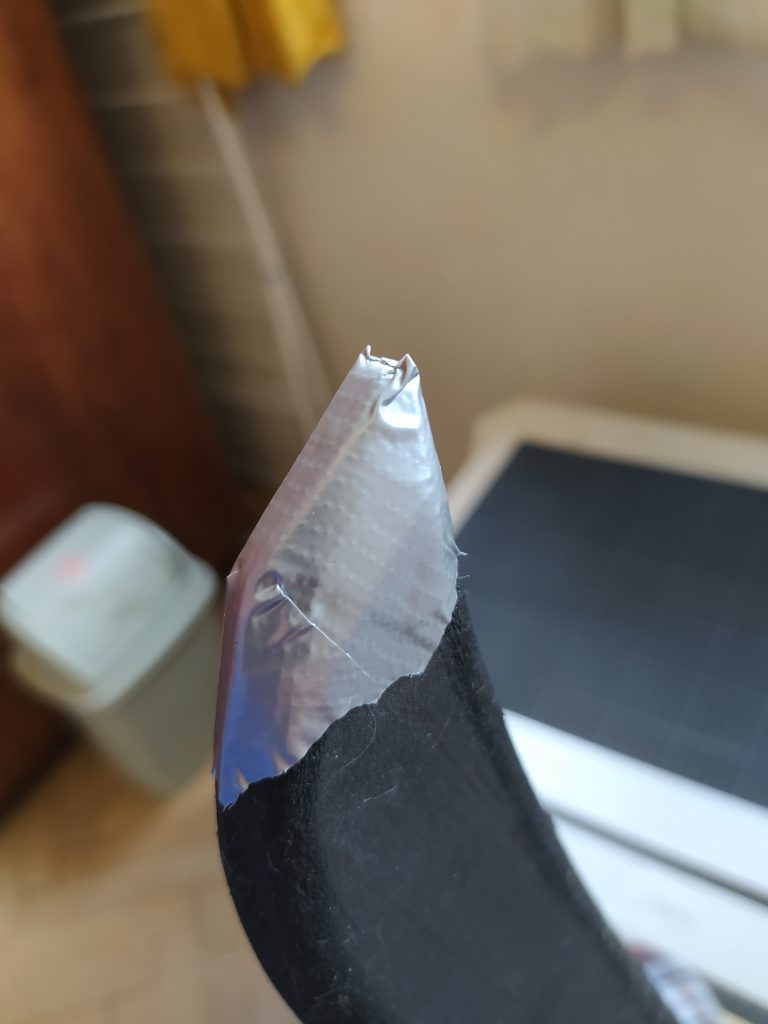
A bit ugly, I know.
Then lay in the ground work for the back side of the blade. Most of this will be covered with another layer, but we need to make sure everything is covered on the lowest level.
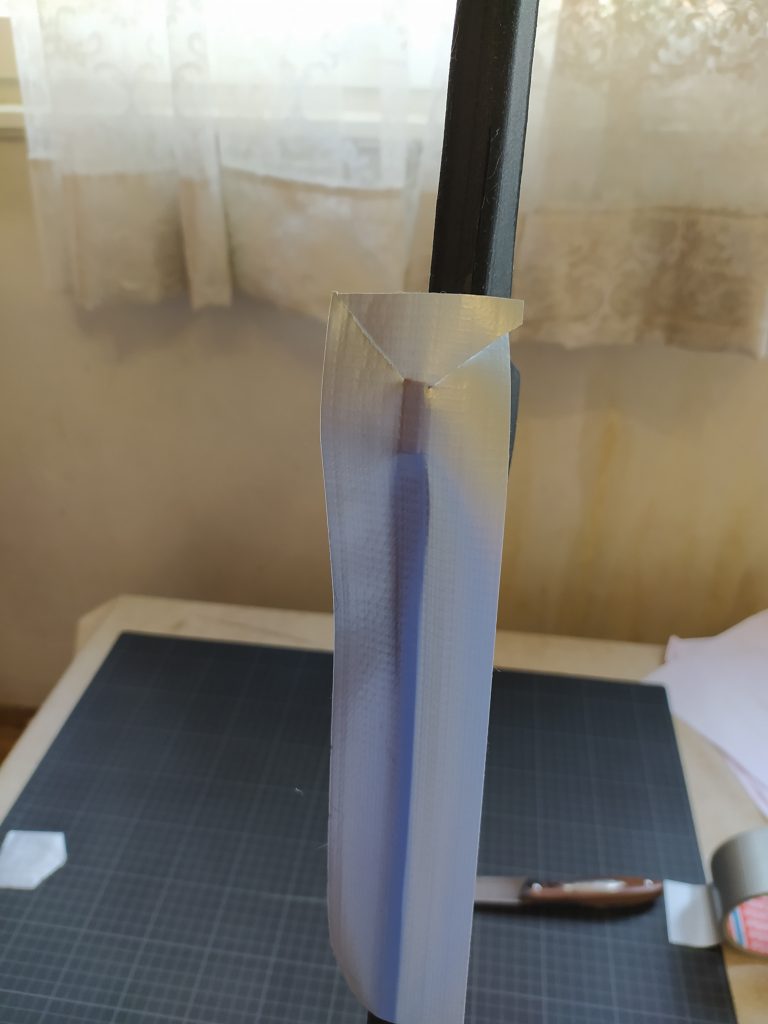
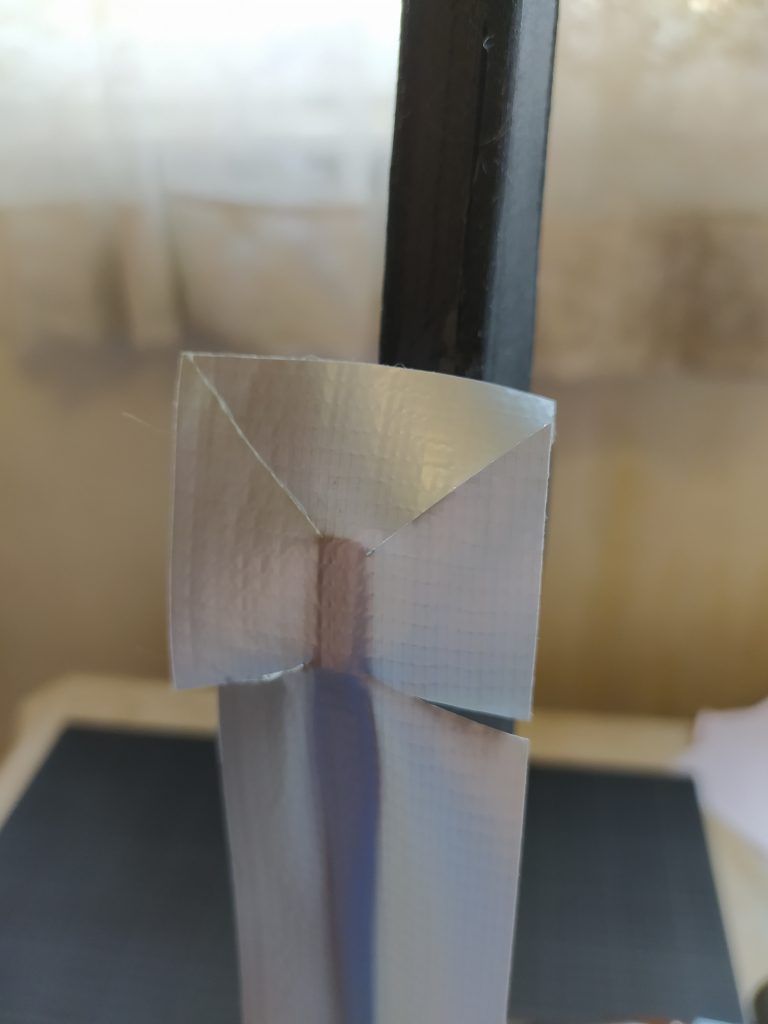
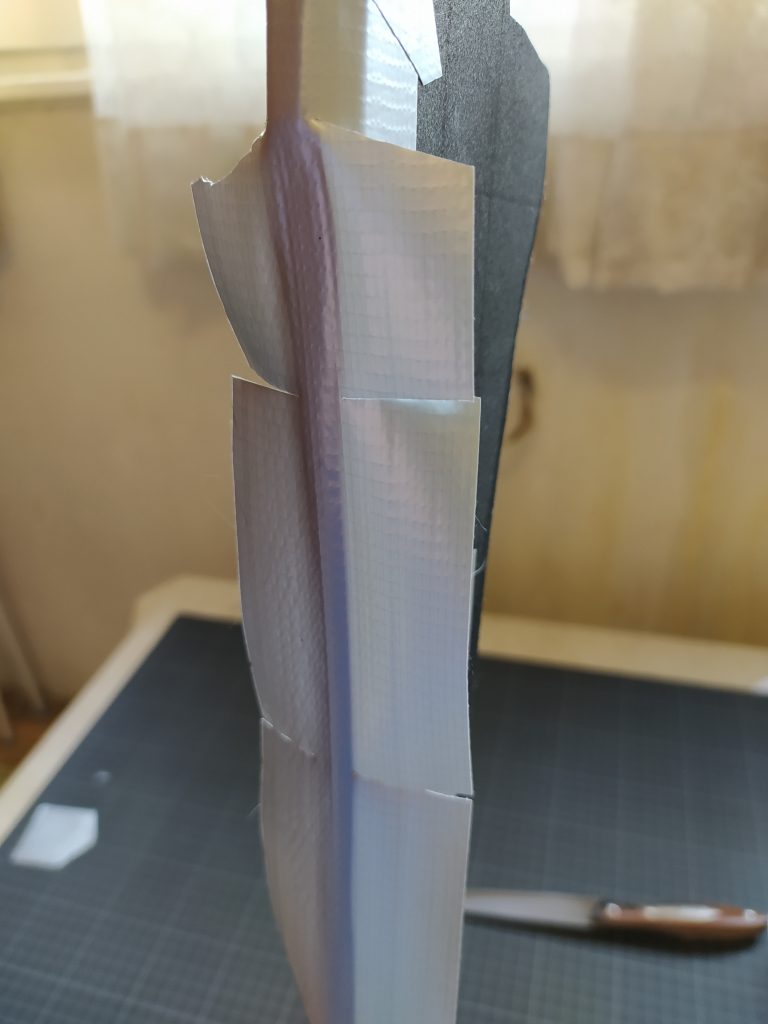
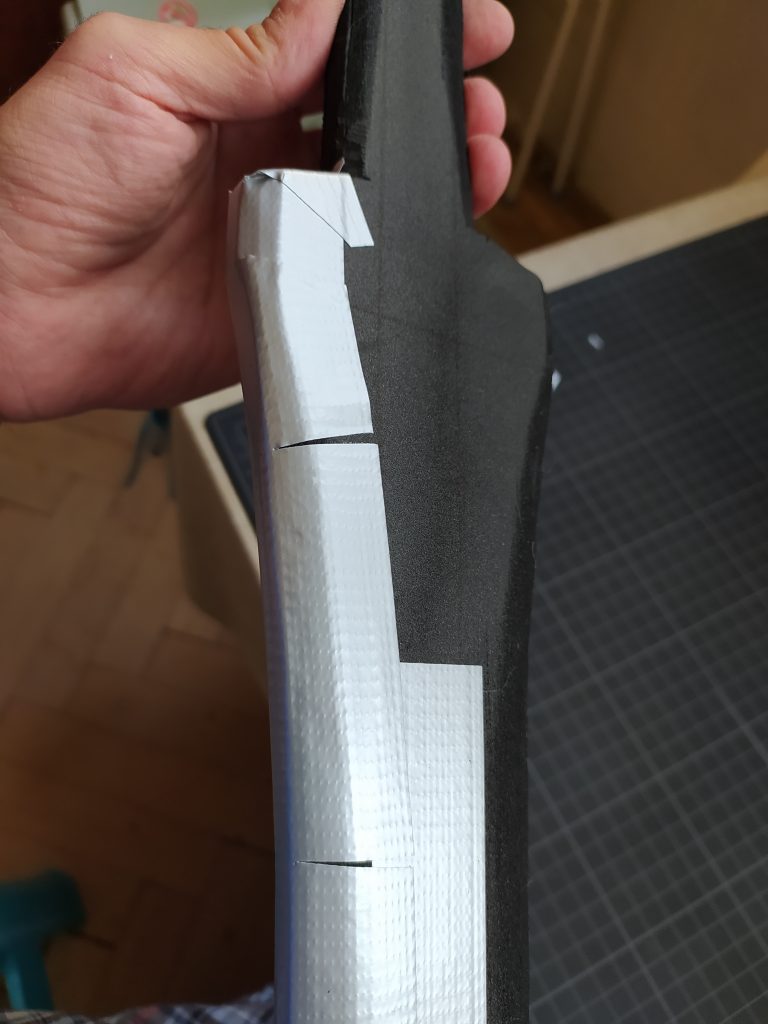
You can see here the empty patches left when you make the supporting cuts along the tape. And you can not avoid the cuts, because:
a) curvature (negative; curse you, Gauss!)
b) non-stretchiness
Usually, I place thin supporting tapes below that, but I needed Q.E.D for the photos. So now I’ll place the tapes above the… fractures (I like that term for this, I may continue using it).
Here are those supporting tapes around the concave portions of the edges.
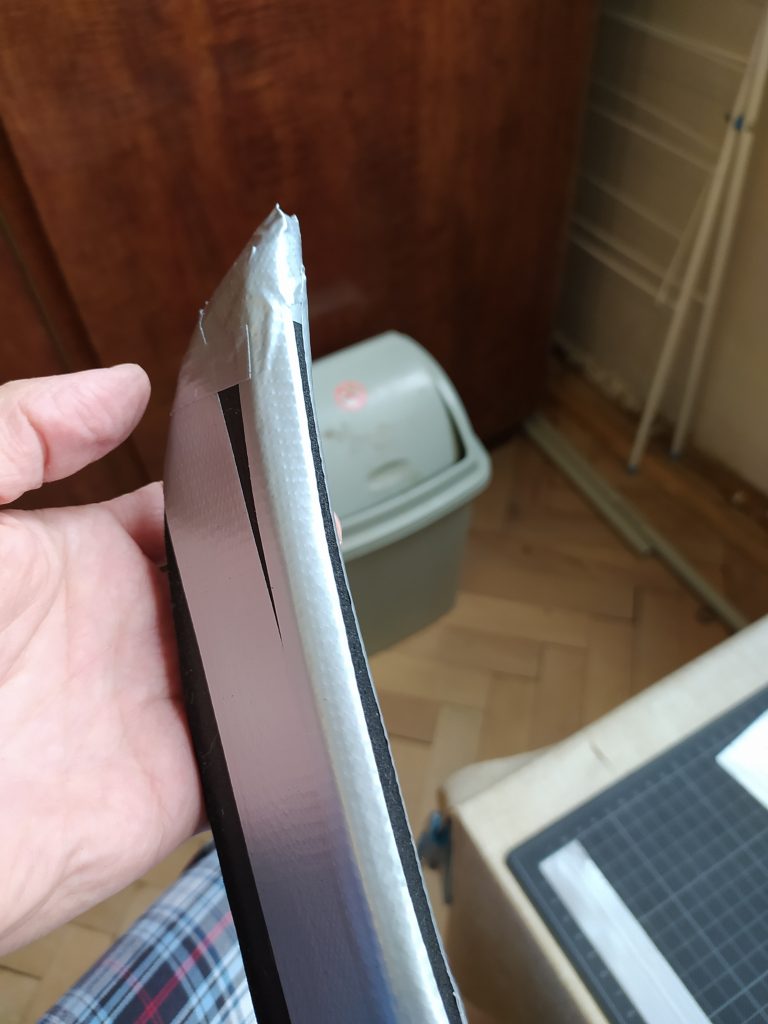
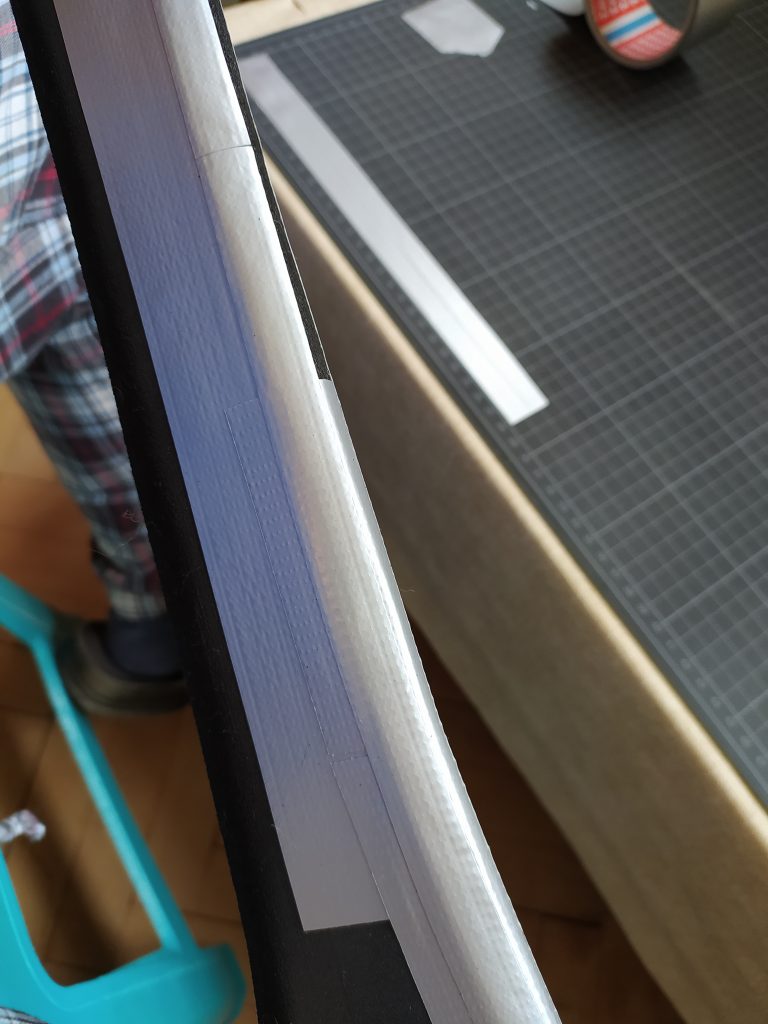
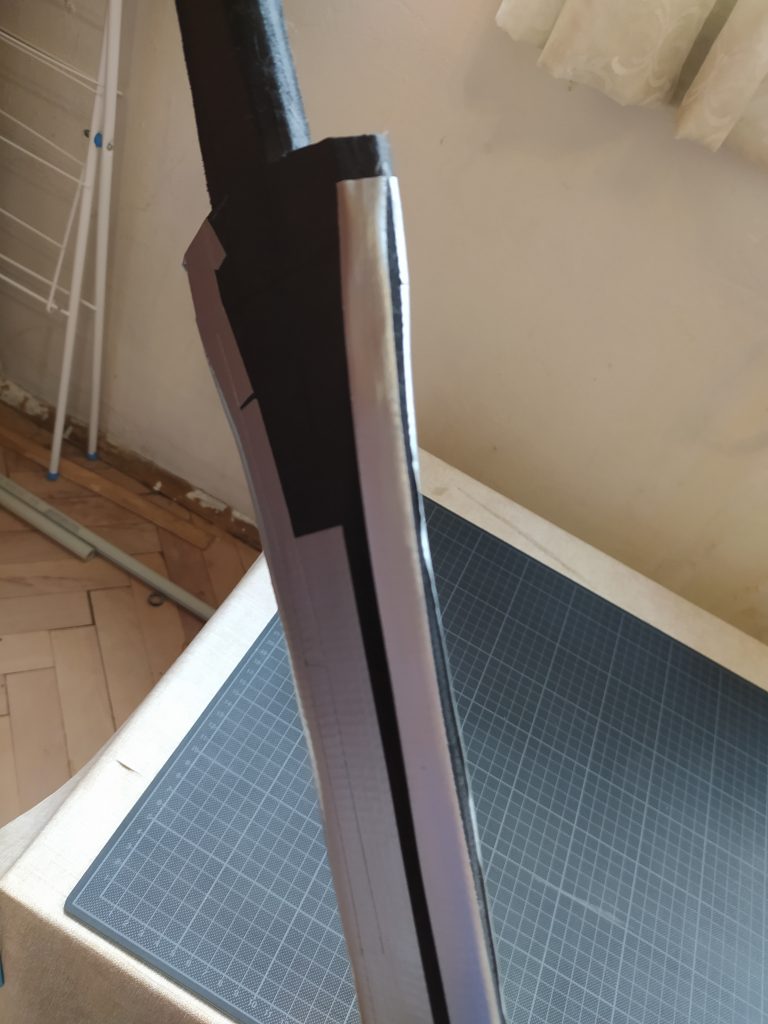
Aaanyway. After the thin strips to support the concave curvatures and the wider patches to cover the tricky bits, it’s time for long, full width strips to cover most of the blade.
I could go full length, but it’s easer to prepare a tape not longer than my cutting board. Also, for a training weapon, it’s good to have long continuous strips of coverage, but it’s not a disaster it you do not cover the whole edge in one go. The longer strip you try to use, the more unwieldy it gets, so at some point it’s not worth the trouble and the risk of a sticky tangle.
So I start by covering about 60cm, starting from the back of the blade.
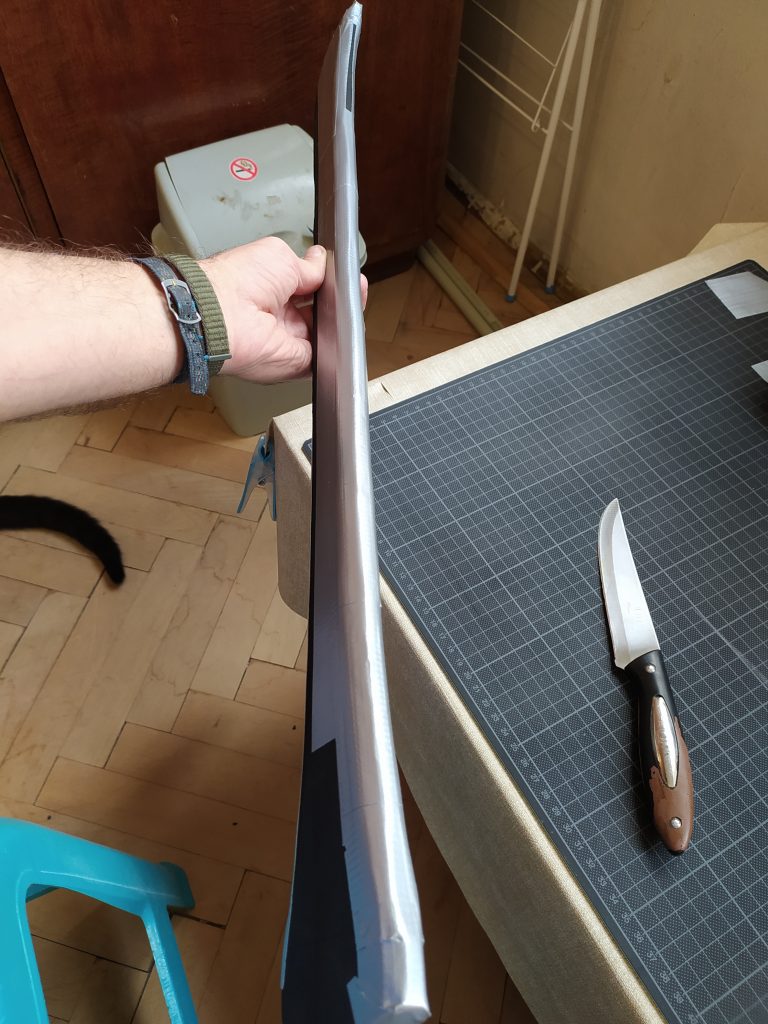
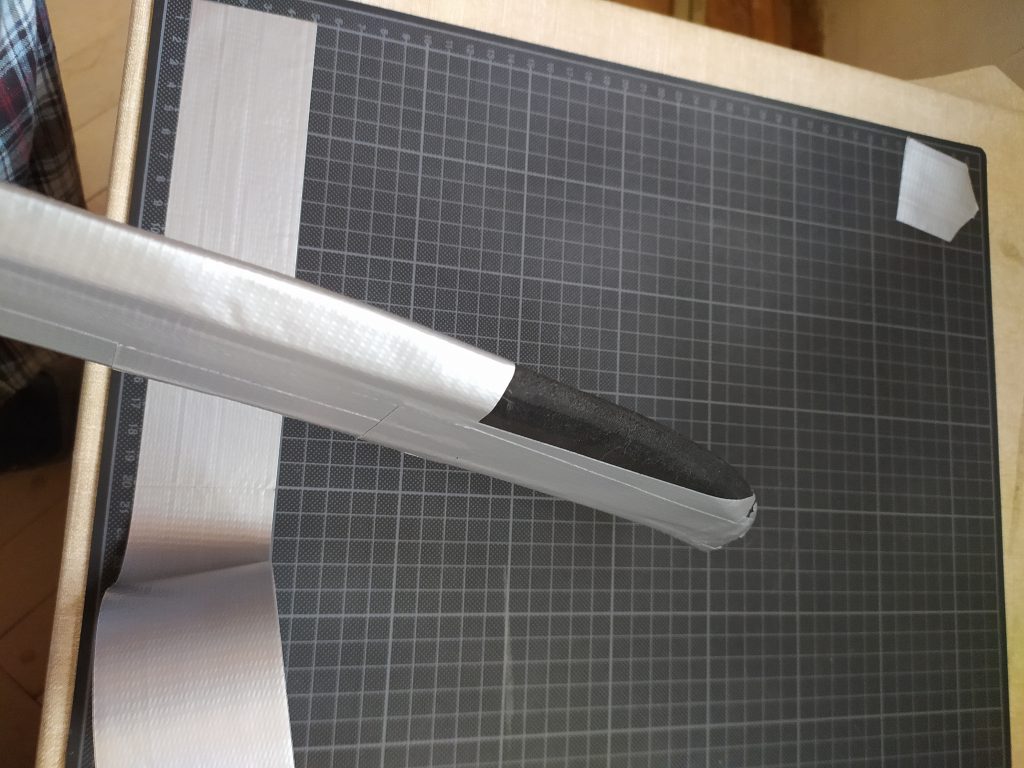
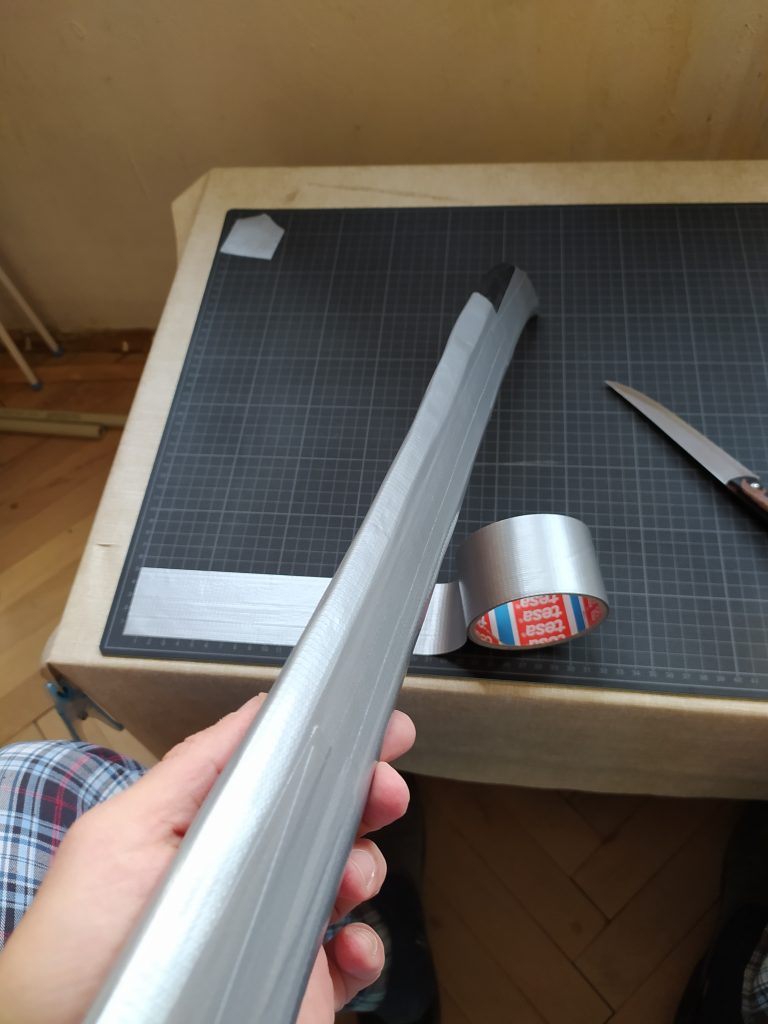
Then we start on the tip side of the blade. The edge is convex, so the supporting cuts will overlap (as I mentioned above). We can place a long full-length strip right away.
Position it on the edge itself, make supporting cuts – close together where the curvature is greater, sparser apart where the edge is almost straight. Then start applying the tape to the sides. And for both sides of the blade, start applying in the same direction – top to button or the other way around. You want the overlaps to be symmetrical.
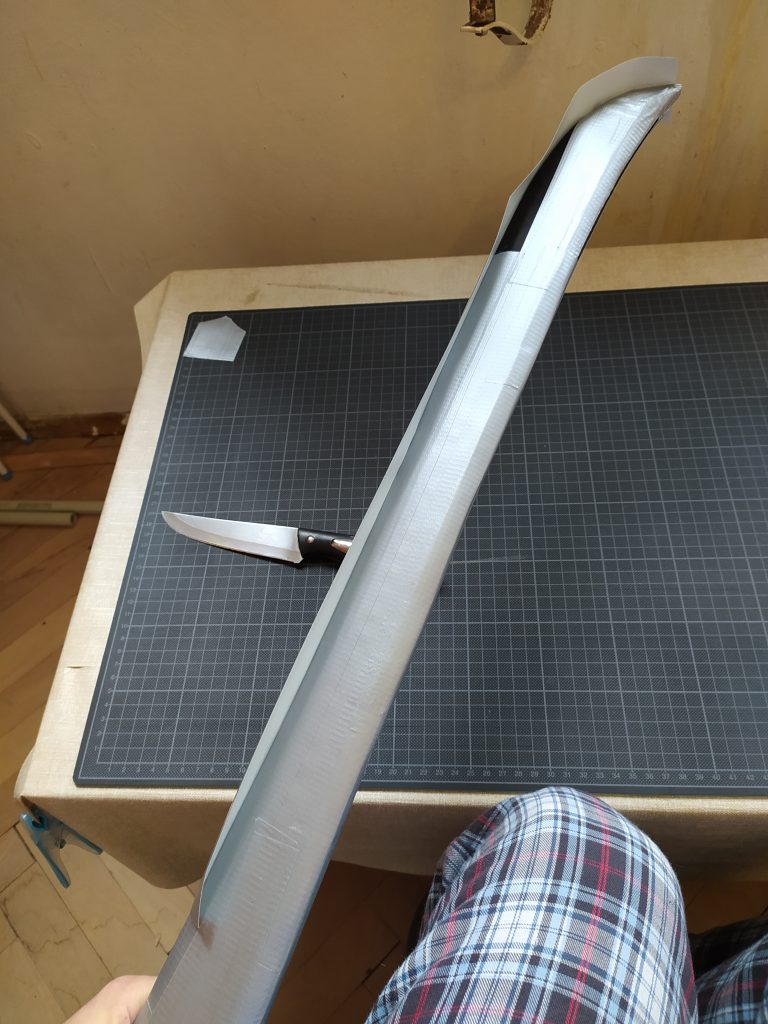
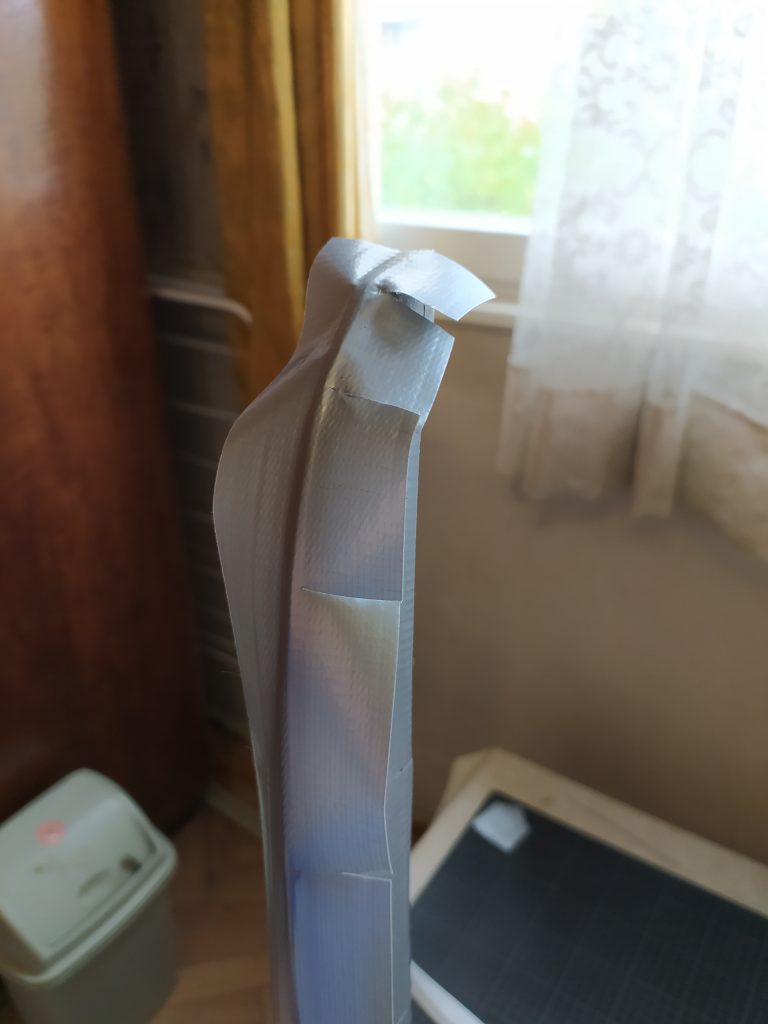
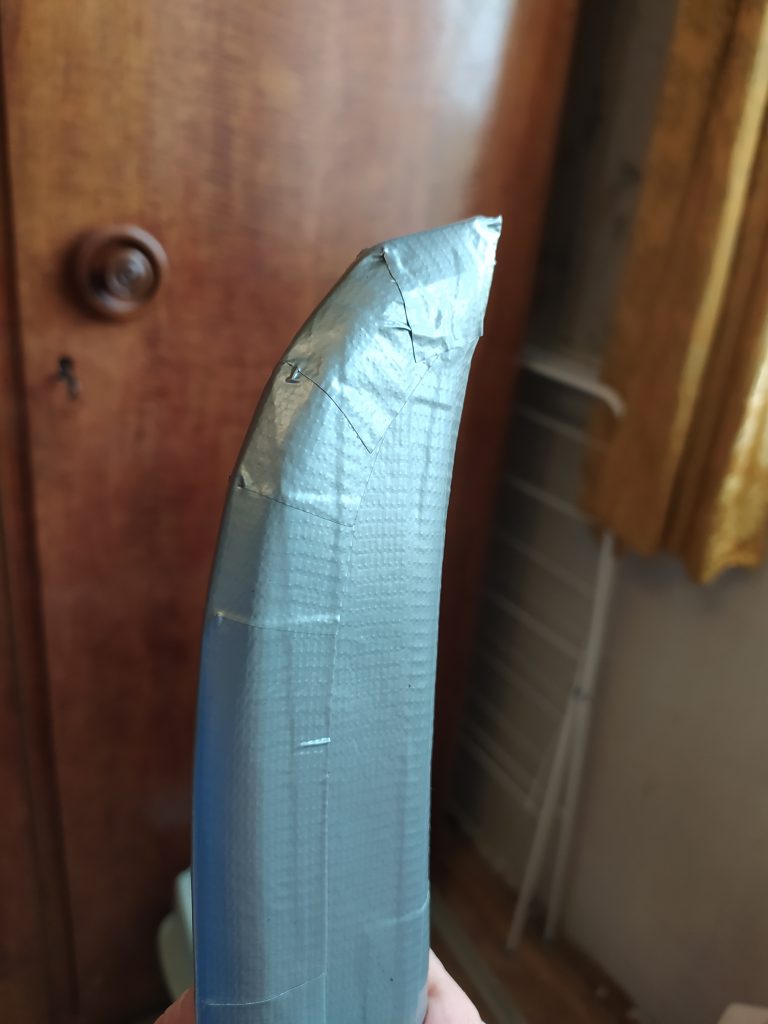
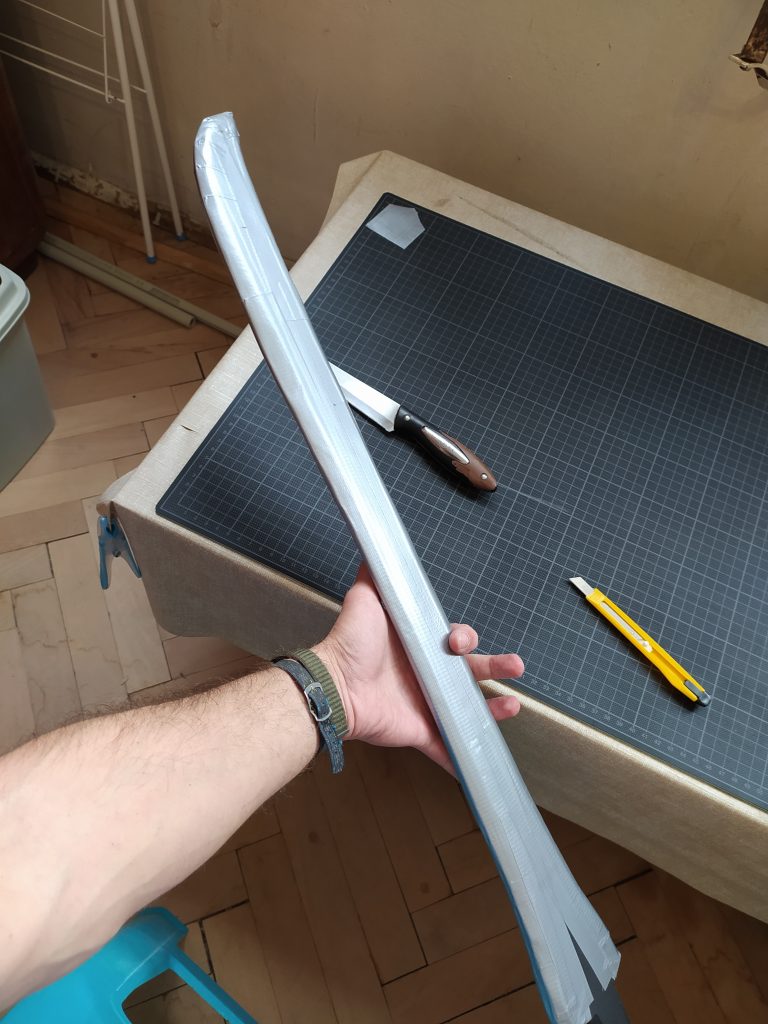
Covering the small leftover areas at the bottom of the blade is trivial.
I added one last layer of tape, making sure the longest straightest strips are on top of the more fragmented ones. You can go up to 3-4 layers of duct tape before starting to lose flexibility in any noticeable amount.
Last place to be covered with duct tape (for this sword, at least) – the pommel. The design calls for small to non-existent pommel and I have left it as simple as possible (only with slight bevel on the grip edges).
I only need to cover the tip of the pommel and may be 1-1.5cm of the grip.
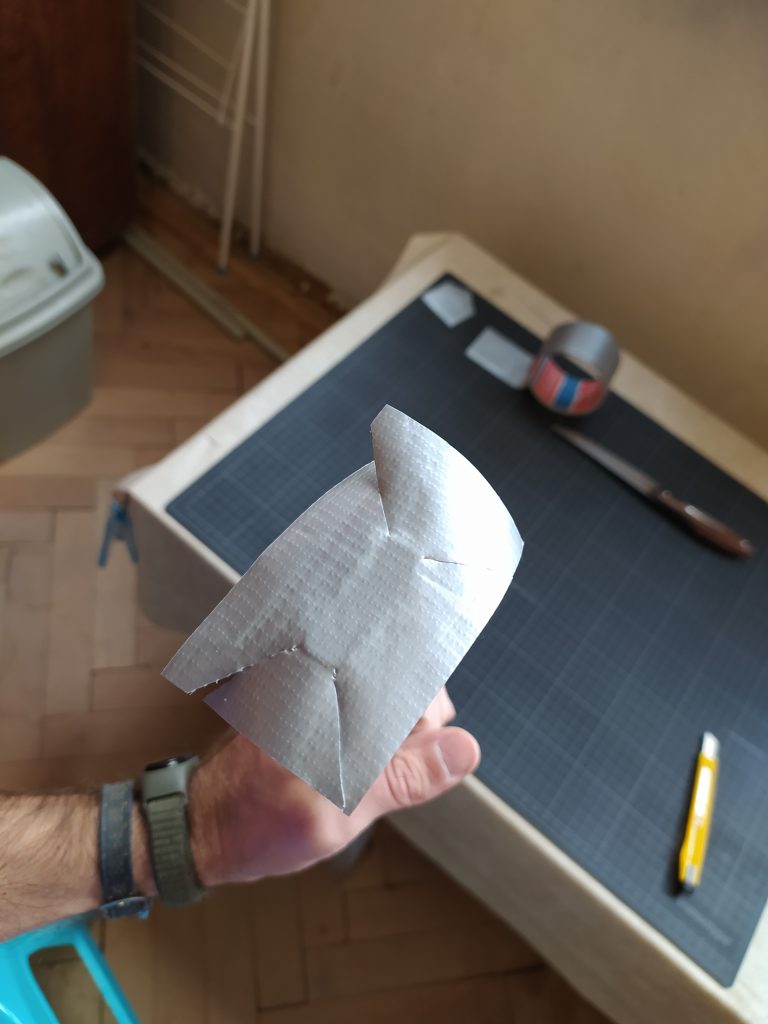
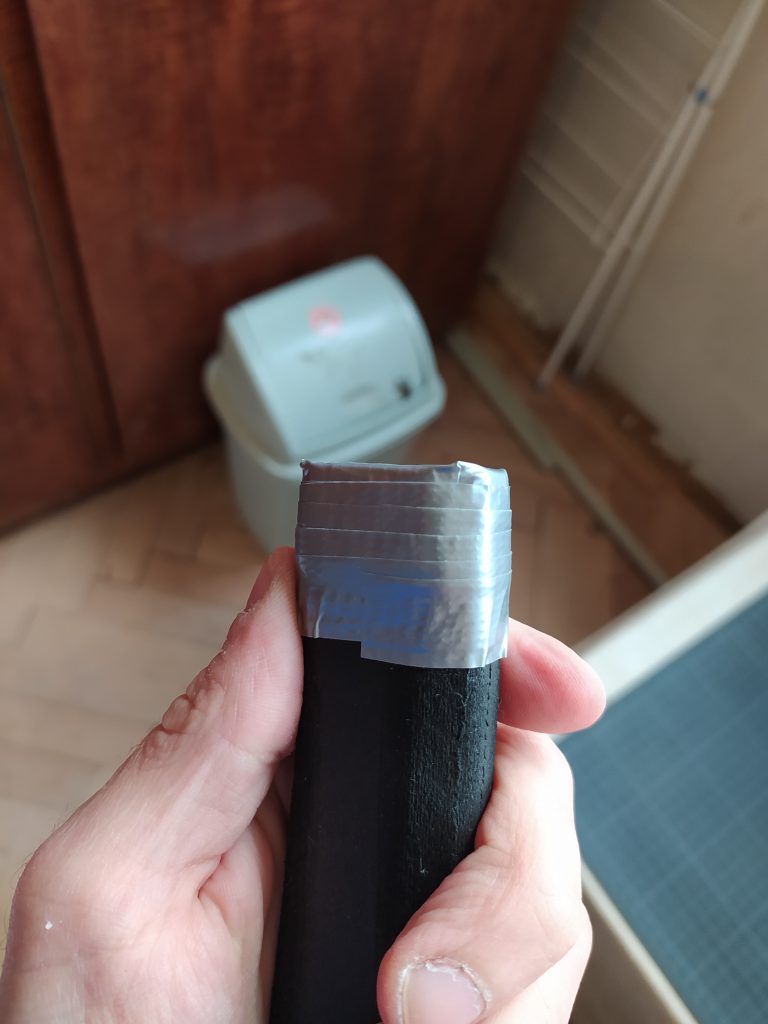
Several overlapping thin strips of duct tape around the pommel – for visual structure, mainly. And also for a slight increase of grip width (the rest of the grip will have 2+ layers of electrical tape, so I don’t want the pommel to end up tapering off).
The electrical tape I did not take a photo of (got distracted). But there’s nothing tricky there. Using electrical tape is easy – it is relatively stretchy, so you can cover curvature with a long continuous strip. This makes it easy to cover the boundary between the blade and the grip.
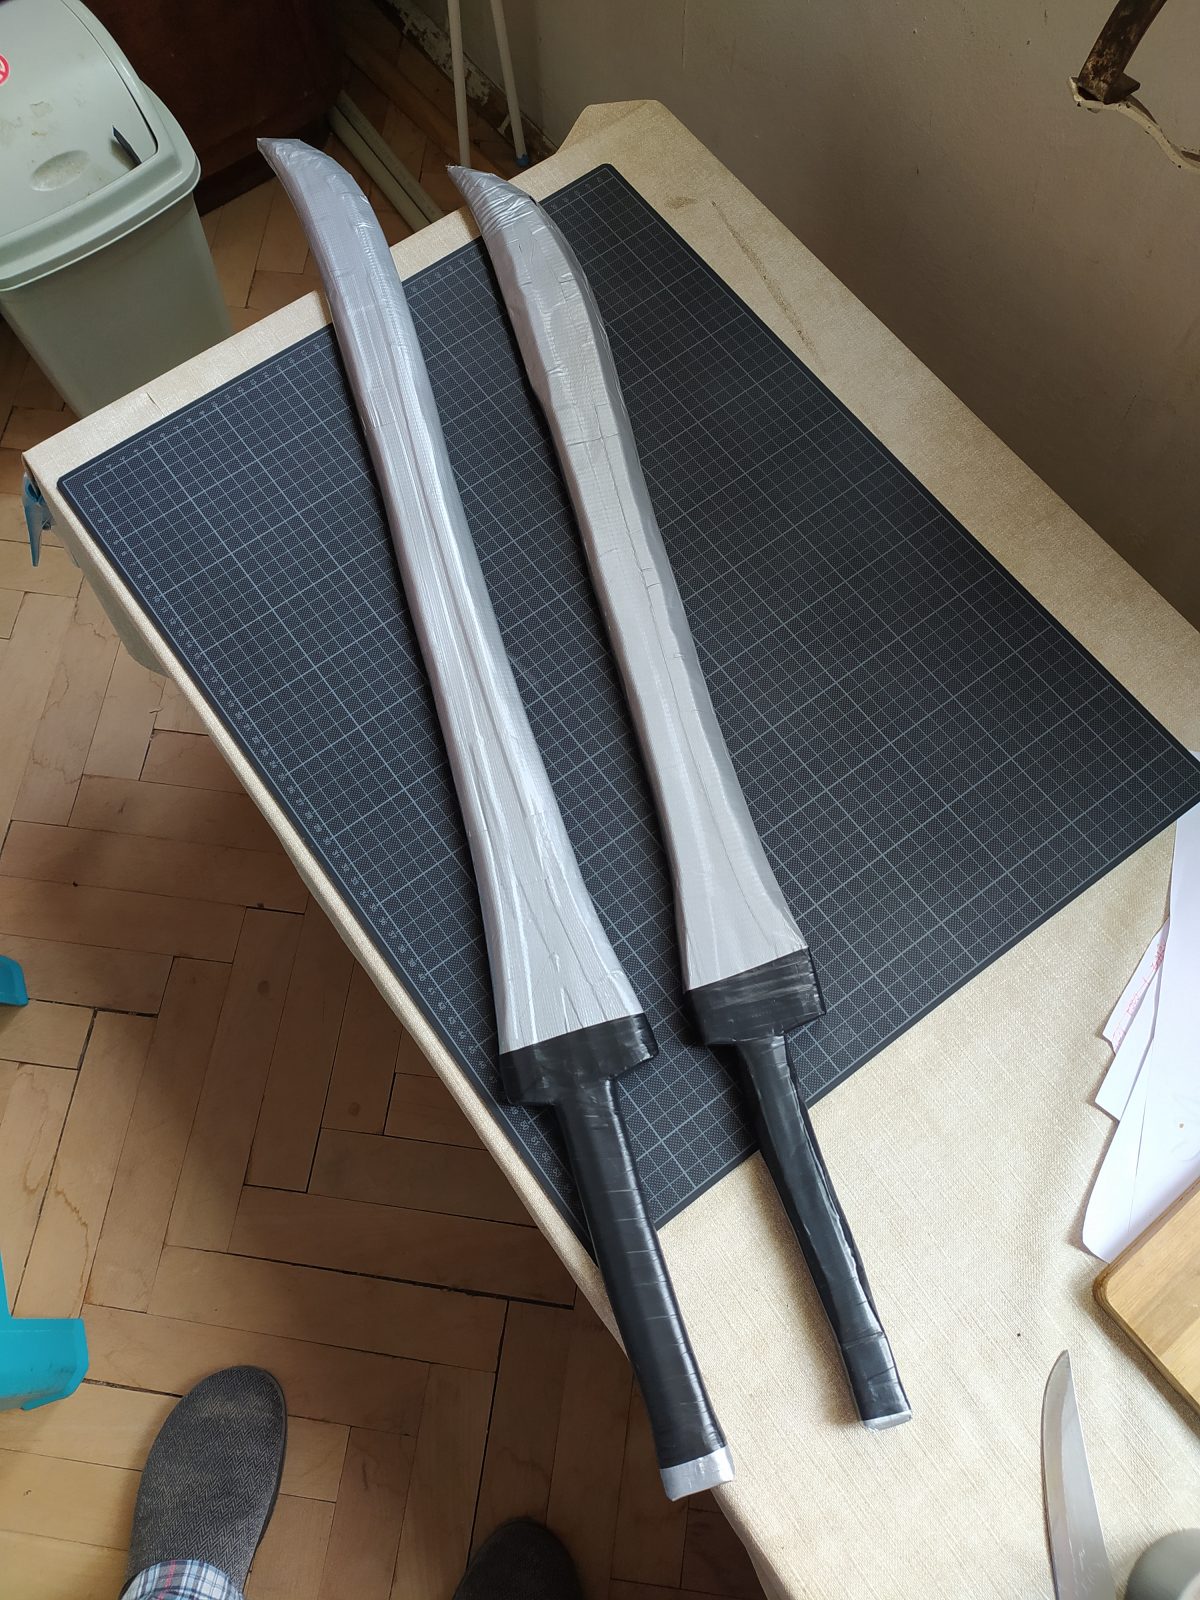
All in all, here’s the result.
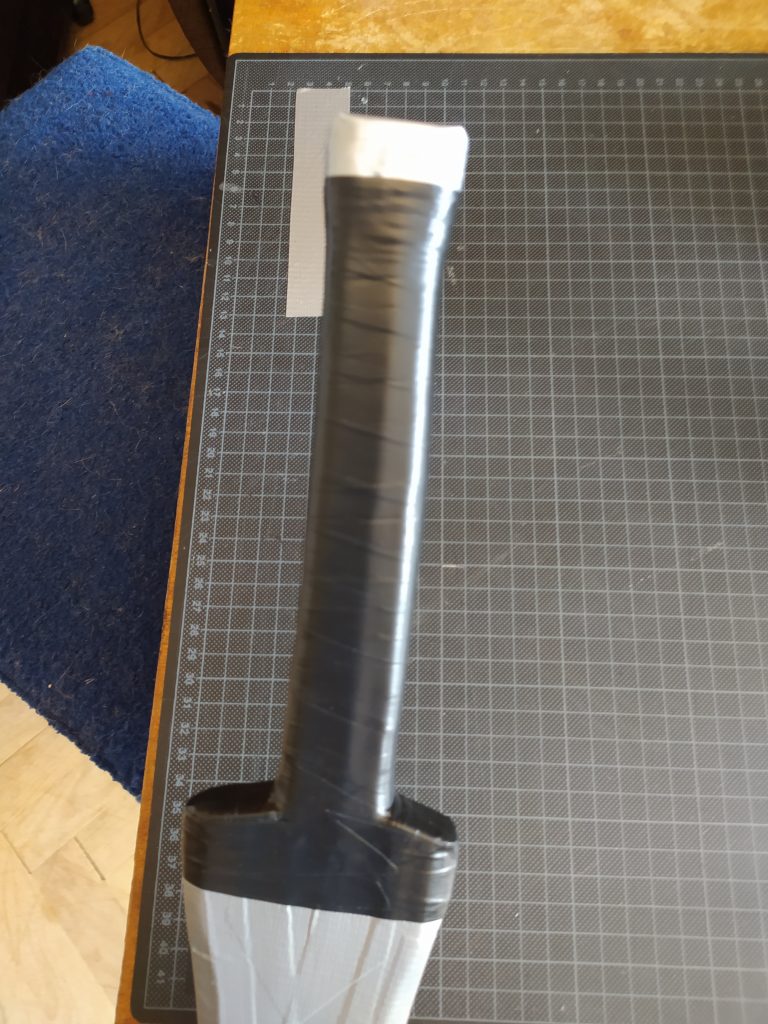
Aaand it’s done!
Here it is by itself and with v1.0.
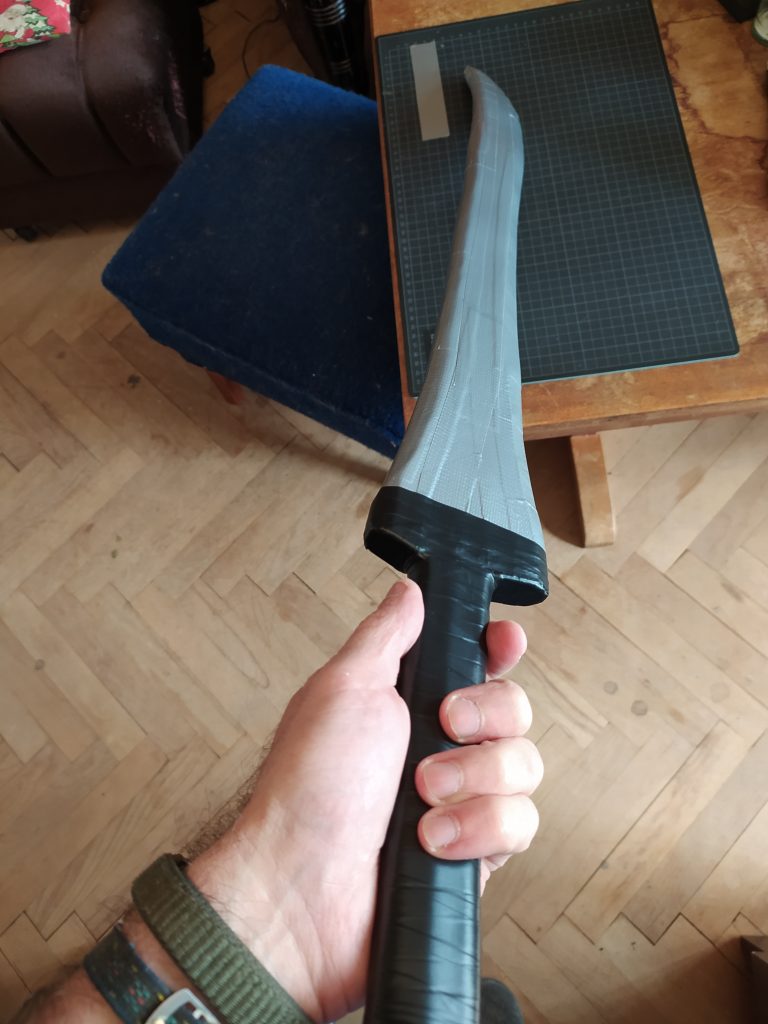
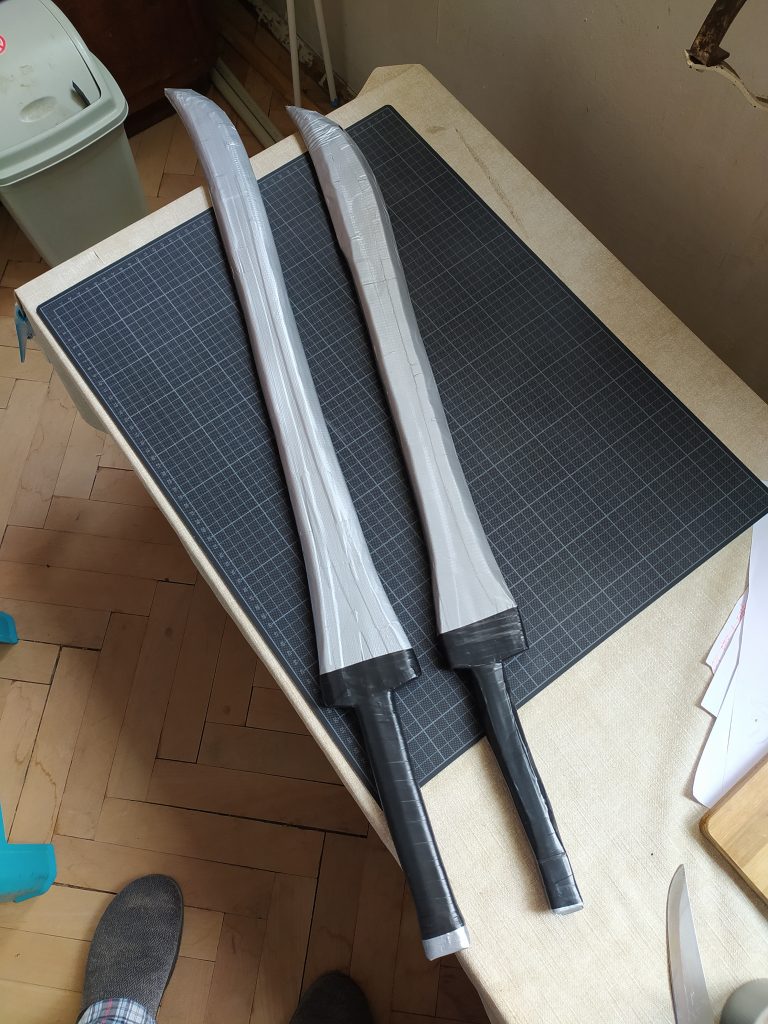
How does it feel? Heavier. And you can tell that it’s not the foam itself. The core felt heavier to wield even before the sword was assembled and now that it is ready you can tell the core is heavier.
We’ll see, the double core was part of the planned experiment.
The sword is definitely too long for me (for one hand, at least), but it’s not for me, so it’s ok.
Problem – The core is too long for this sword. There is about 10mm of foam left at the back end (the pommel), in order to make sure the pommel is well supported (see problem 4 with v1.0). So the core is pretty close to the back of the weapon. And yet, the tip of the blade has only 50mm core-less. This may sound like a “no-problemo” for a straight edged weapon, but not for a curved one. I ended up lacking the freedom to make the curve as smooth as I would like. Also, when I beveled the edges, I could not do it with a smoother, larger bevel, because I would end up exposing the core at the middle of the edge curve. Bad planning. Note to self.
Question – The grip is wide enough (or at least wider than v1.0, as planned), but… is it thick enough? I could have added a 3mm foam strip on each side and that would probably have improved the profile. If it turns out that the grip as it is is not comfortable, I may end up trying to re-do it. As it is electrical tape only, it may prove… possible.
We’ll see!